How-To: Duck Tape® Graduation Cap
How-To: Duck Tape® Graduation Cap
Celebrate in style by making a custom Graduation Cap.
Tutorial

Beginner
15 Minutes
Supplies & Tools
- Gold Duck Tape®
- Black Duck Tape®
- Scissors
- Graduation Cap
- Craft Knife
- Crafting Board
Scroll down for step-by-step directions.
Disclaimer - If the listed tape type is not available, there's no need to worry. All of our crafts can be adjusted to use whatever tape you have on hand!
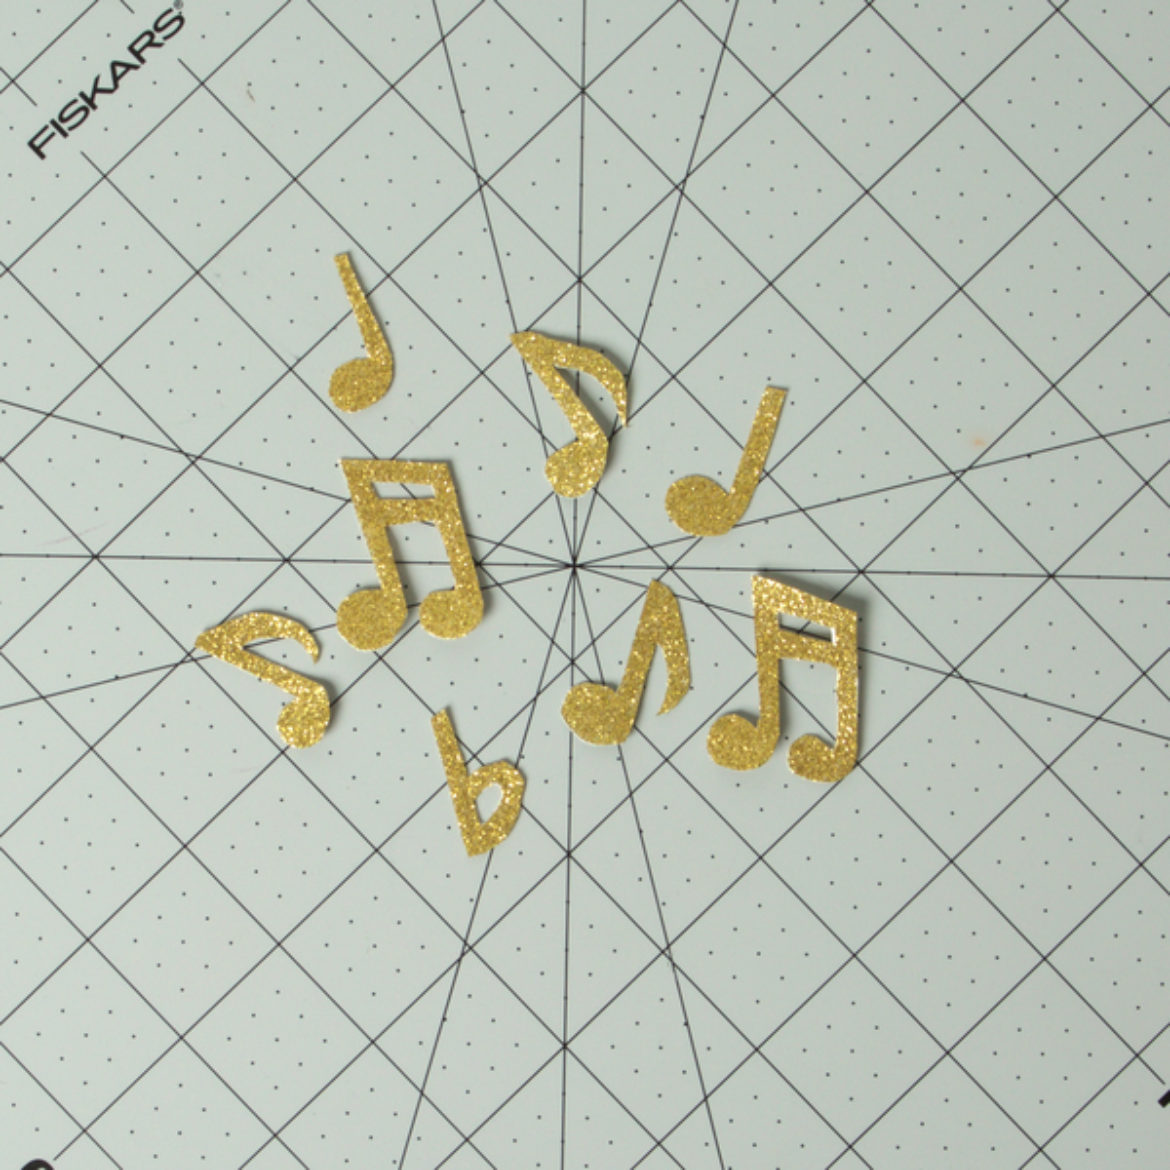
Directions
Step 1
Draw and cut out your pumpkin. If you need a template, fold a sheet of paper in half and draw a half circle along the crease.
Step 2
Cover both sides of your pumpkin from step 1. Repeat steps 1-2 so you have at least four pumpkins.
Step 3
Cut a small slit at the top of one of your pumpkins. For the other three, cut a slit at the bottom about half way up. This is so you can slide your pumpkin pieces together.
Step 4
Draw and cut out the top of your pumpkin on poster board. If you need a template, fold your sheet of paper into quarters and cut out a heart shape in the corner of the paper.
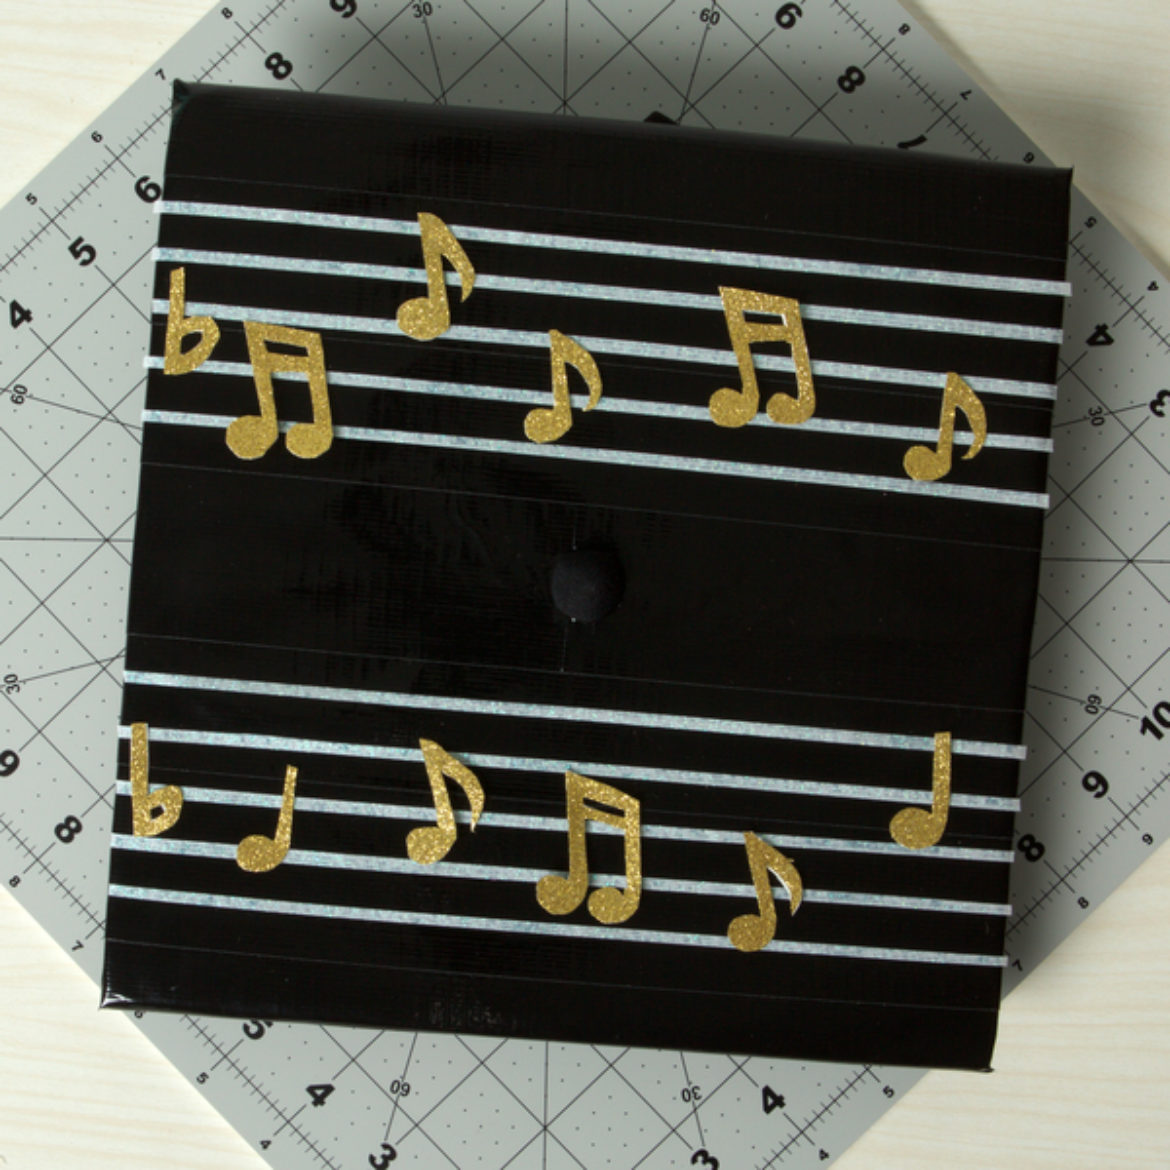
Step 5
Cover the piece from step 4 in Duck Tape®.
Step 6
Draw and cut out a circle from your poster board. Cover it with Duck Tape®.
Step 7
Assemble your pumpkin. Gather the three pumpkins with slits on the bottom and slide them on the piece with the slit at the top. Fan out your pumpkin.
Step 8
Using small pieces of tape, tape the top and bottom pieces onto the clover and round piece you made in step 5 and 6. The clover has eight round points, each to match the eight sides of the pumpkin.
Step 9
For the stem, roll and twist small pieces of tape into a cone shape, leaving the bottom of the cone open and sticky.
Step 10
Attach the stem to the top of your clover.
Related Projects
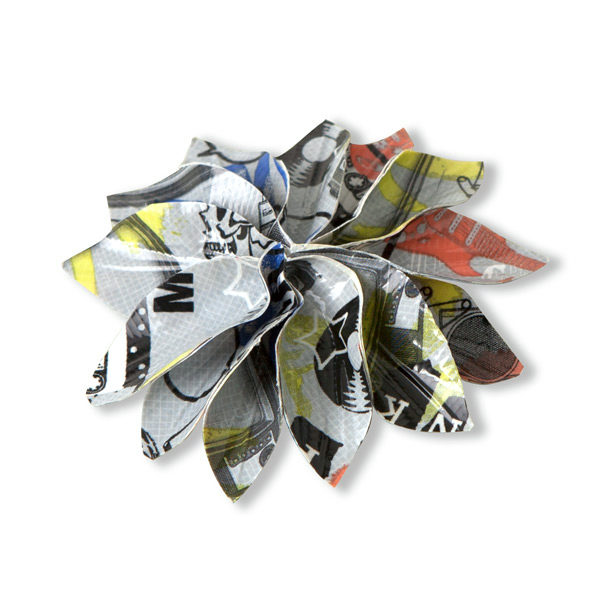
How-To: Duck Tape® Flower Hair Clip
Create a hair accessory that sticks to every fashion statement you make this year with this Duck Tape® flower hair clip.
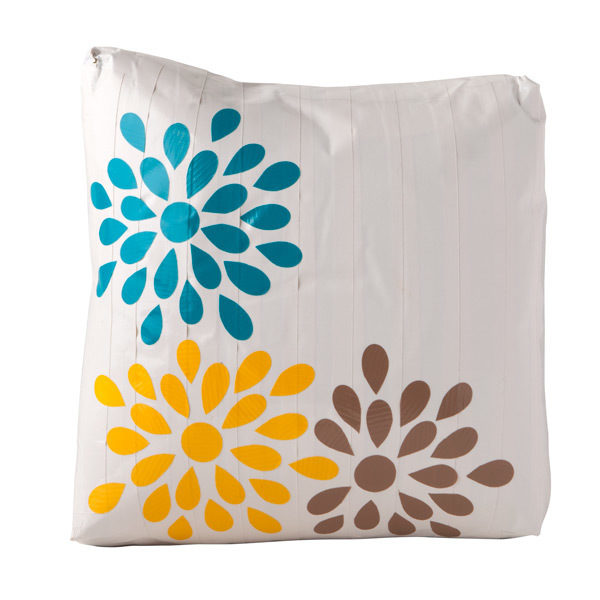
How-To: Duck Tape® Pillow
Don’t throw away an old or torn pillow - make it new again with Duck Tape®!
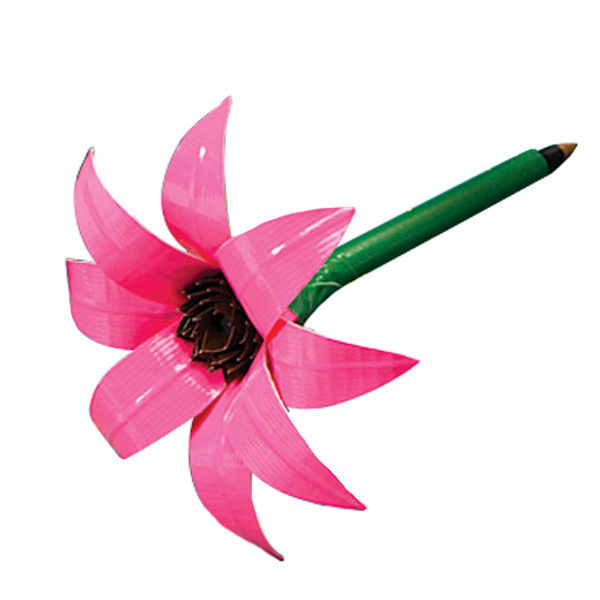
How-To: Duck Tape® Daisy Pen
Turn ordinary office supplies into something colorful and fun with Duck Tape®.