How-To: Duck Tape® Owl Tote
How-To: Duck Tape® Owl Tote
This patchwork tote is owl you need for spring and summer! Just follow these instructions and create your own unique accessory for any occasion.
Tutorial

Advanced
90 Minutes
Supplies & Tools
- Duck Tape®
- Duck Tape® Sheets
- Scissors
- Ruler
- Hook & Loop Fasteners
- Crafting Board
Scroll down for step-by-step directions.
Disclaimer - If the listed tape type is not available, there's no need to worry. All of our crafts can be adjusted to use whatever tape you have on hand!
Directions
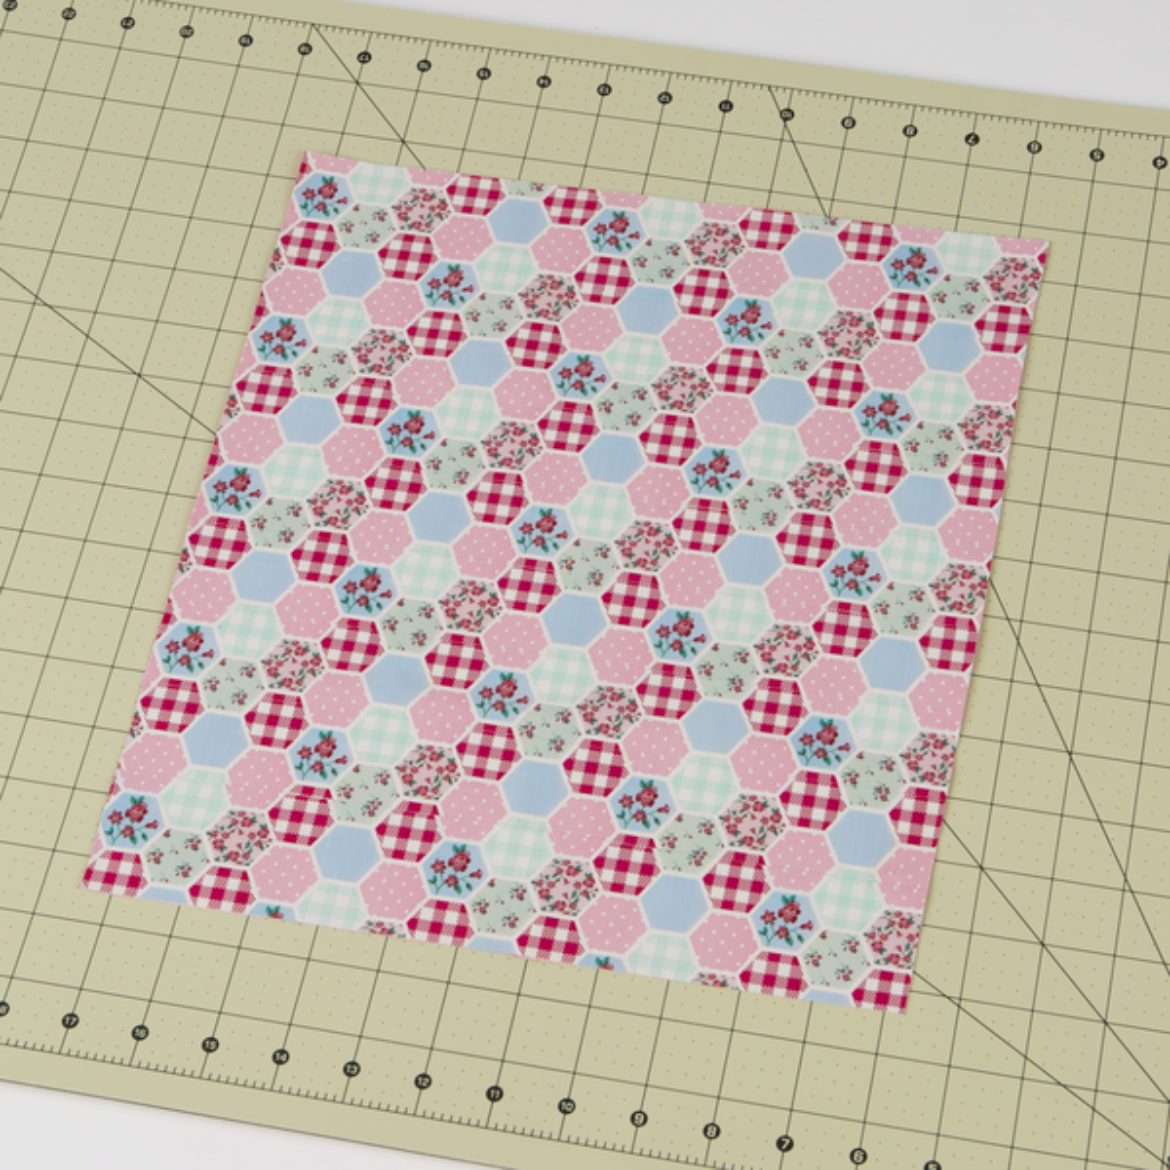
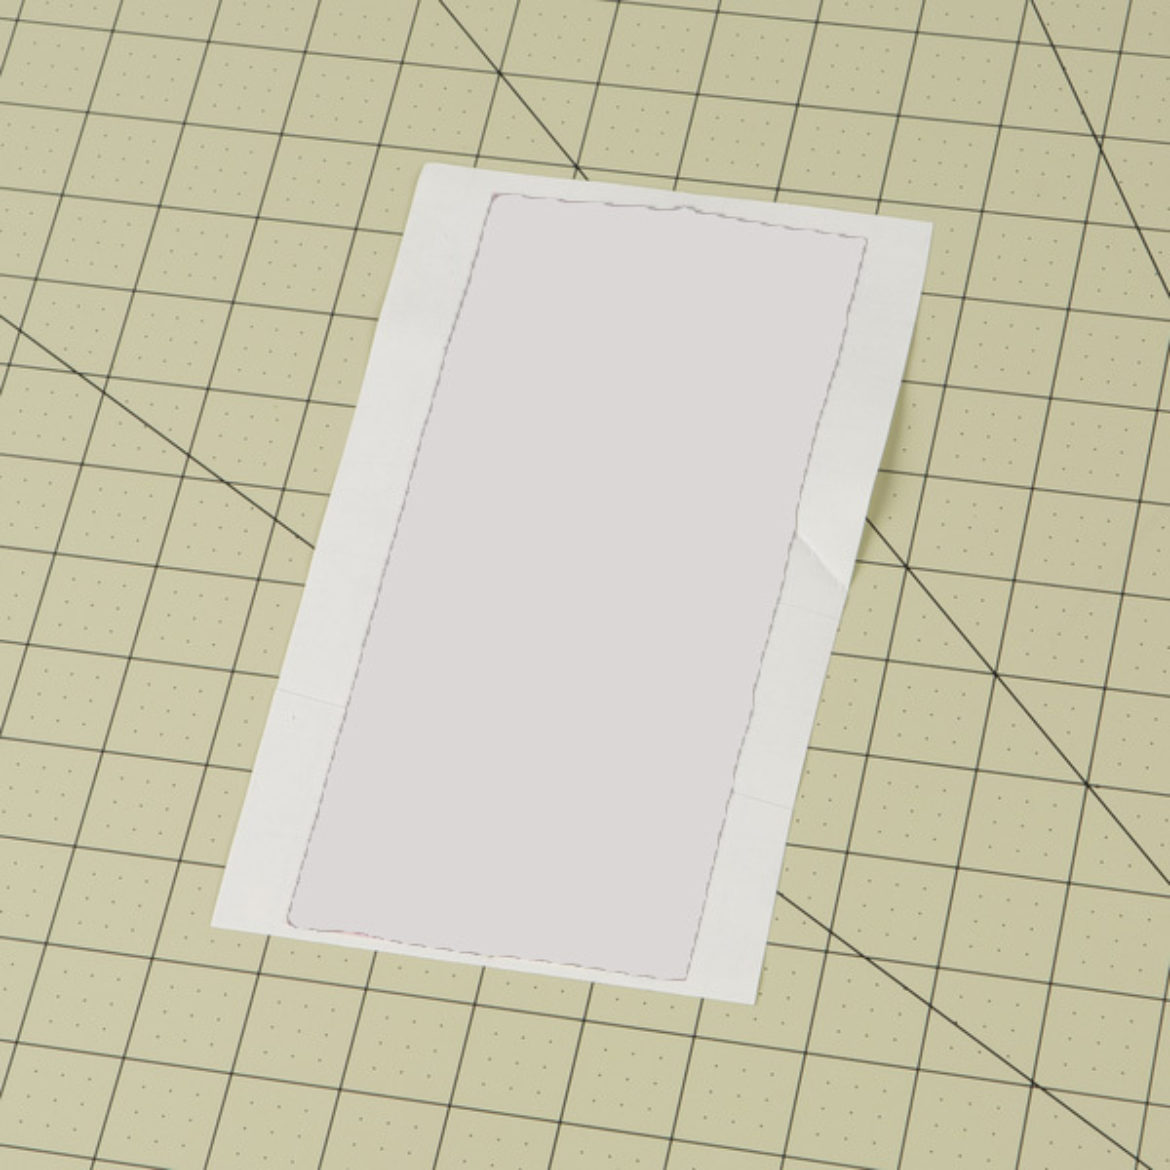
Step 1
For the body of the bag, create a piece of Duck Tape® fabric that measures 12 in. wide and 13 in. long.

Step 2
Using scissors, round off the bottom edges of the piece of fabric from step 1.
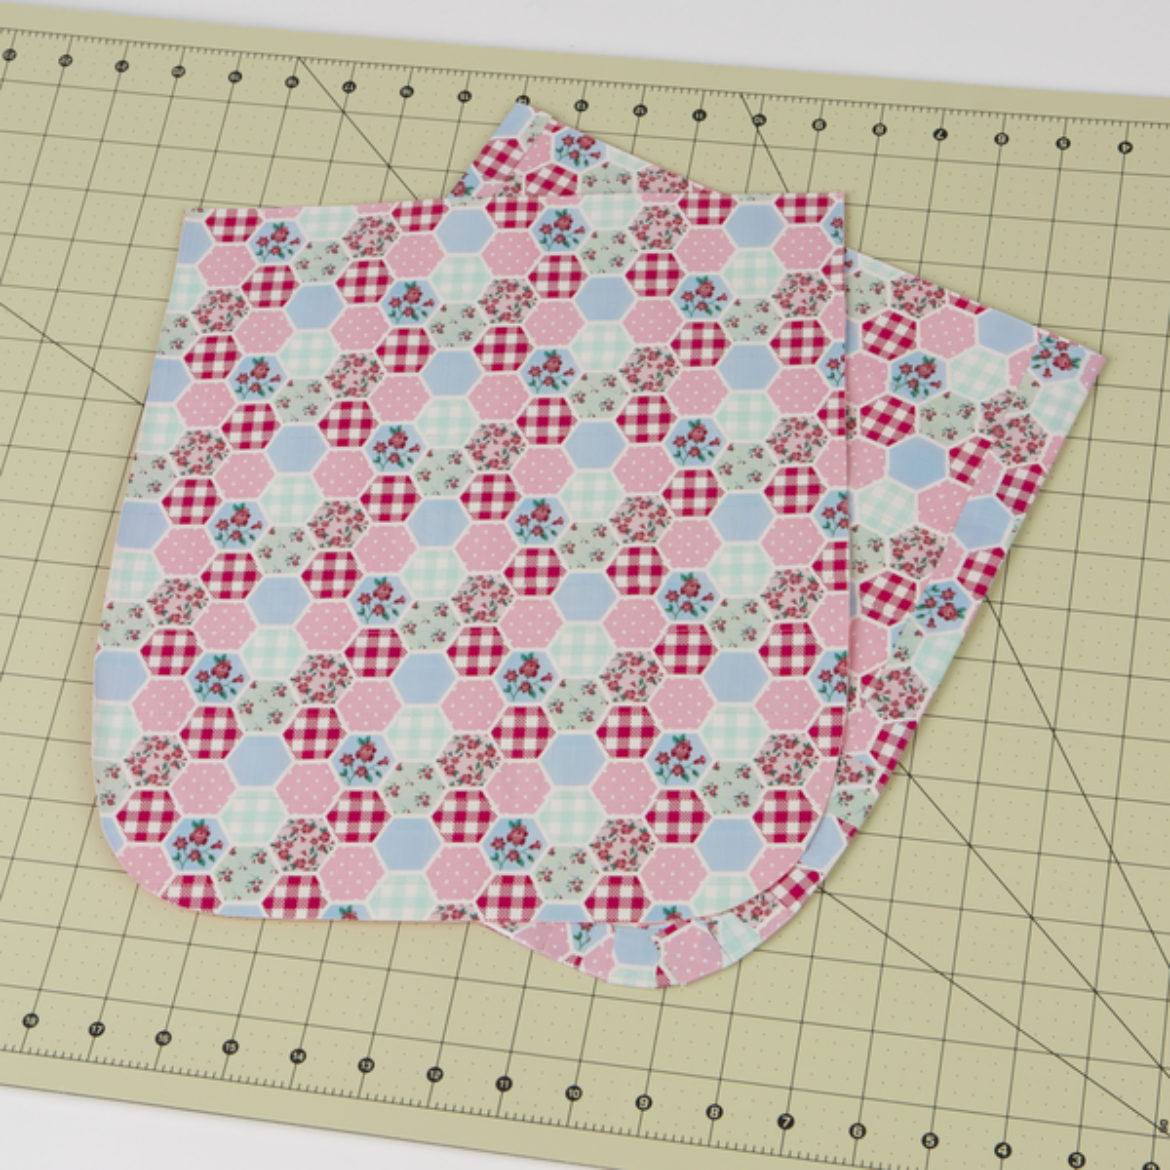
Step 3
Repeat steps 1-2 to create the other side of the bag.
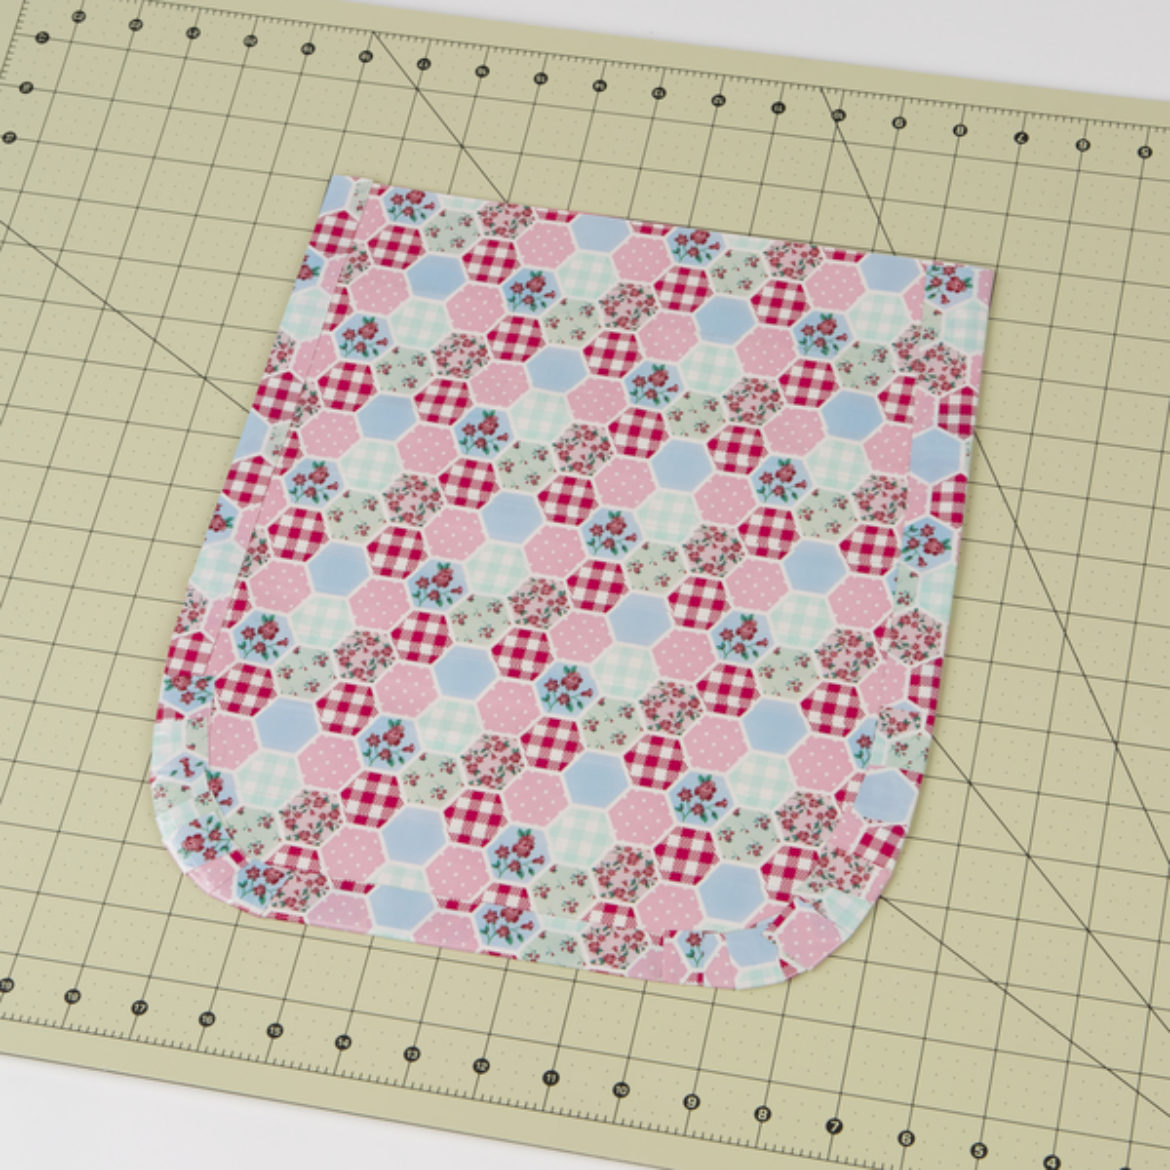
Step 4
Using small pieces of Duck Tape® along the sides, tape the two pieces of fabric together. Keep the top open.
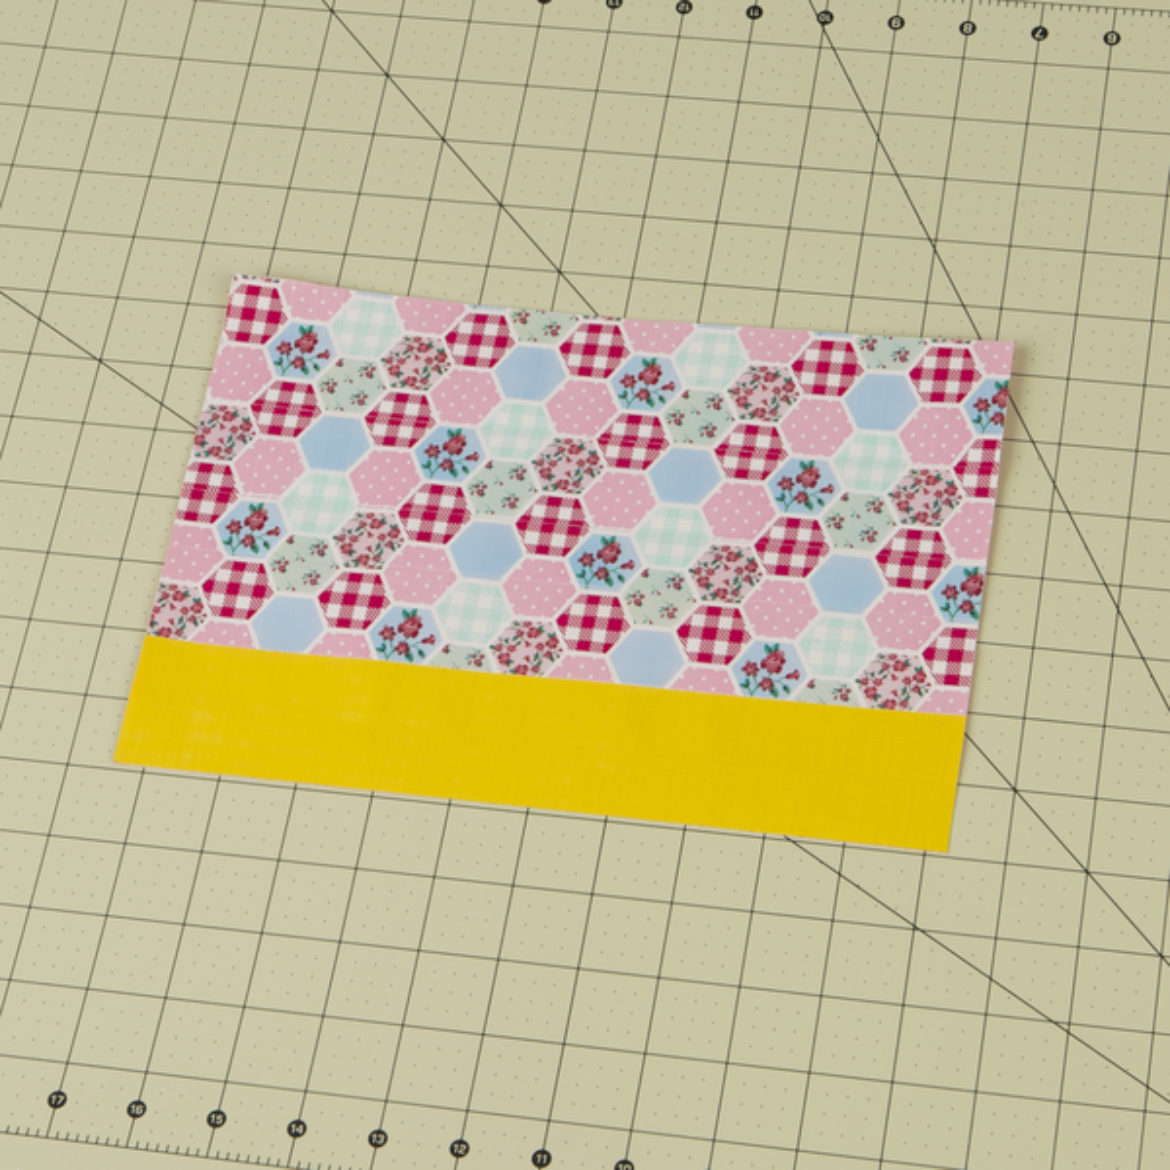
Step 5
To create the flap for the bag, make a piece of Duck Tape® fabric that measures 12 in. wide and 7 in. long and add a strip of color Duck Tape® to the bottom for the beak.
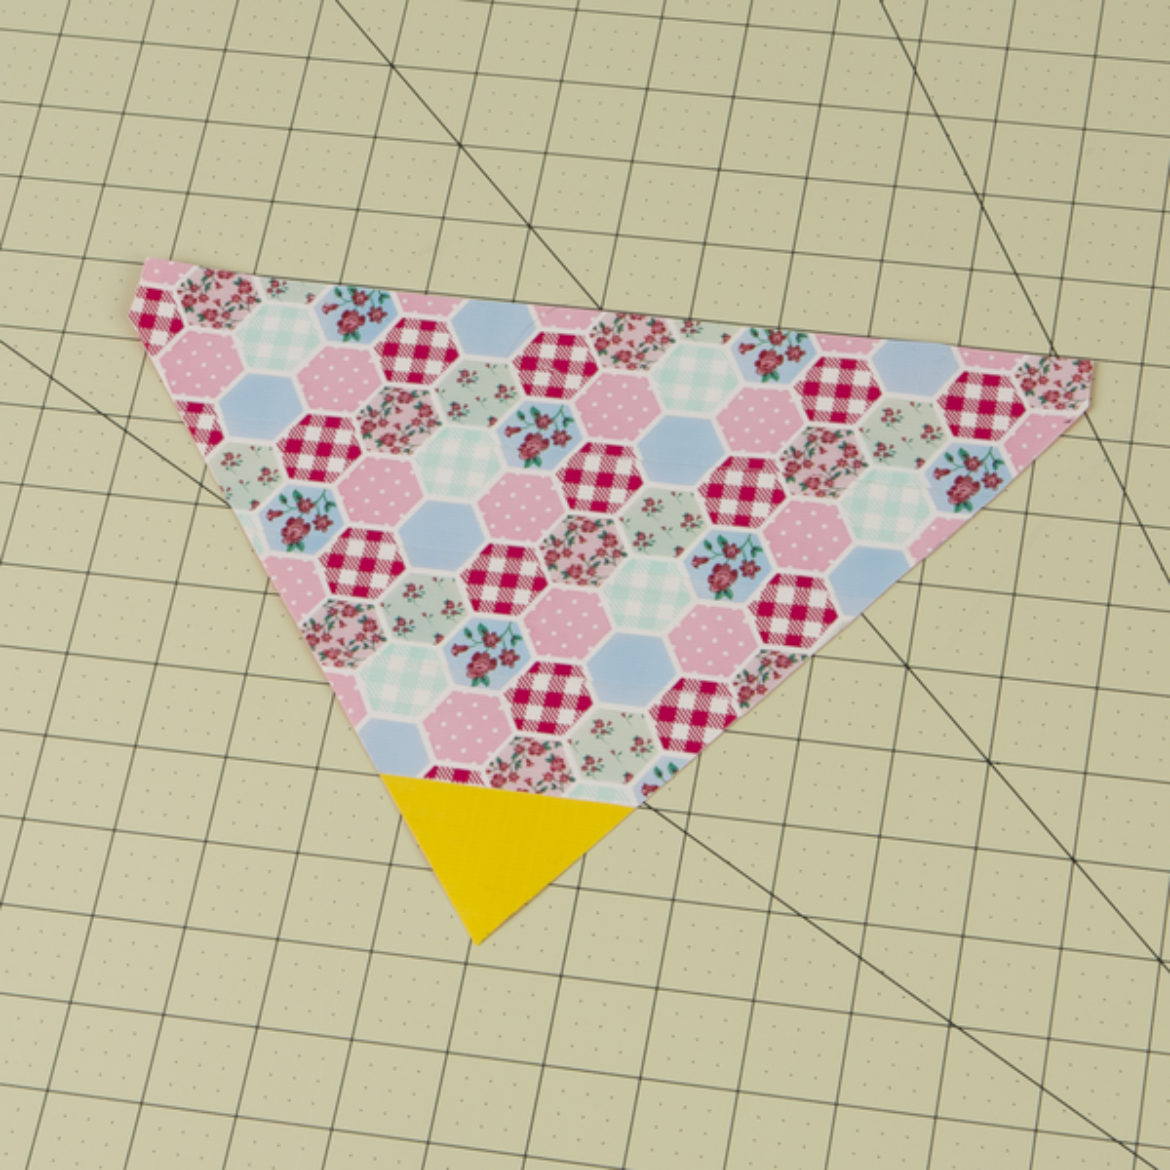
Step 6
Cut into a triangle so that the color Duck Tape® strip is at the bottom point of the triangle to form the beak.
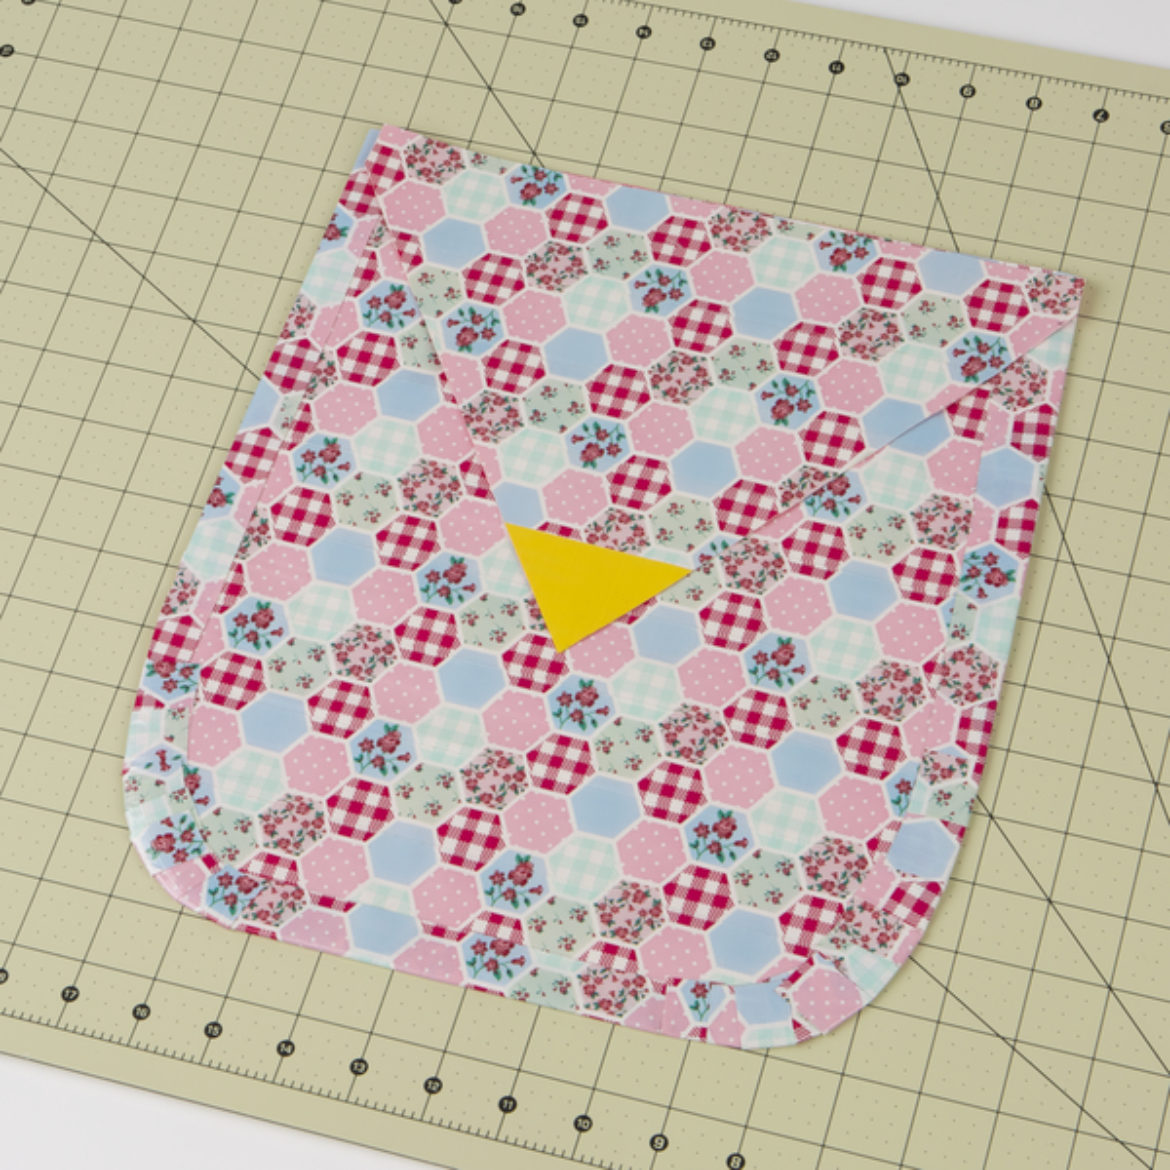
Step 7
Attach the flap to bag. Add a hook and loop fastener to the backside of your flap and where it meets the front of the bag to secure it down if desired.
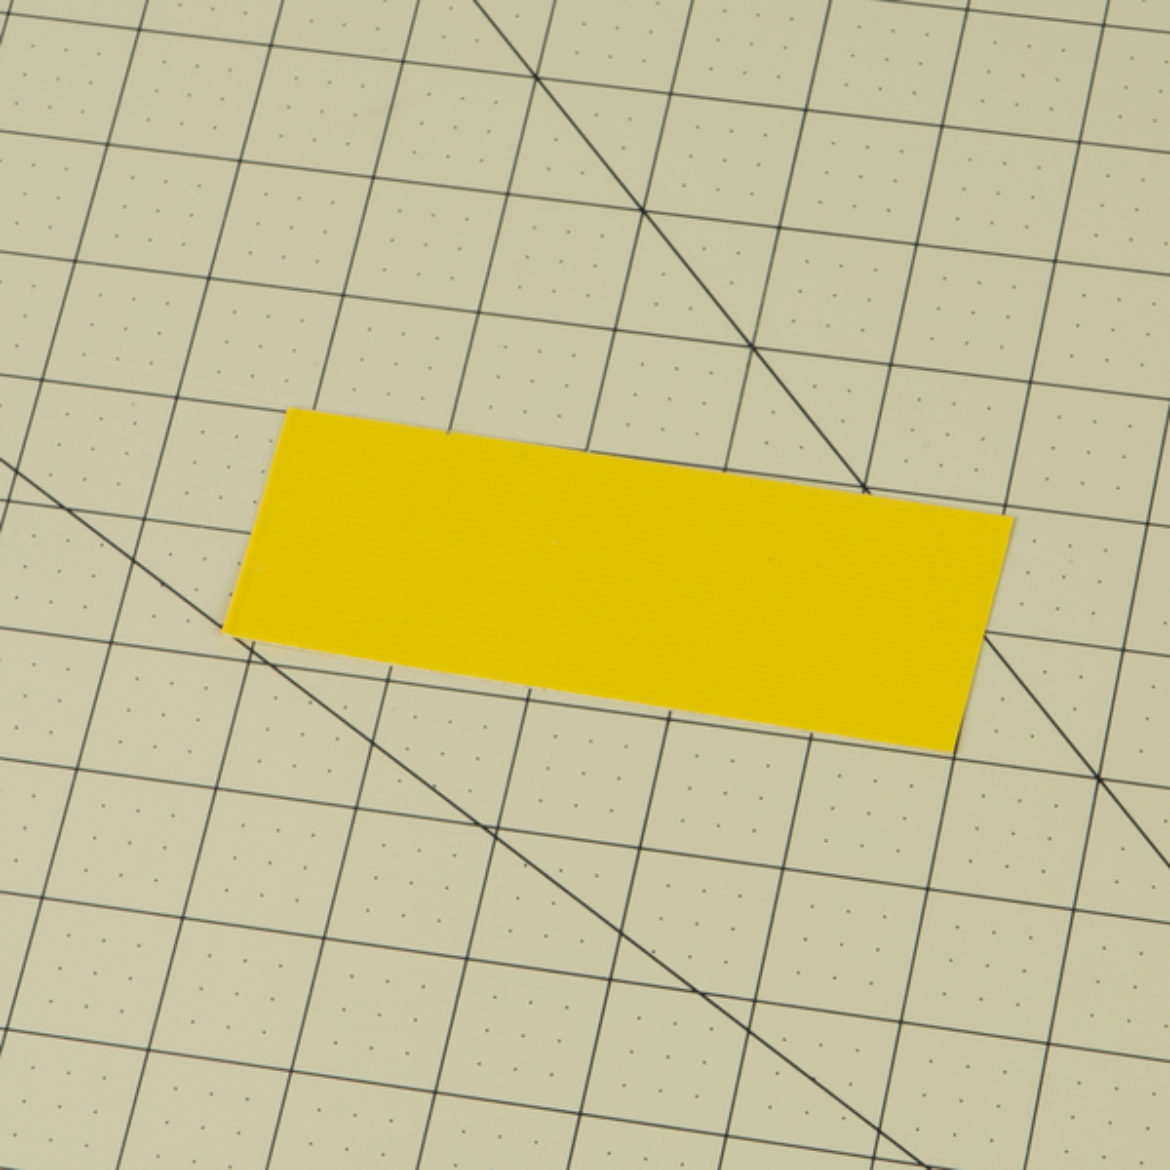
Step 8
To create the feet make a piece of Duck Tape® fabric that is one strip wide and 5.5 in. long.
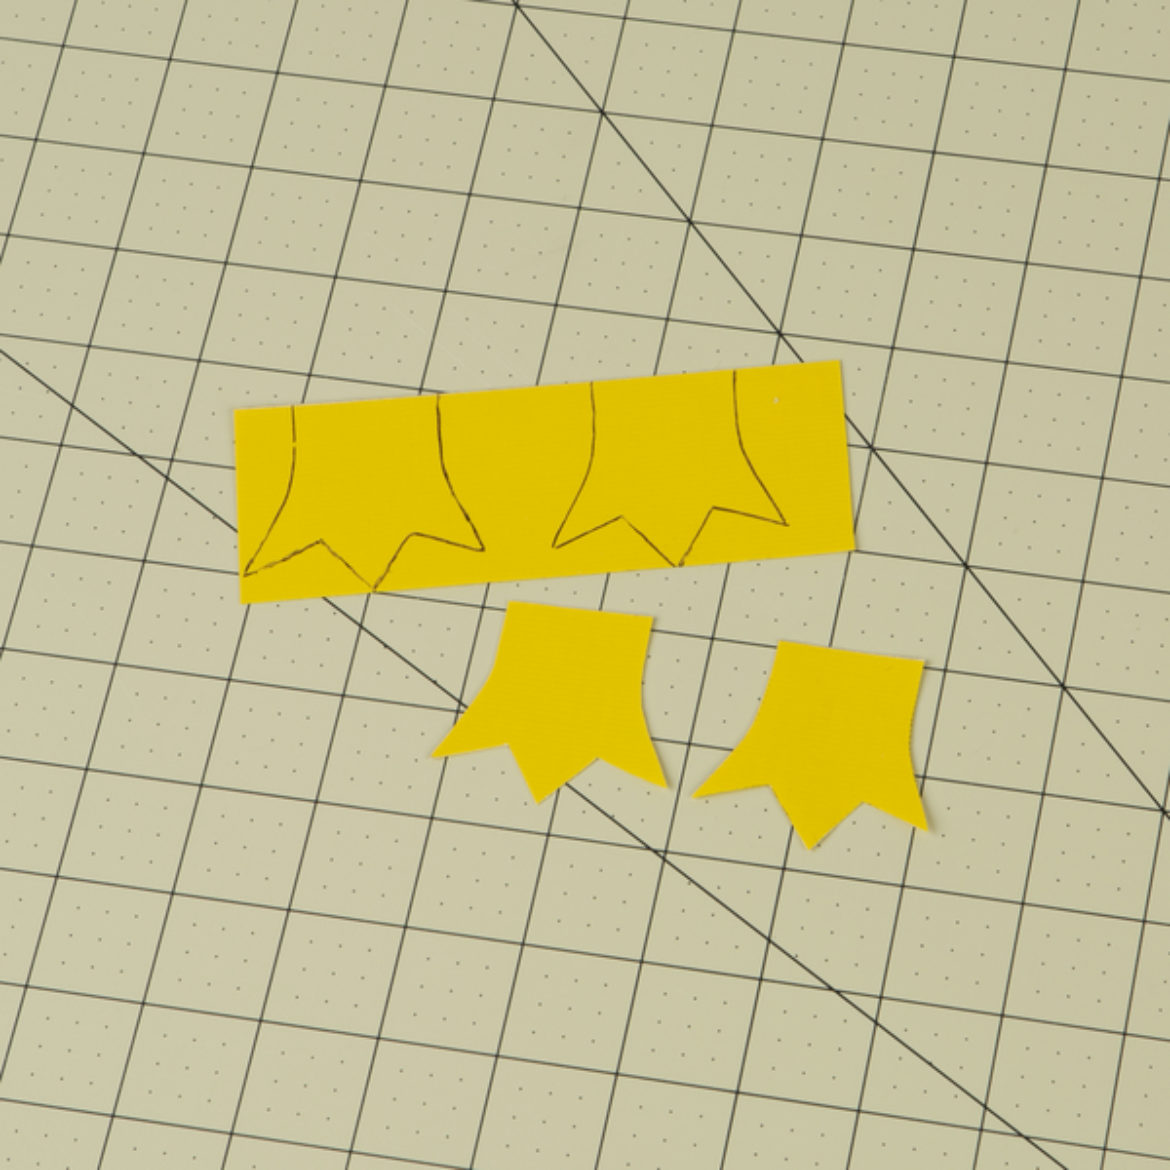
Step 9
Draw and cut out 2 ft. onto the fabric.
Step 10
For the wings, lay out two strips of Duck Tape® that slightly overlap. You can place these on wax paper if desired.

Step 11
Draw and cut out your wing on the strips you made in step 10.
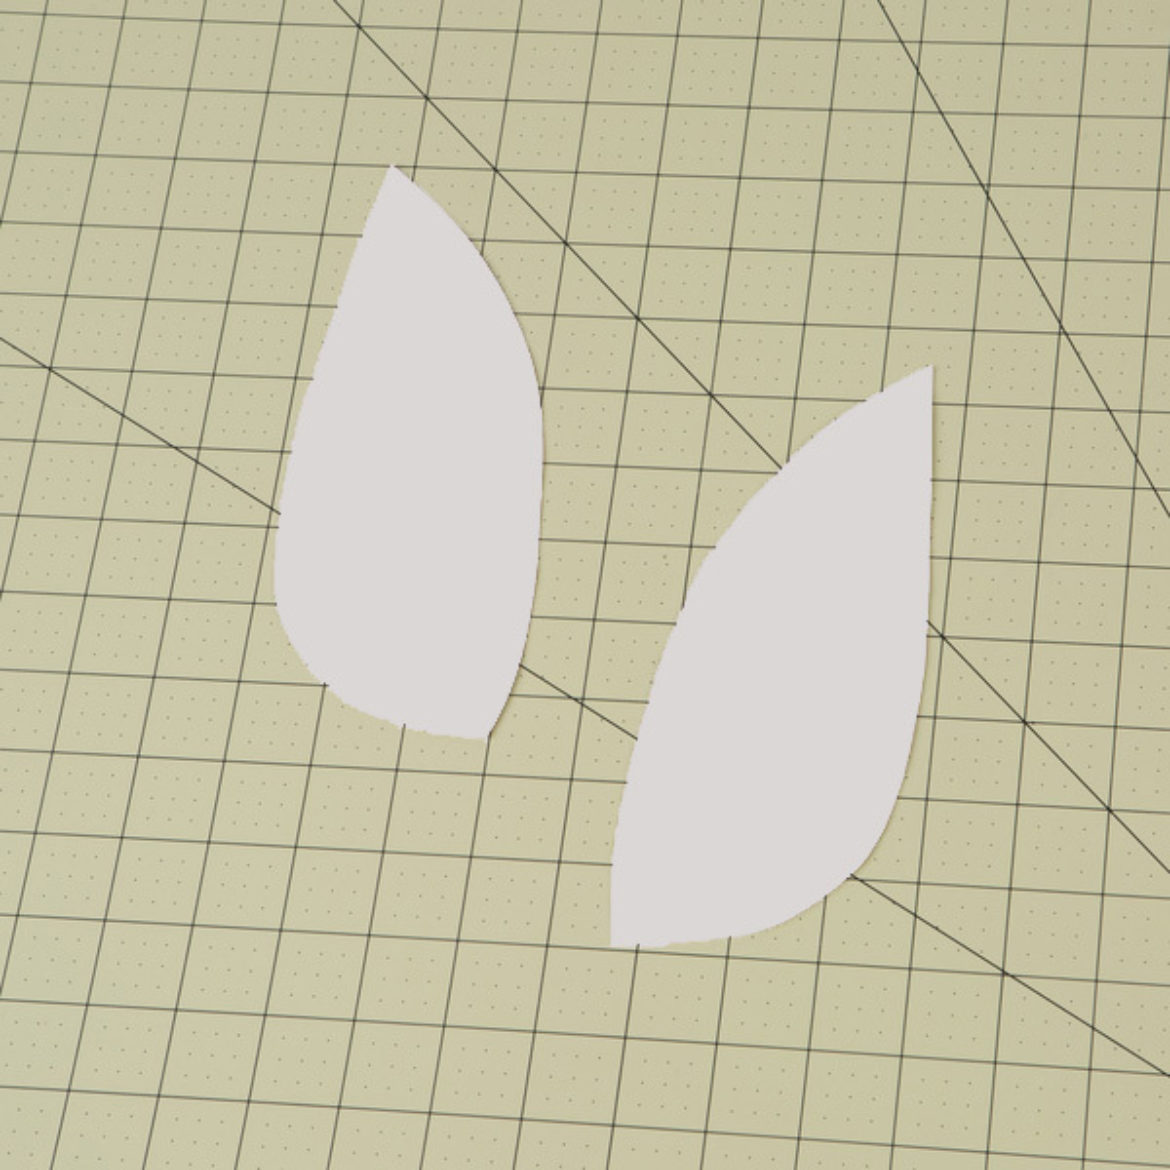
Step 12
Repeat steps 10-11 to make a second wing.

Step 13
To make the layers for your eyes, draw 3 shapes on the back of Duck Tape Sheets. Make an oval that is 6 in. long and 4.5 in. wide, a circle that is 4 in. in diameter and another that is 2.5 in. in diameter.
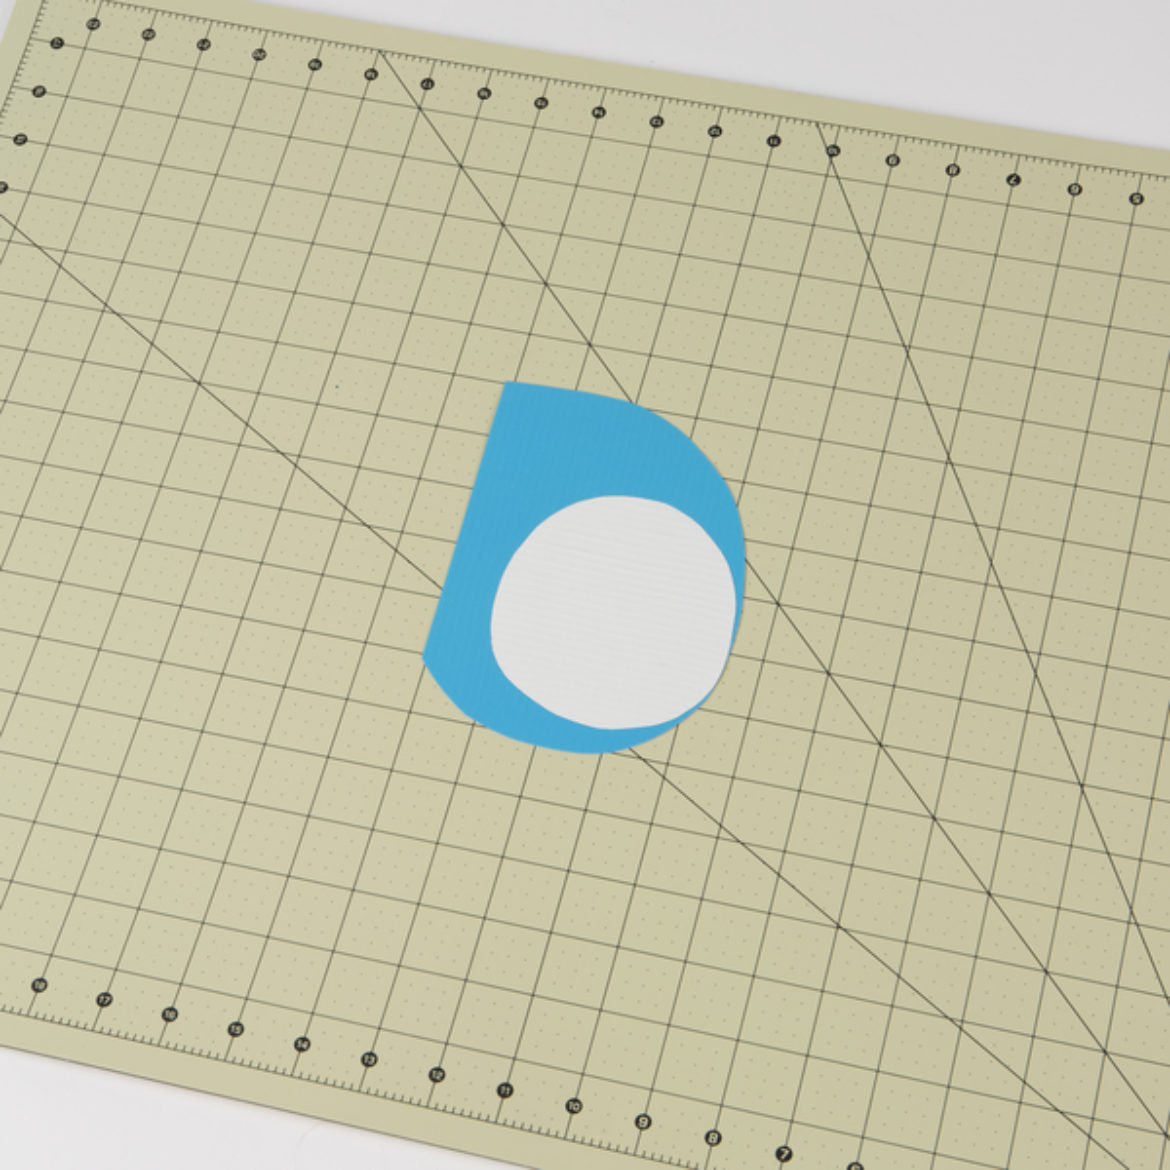
Step 14
Place your larger circle on top of the oval shape.
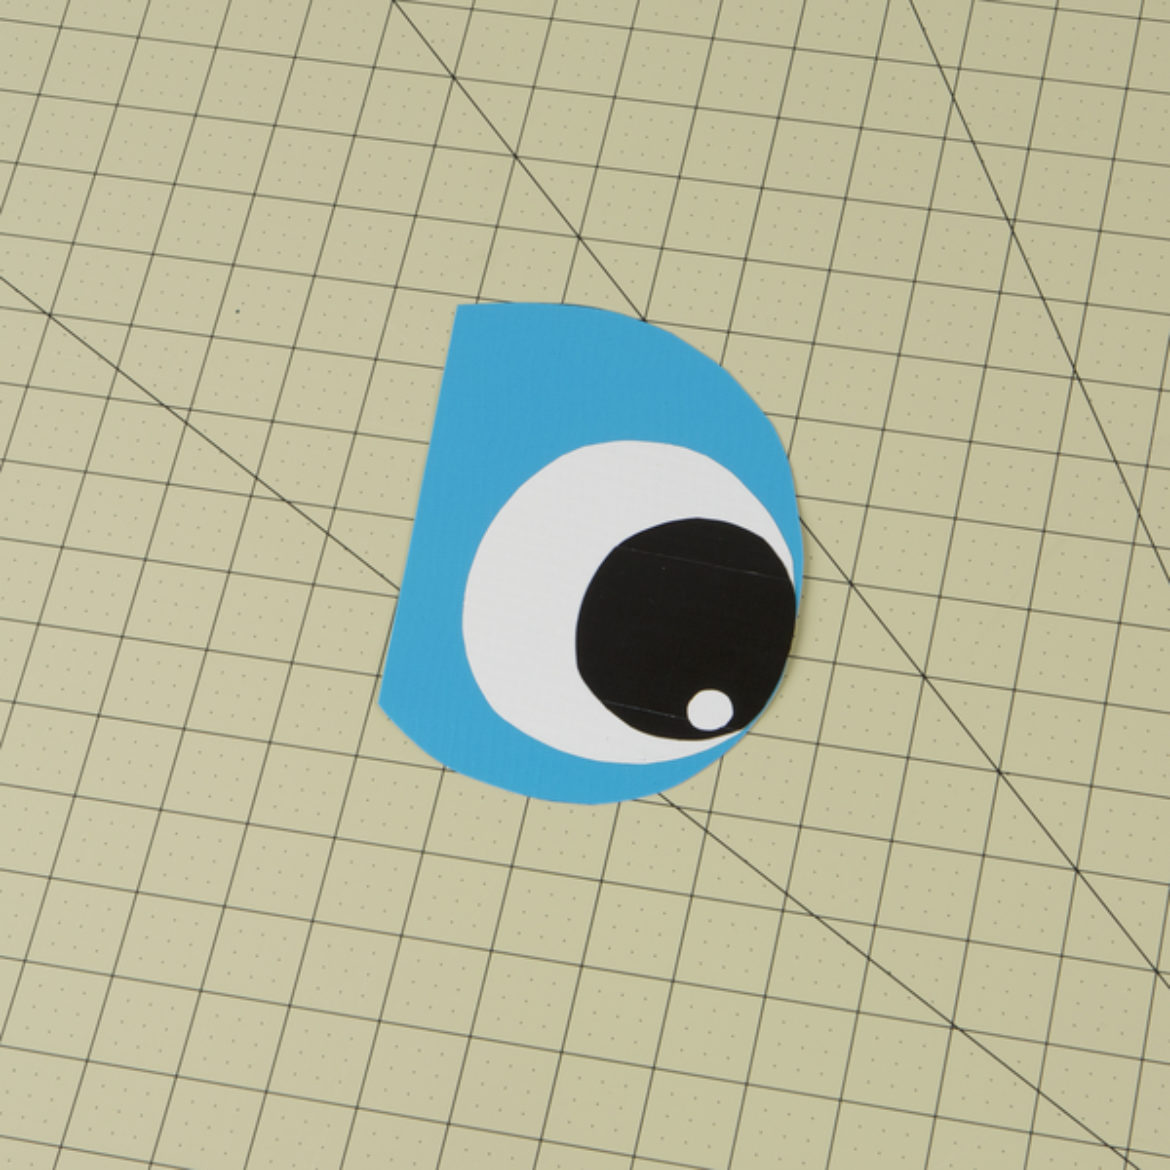
Step 15
Place the smallest circle on the top of your piece from step 14. You can add a tinier circle in the corner if desired.
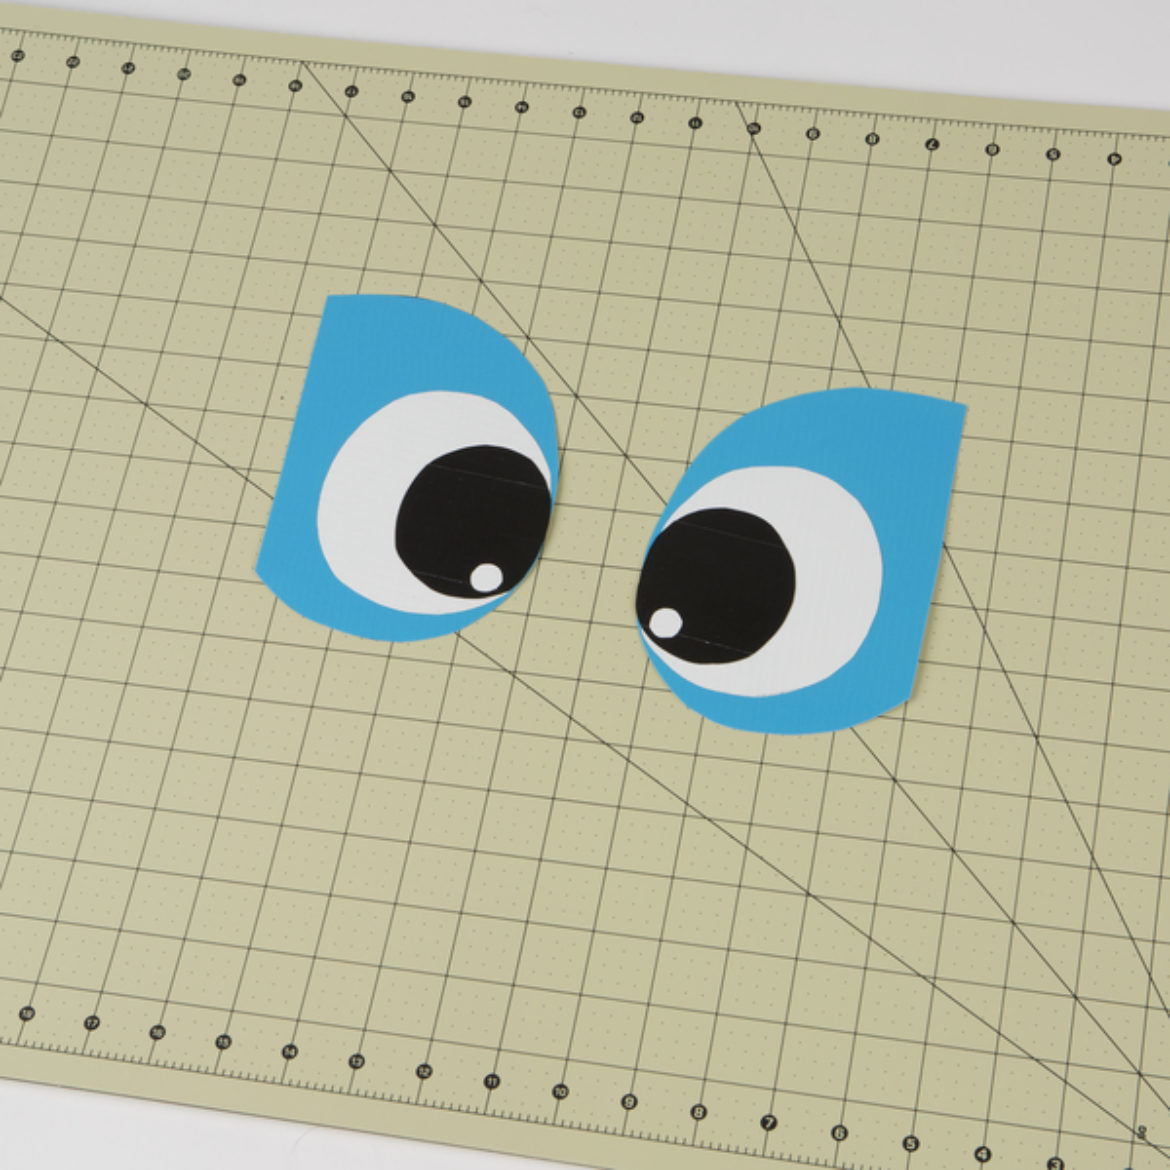
Step 16
Repeat steps 13-15 for the second eye.
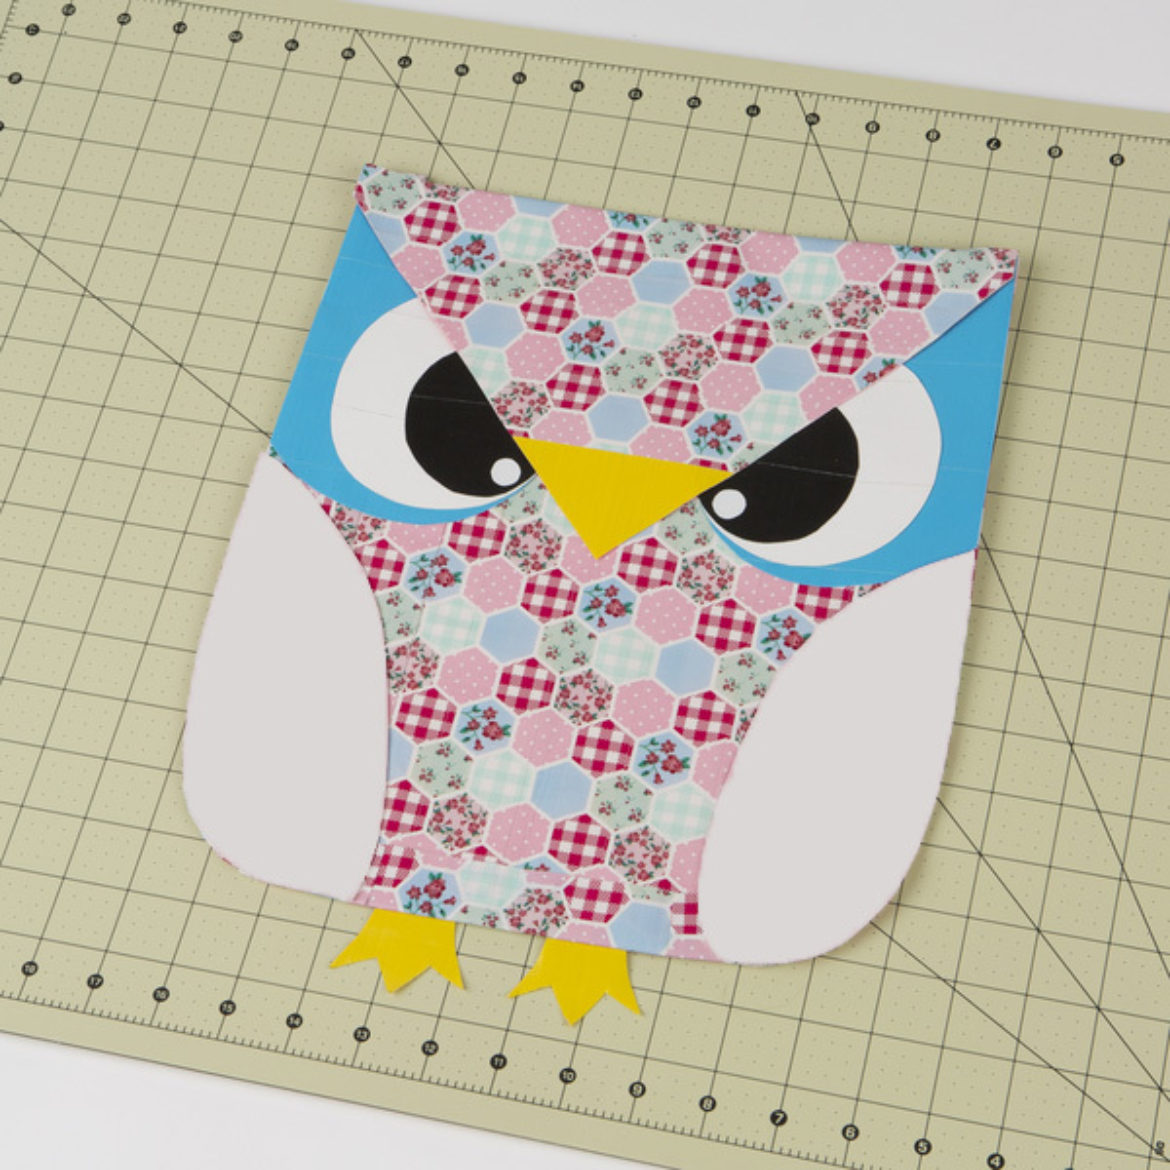
Step 17
Attach the eyes, wings and feet to the bag you created in step 4.
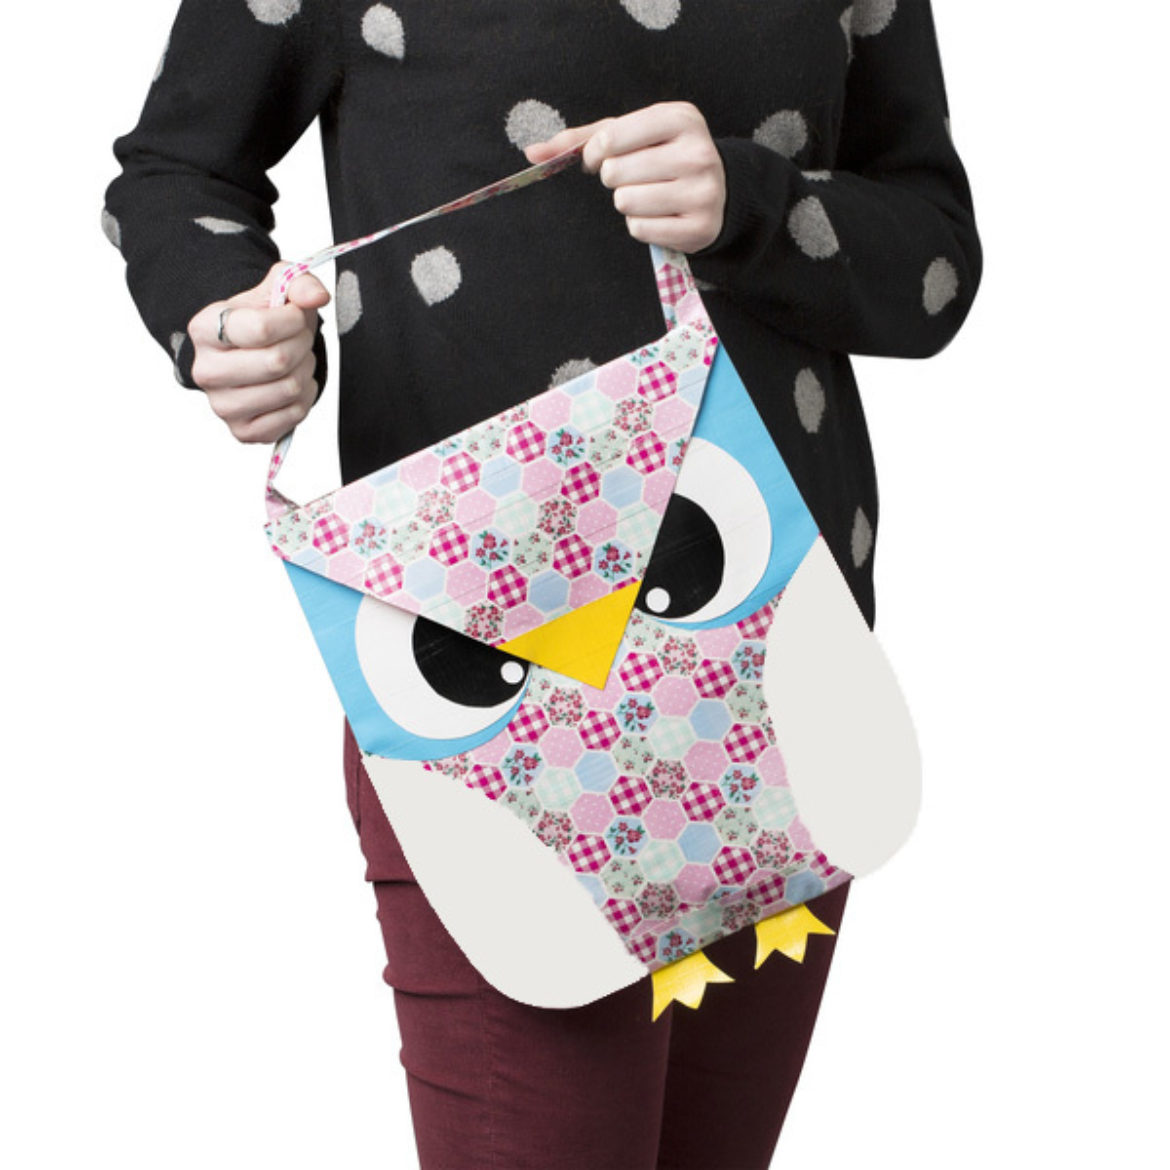
Step 18
Attach a strap to your bag using a double sided strip of Duck Tape® or create your own unique handle!
Related Projects
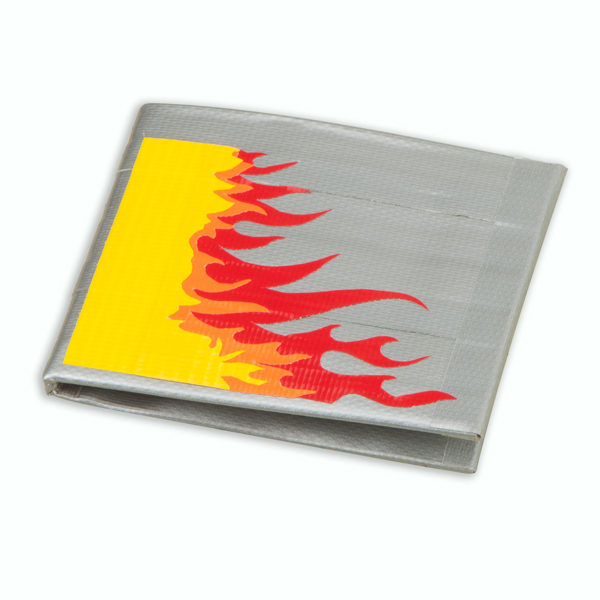
How-To: Duck Tape® Flame Wallet
Show off your individuality with a durable, water resistant wallet.

How-To: Duck Tape® Cat Ears
Make a simple costume out of Duck Tape® for the best night of the year – Halloween!
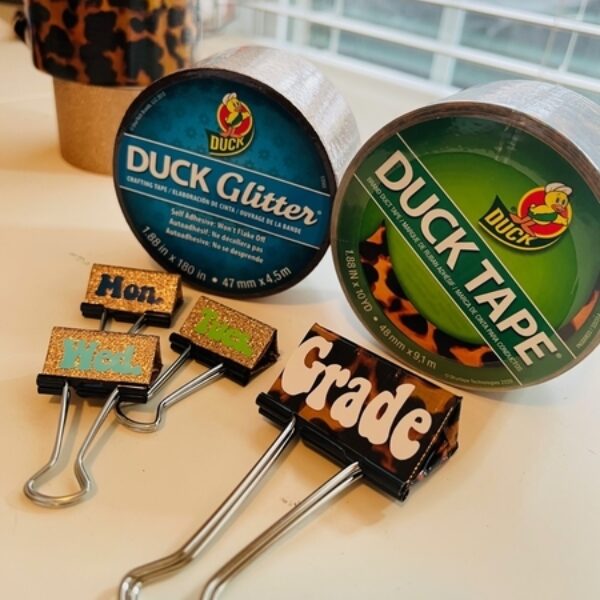
3 Easy Classroom Organization Hacks with Duck Tape®
In need of a few quick and easy hacks to help keep your classroom running smoothly? Check out a few of these helpful organization tips from Catherine C. (@classroomcreations_) that only require a few minutes and some Duck Tape®.
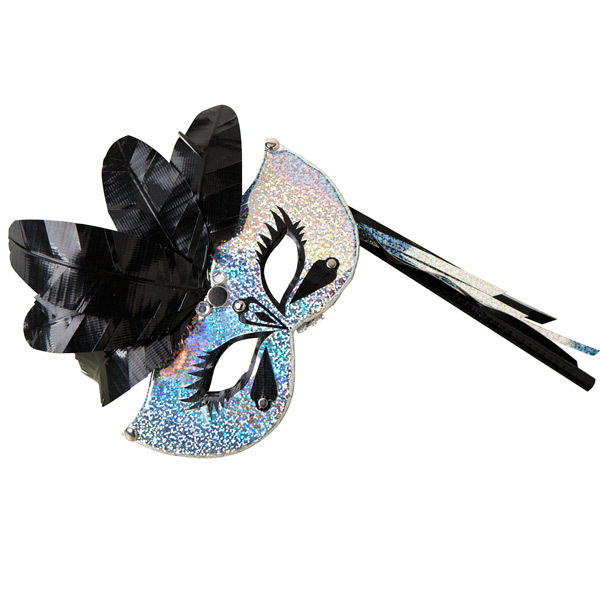
How-To: Duck Tape® Party Mask
Create the ultimate disguise for parties, holidays or special occasions.