How-To: Duck Tape® Book Cover
How-To: Duck Tape® Book Cover
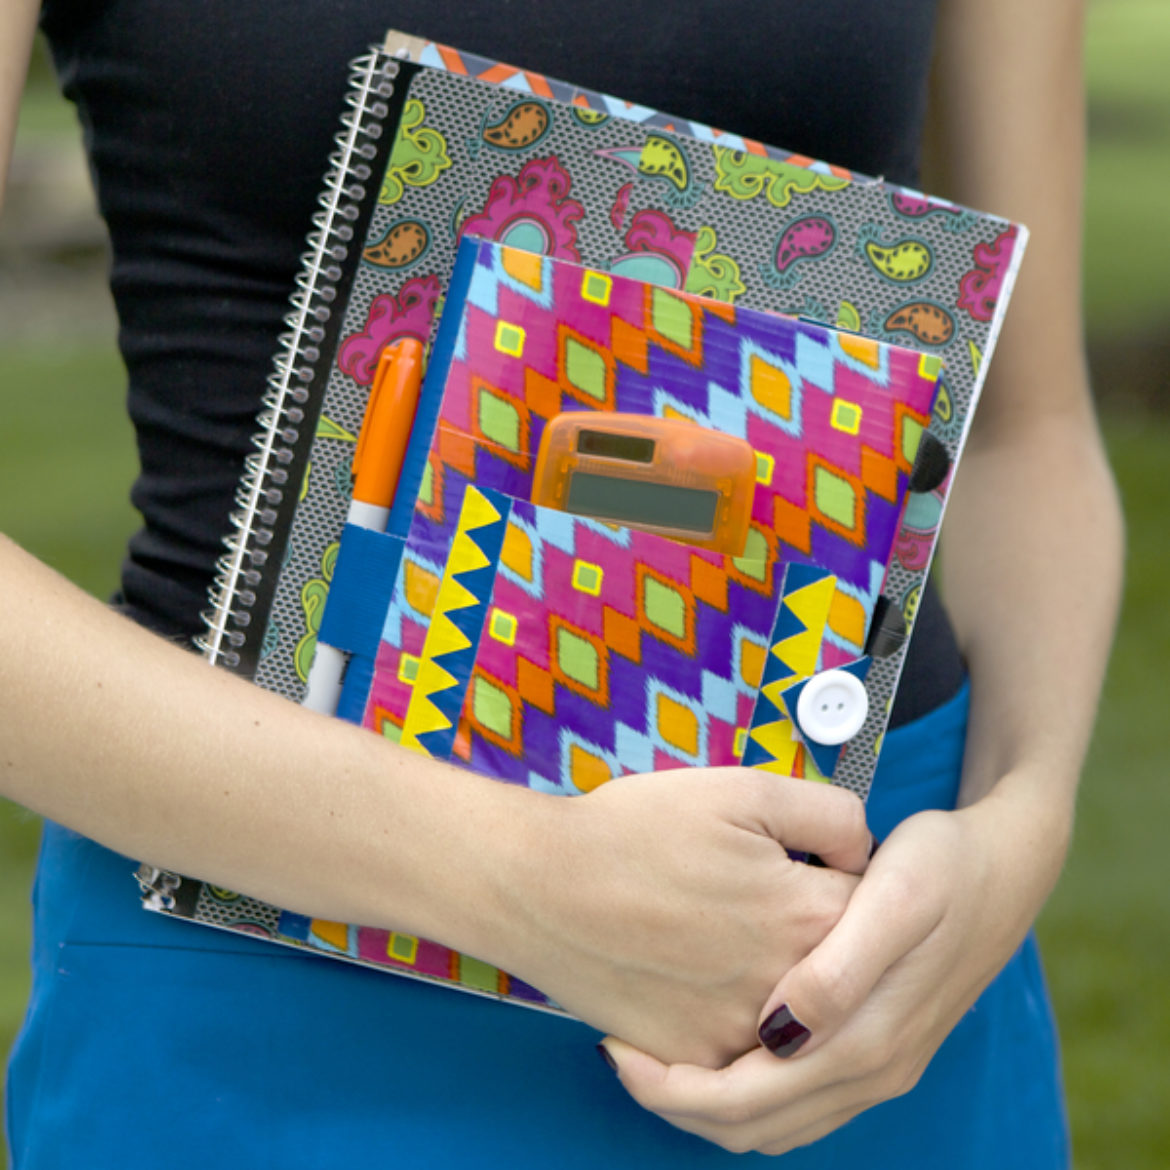
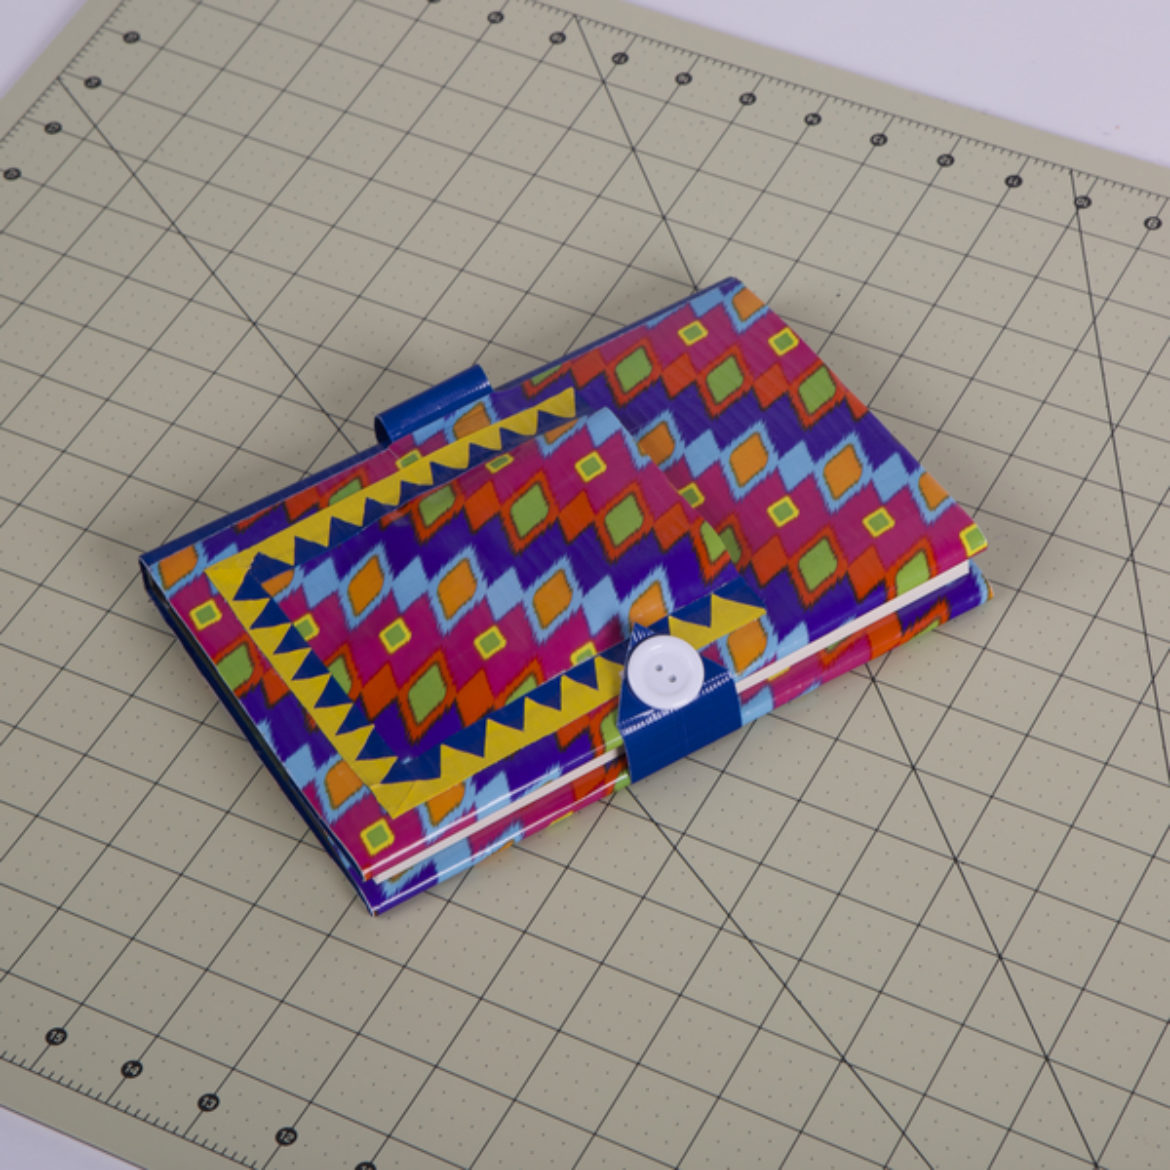
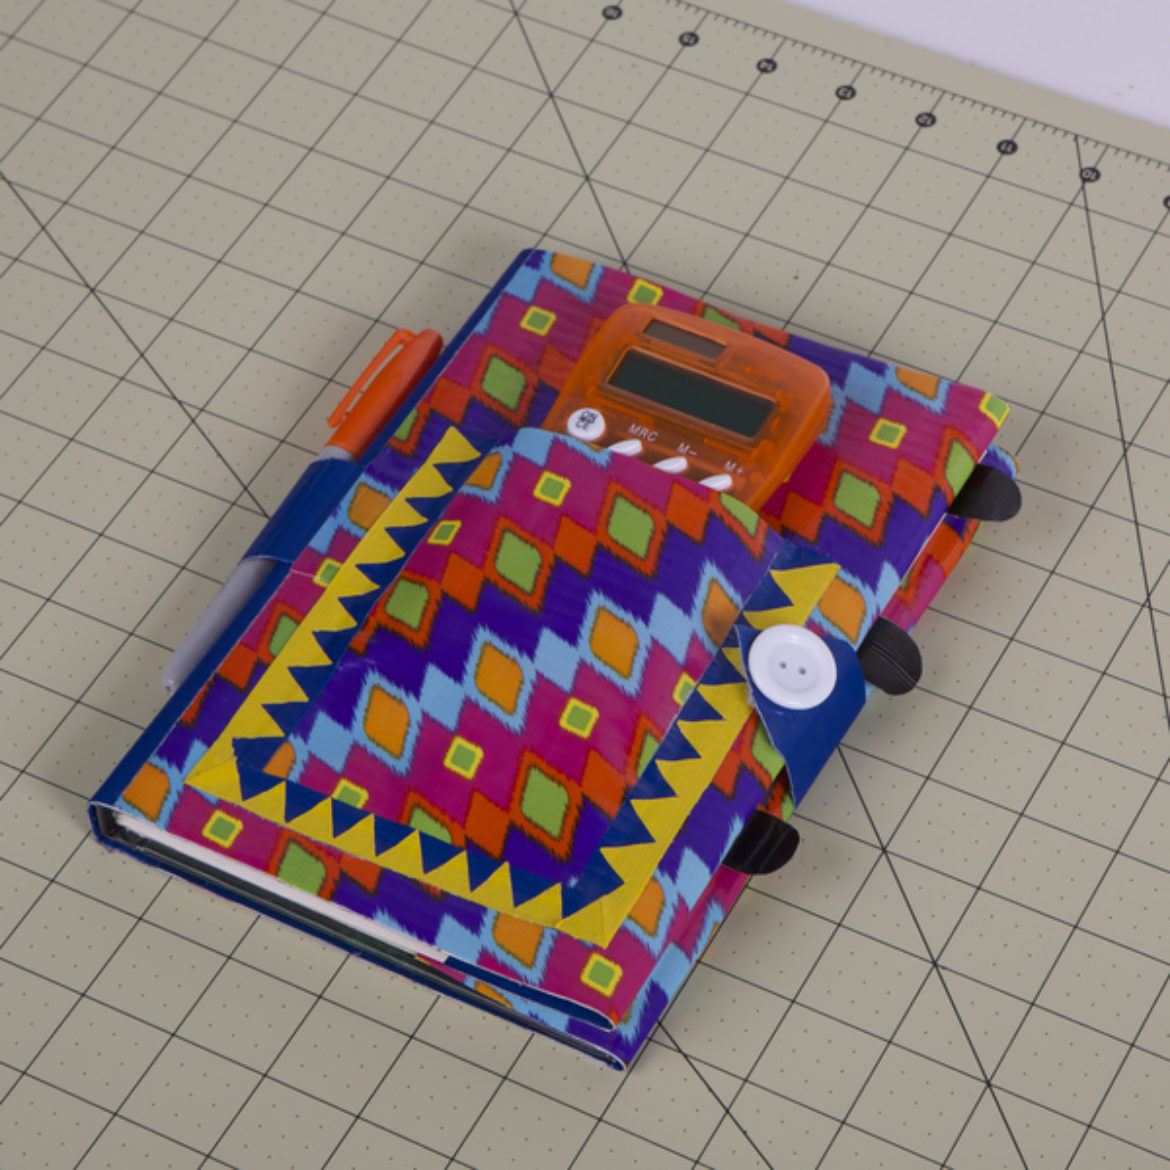
Add a funky twist to your back-to-school supplies with this Duck Tape® book cover.
Tutorial
Intermediate
60 Minutes
Supplies & Tools
- Printed Duck Tape®
- Color Duck Tape®
- Duck Tape® Sheets and/or Duck Tape® Fabric Tutorial
- Hook & Loop Fasteners
- Scissors
- Notebook or Book
- Pen
- Crafting Board
Scroll down for step-by-step directions.
Disclaimer - If the listed tape type is not available, there's no need to worry. All of our crafts can be adjusted to use whatever tape you have on hand!
Directions
Step 1
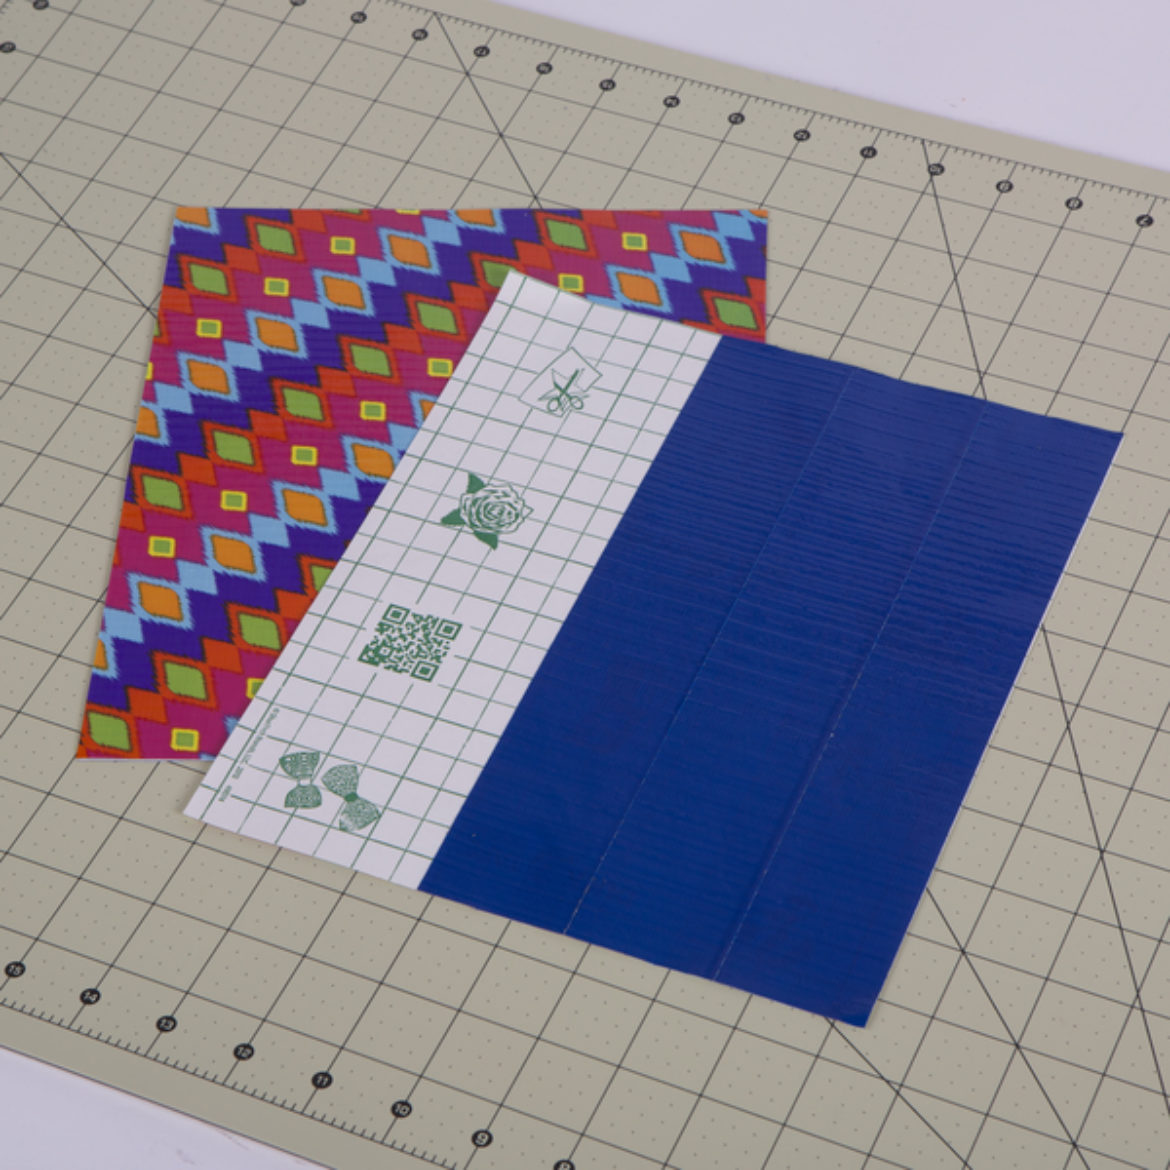
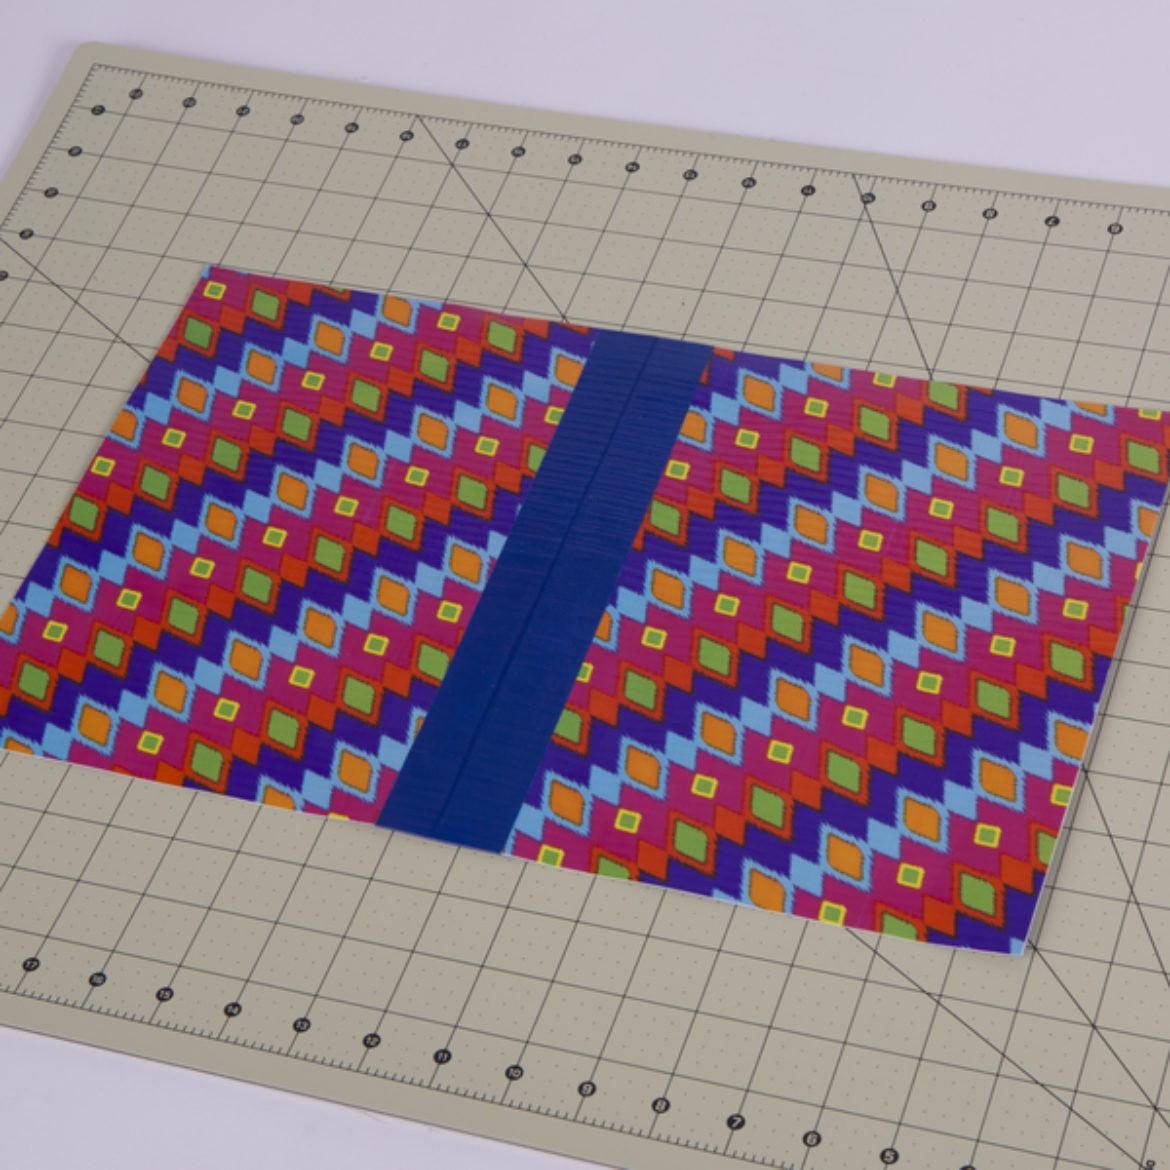
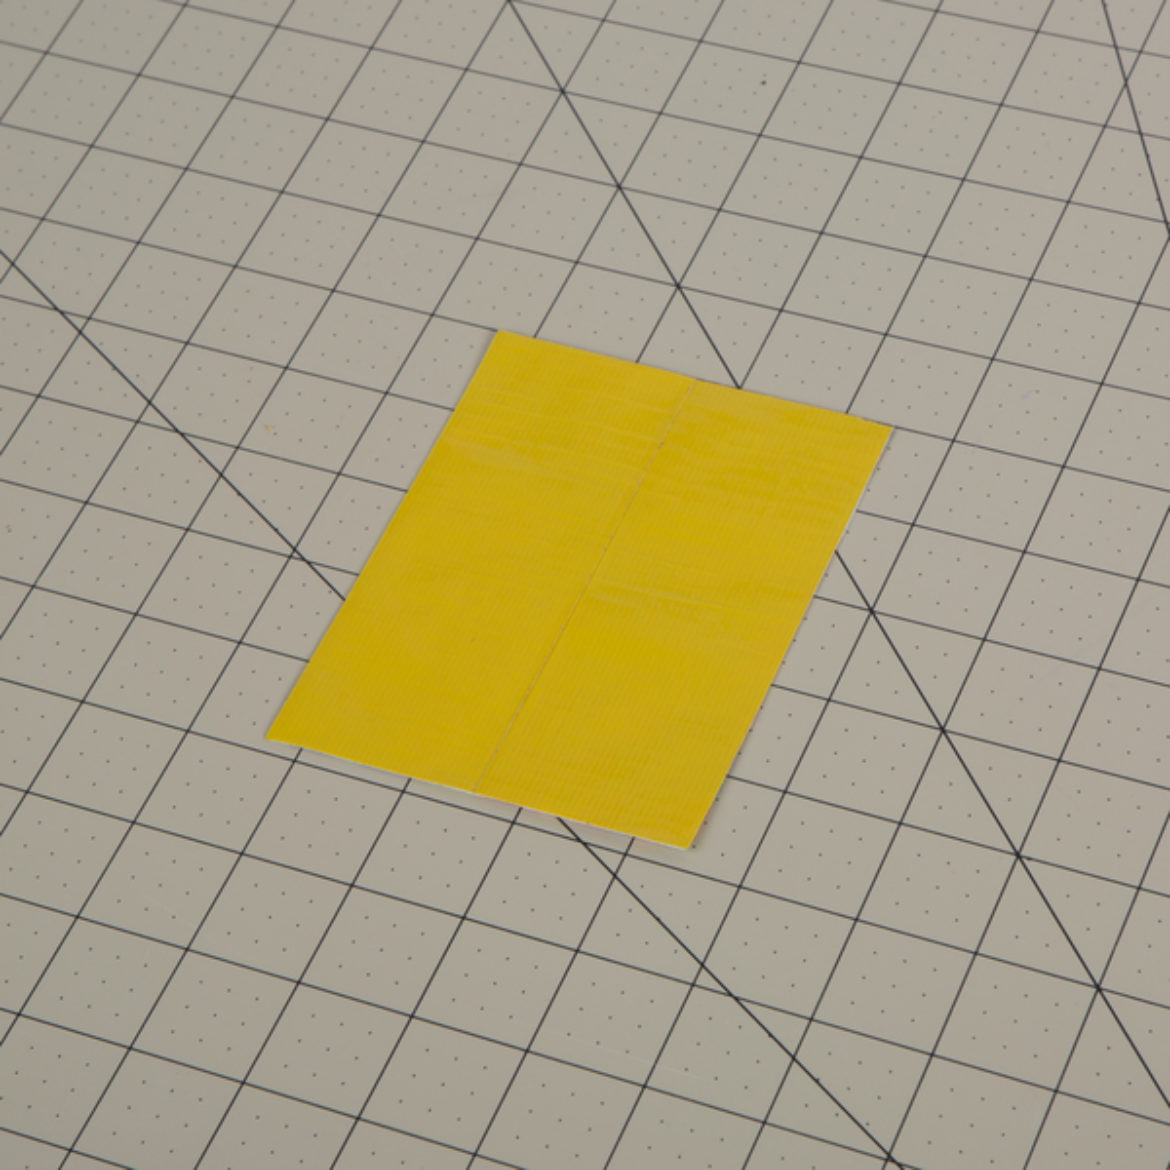
Make two Duck Tape® fabrics using your Duck Tape® Sheets and/or Duck Tape®.
Step 2
Attach both of your fabrics together by a strip of Duck Tape® on the front and back.
Step 3
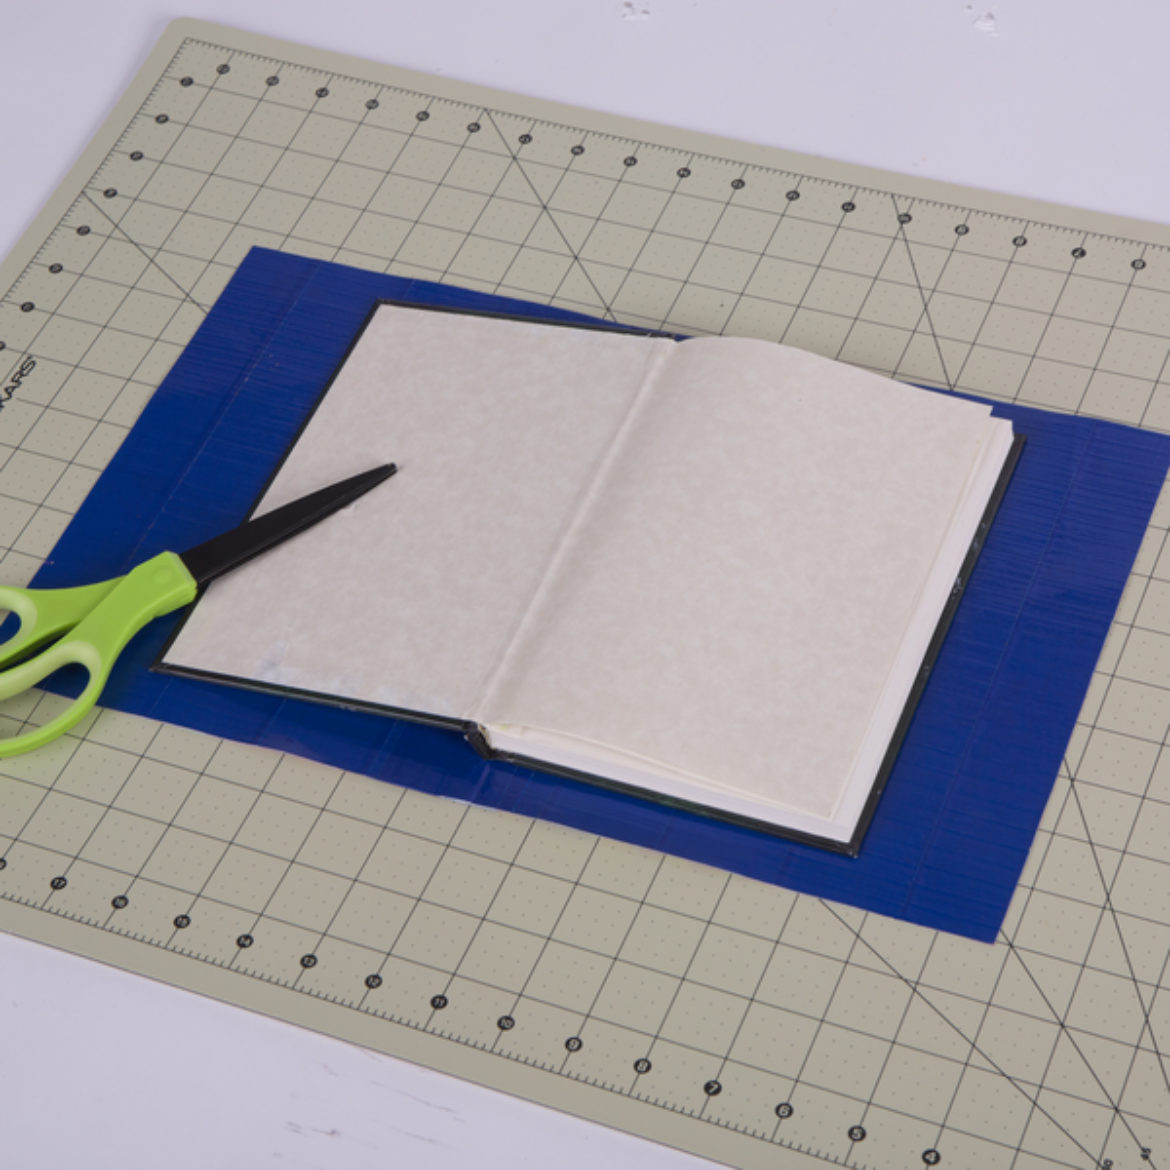
Place your book or notebook on top of your fabric from step 1. Trace and cut it to the size you want.
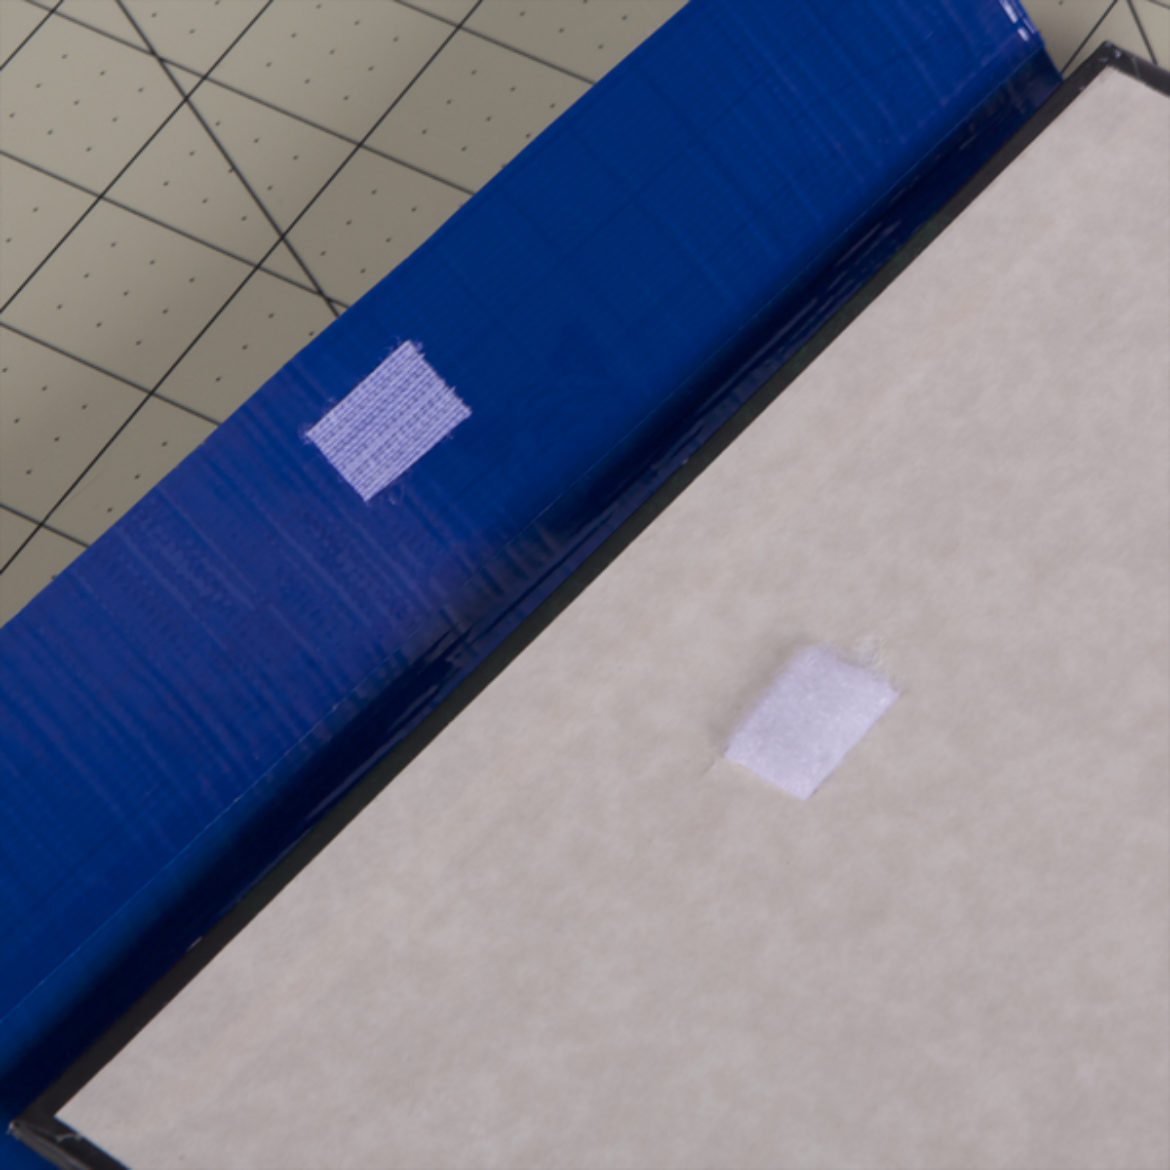
Step 4
Attach your fabric to your notebook or book by adding a hook and loop fastener to the left and right sides of each. Make sure, when attaching to the left side, to fold your book first to make sure it's at the appropriate placement when you close the book.
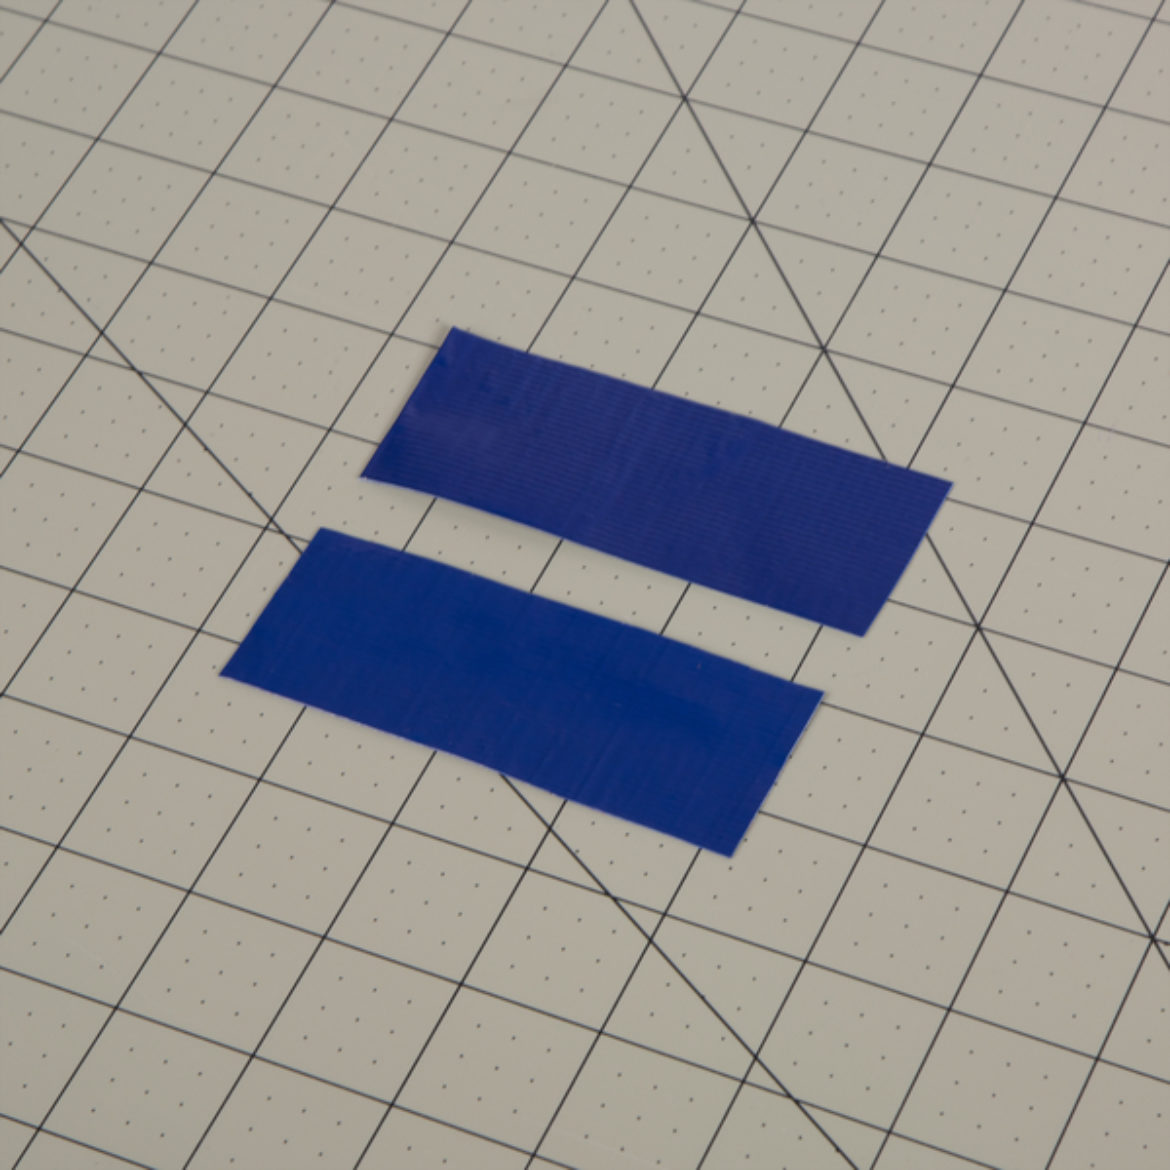
Step 5
Make two double sided strips of Duck Tape® that are 1.5 in. wide and 4 in. wide.
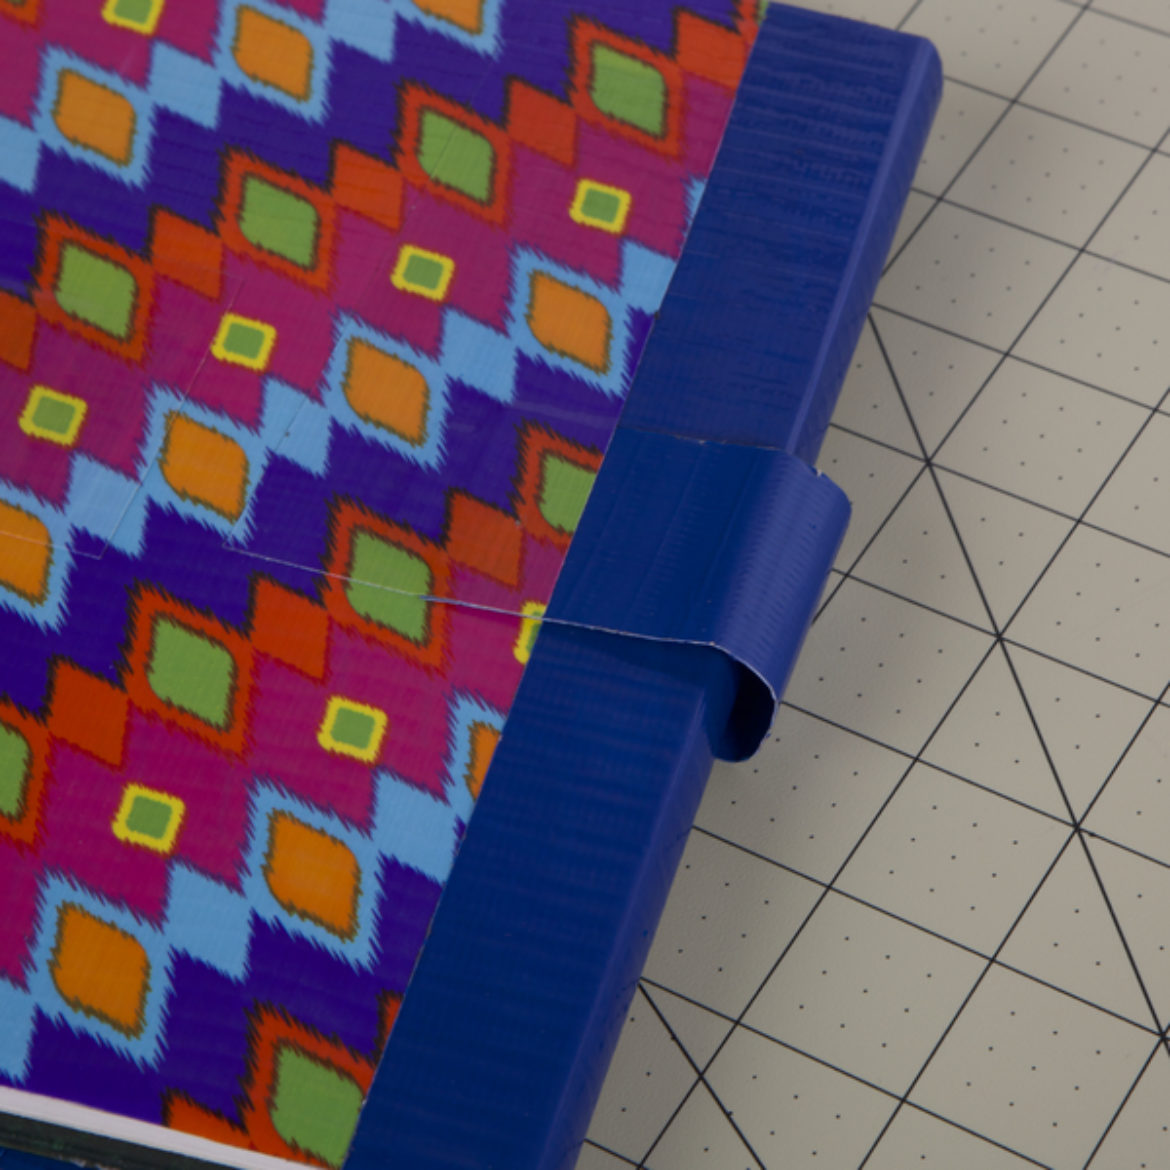
Step 6
Form one of your strips into a loop and attach it with a piece of tape to the spine of the notebook. This will be your pen or pencil holder.
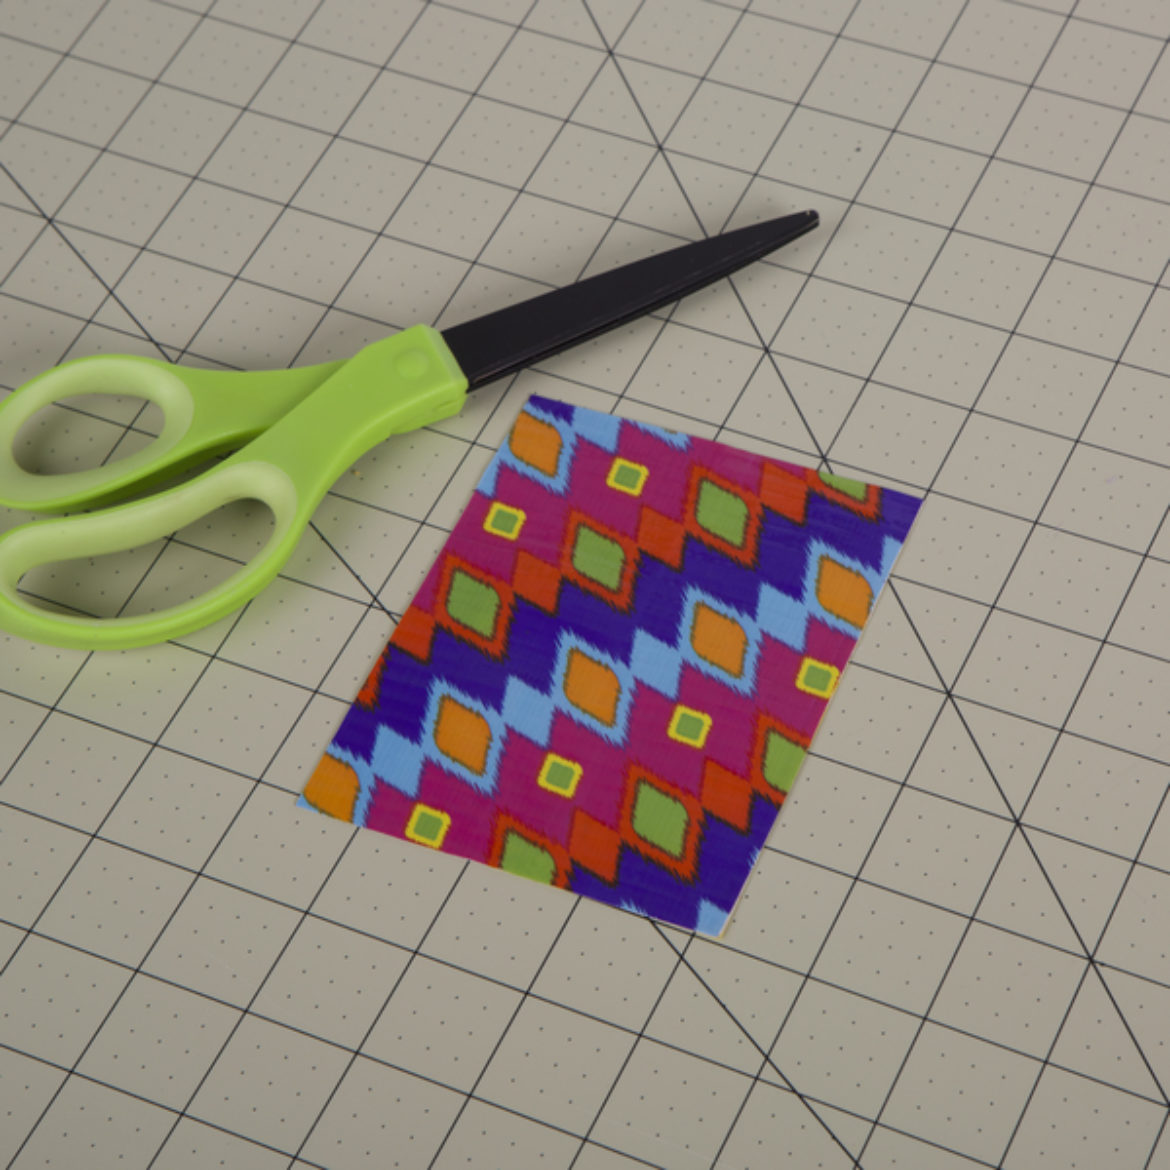
Step 7
For the front pocket, cut out a square from your Duck Tape® sheets and/or Duck Tape® fabric.
Step 8
Using Duck Tape® or Duck Tape® Sheets, cover the back side of of your square from step 7.

Step 9
Attach your square to the front of your book cover. Add funky designs or patterns if you want, too.
Step 10
Take the other strip from step 5 and form it into a loop. Attach it to the back of your book cover and attach it to the front of your book cover with a hook and loop fastener. Embellish if desired.
Step 11
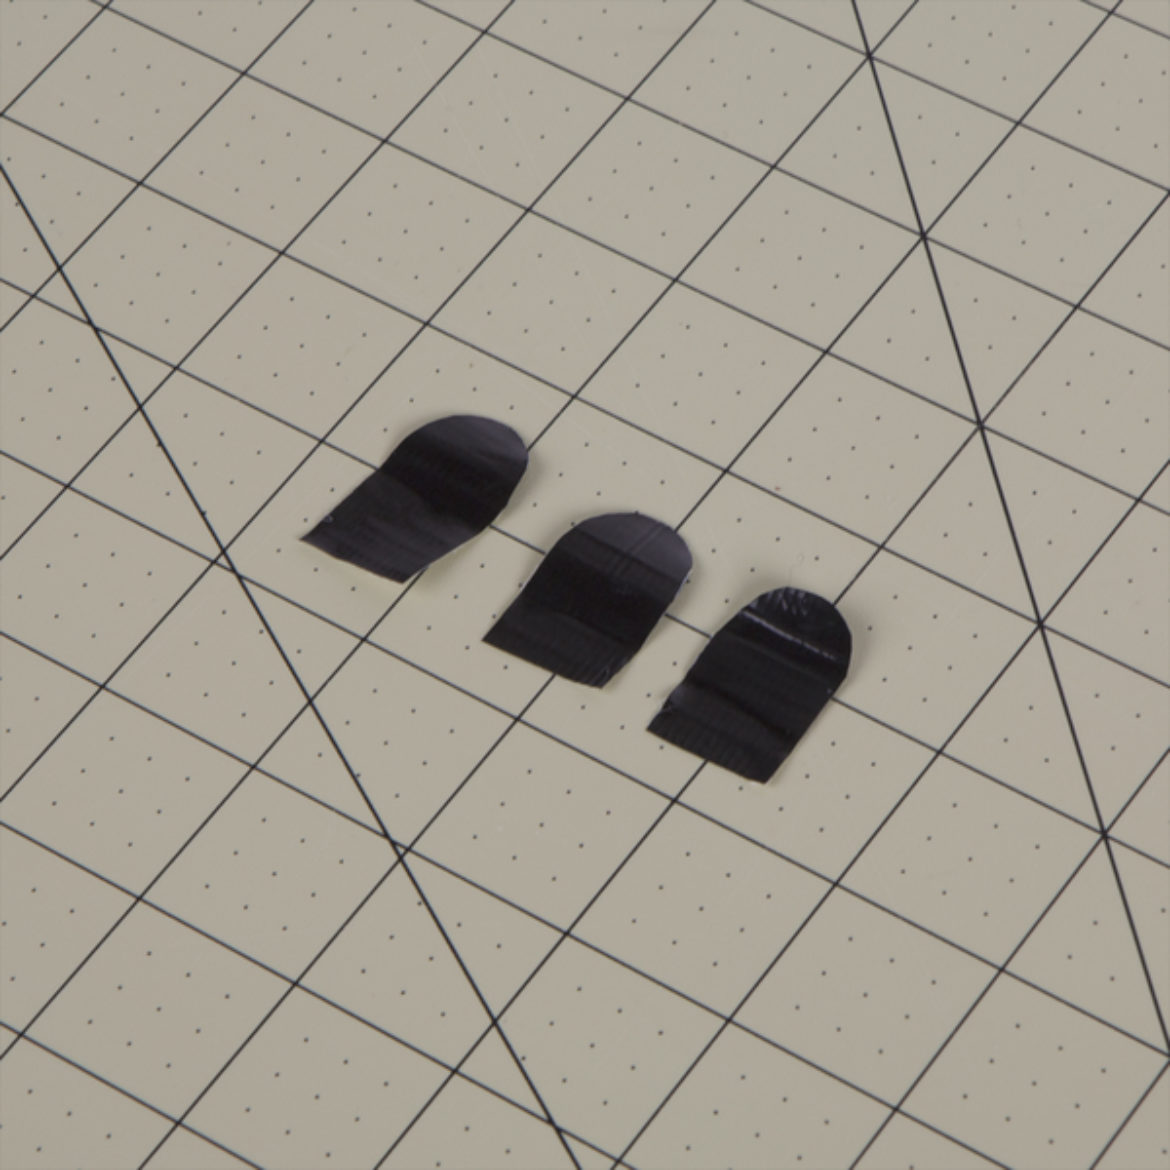
To add tabs to your notebook or book, make double sided strips of Duck Tape®, leaving a little sticky side showing on the bottom. Form your strips into the shape you want.
Step 12
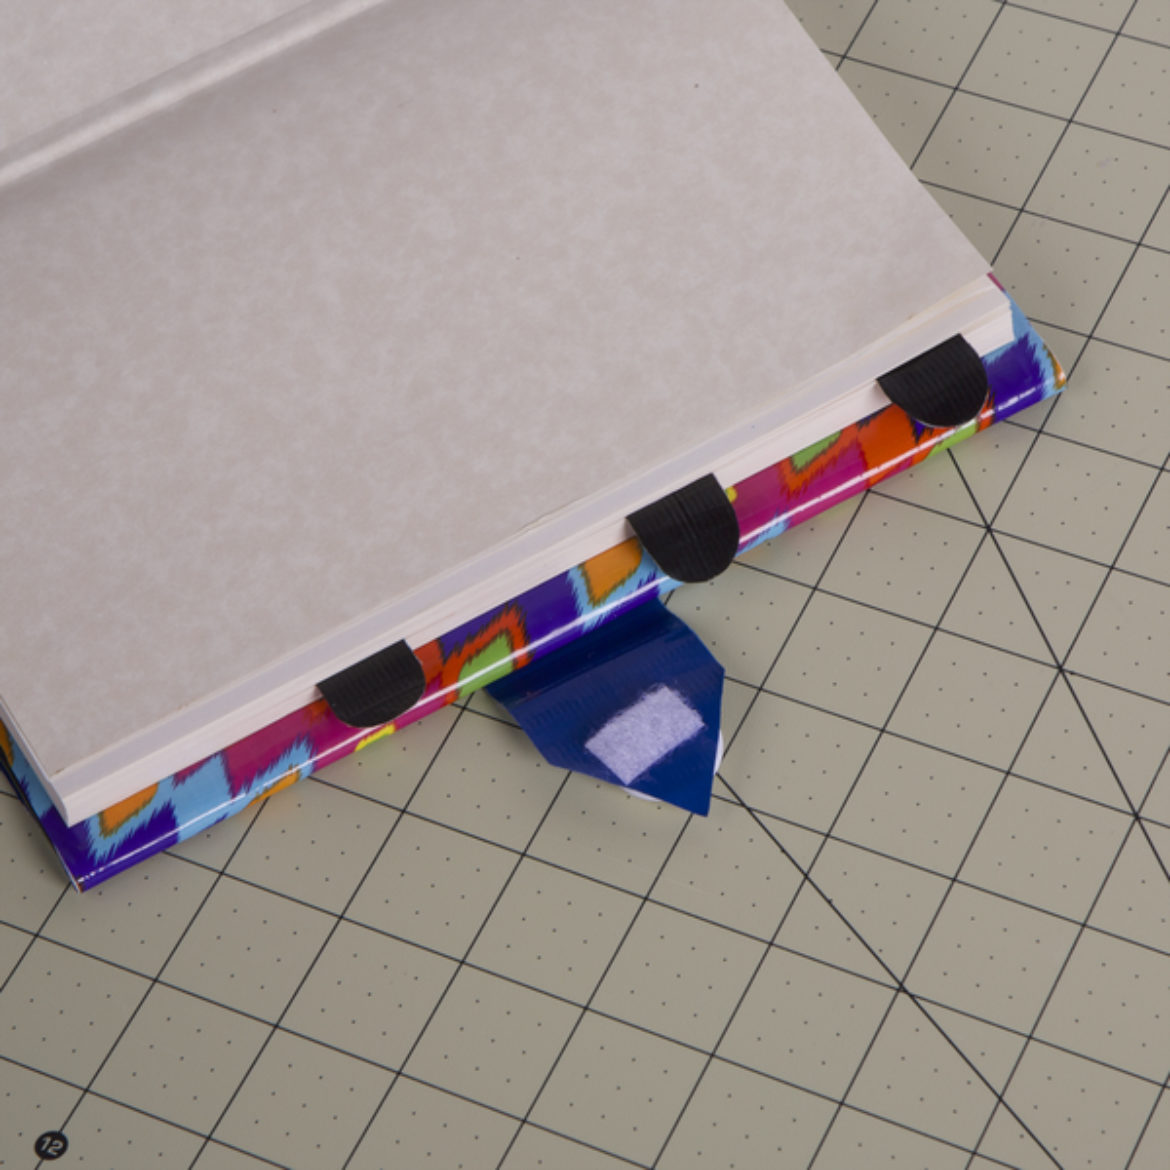
Add your tabs to your notebook or book.
Step 13
Use your pockets and side loop to hold your school supplies, phone or anything you need for the day!