How-To: Duck Tape® Trick or Treat Container
How-To: Duck Tape® Trick or Treat Container
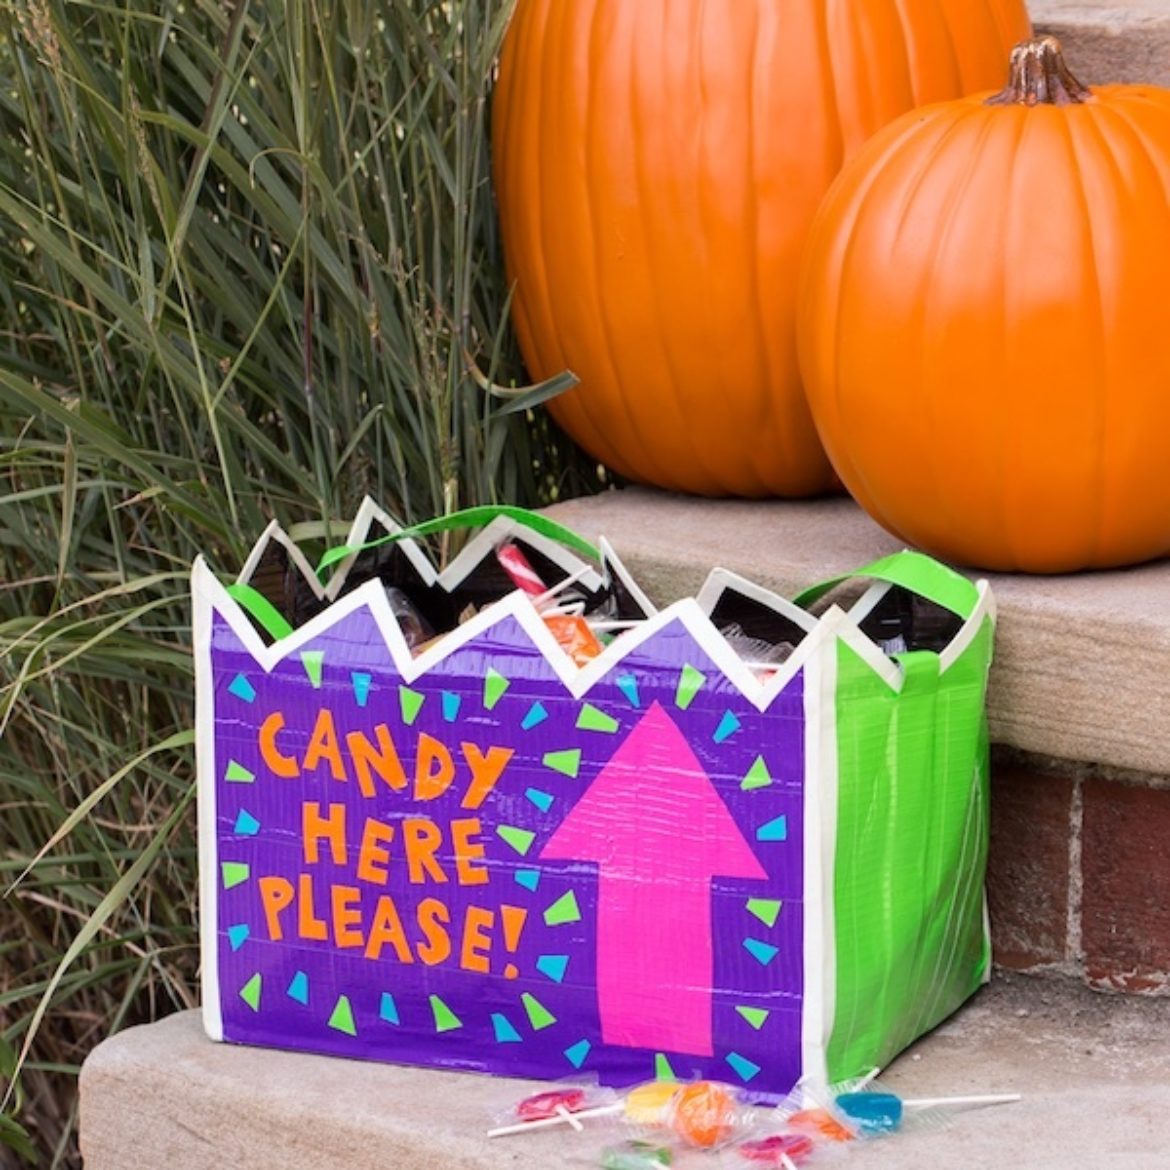
Personalize your kid's Halloween trick or treat bags with their favorite tape.
Tutorial
Beginner
15 Minutes
Supplies & Tools
- Purple Duck Tape®
- White Duck Tape®
- Orange Duck Tape®
- Neon Green Duck Tape®
- Paper bag
- Ruler
- Scissors
- Craft Knife
- Pen
- Letter and design template
Scroll down for step-by-step directions.
Disclaimer - If the listed tape type is not available, there's no need to worry. All of our crafts can be adjusted to use whatever tape you have on hand!
Directions
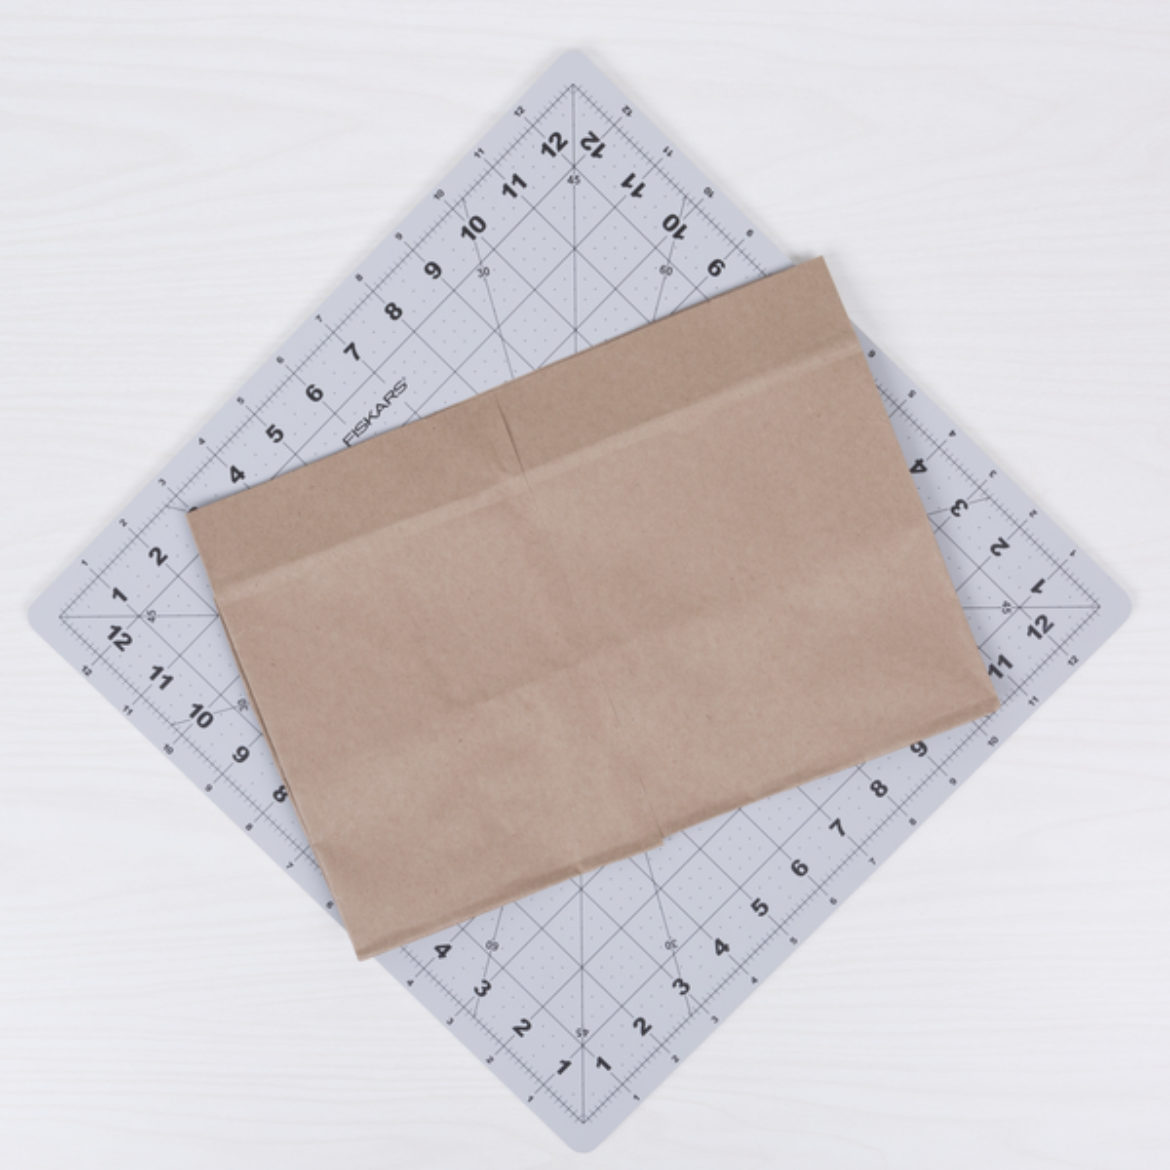
Step 1
Cut down your paper bag.
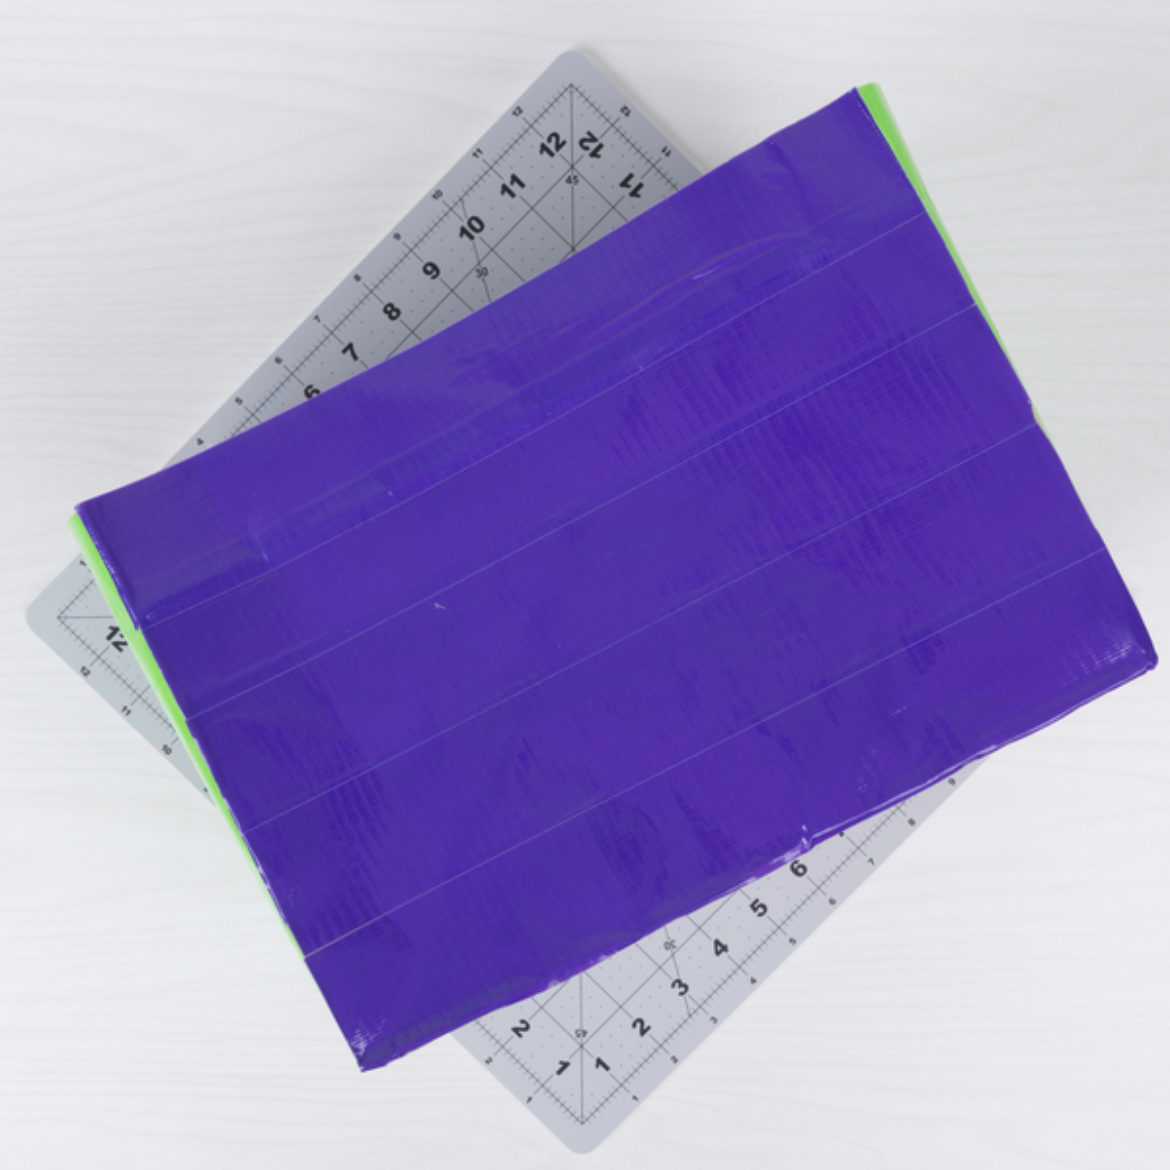
Step 2
Cover the inside and outside of your bag with Duck Tape.
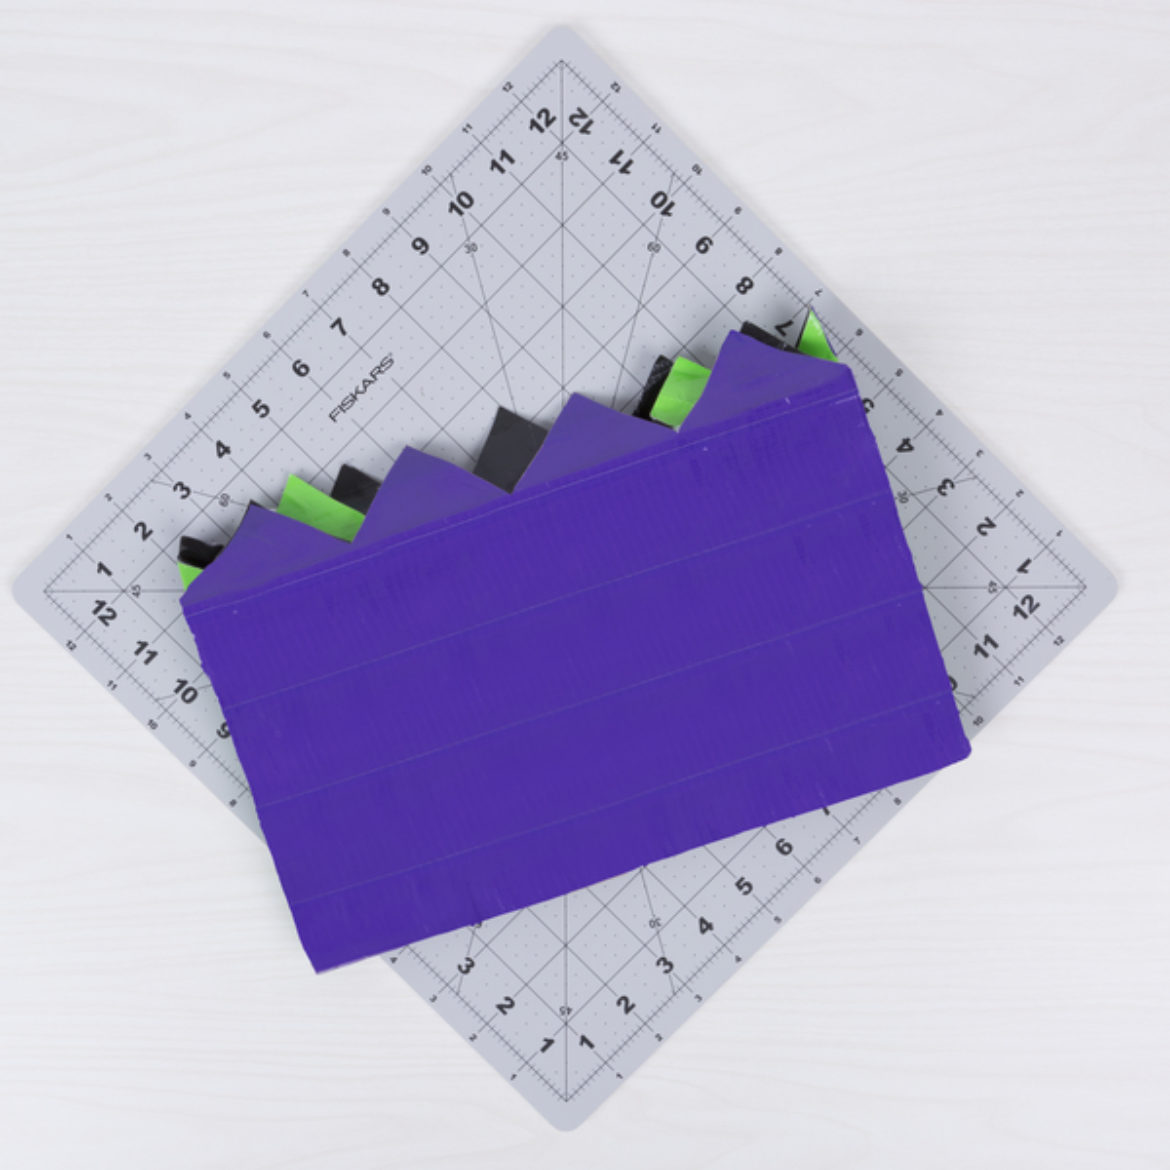
Step 3
Using the scissors, cut a jagged edge on the top of each side of the bag.
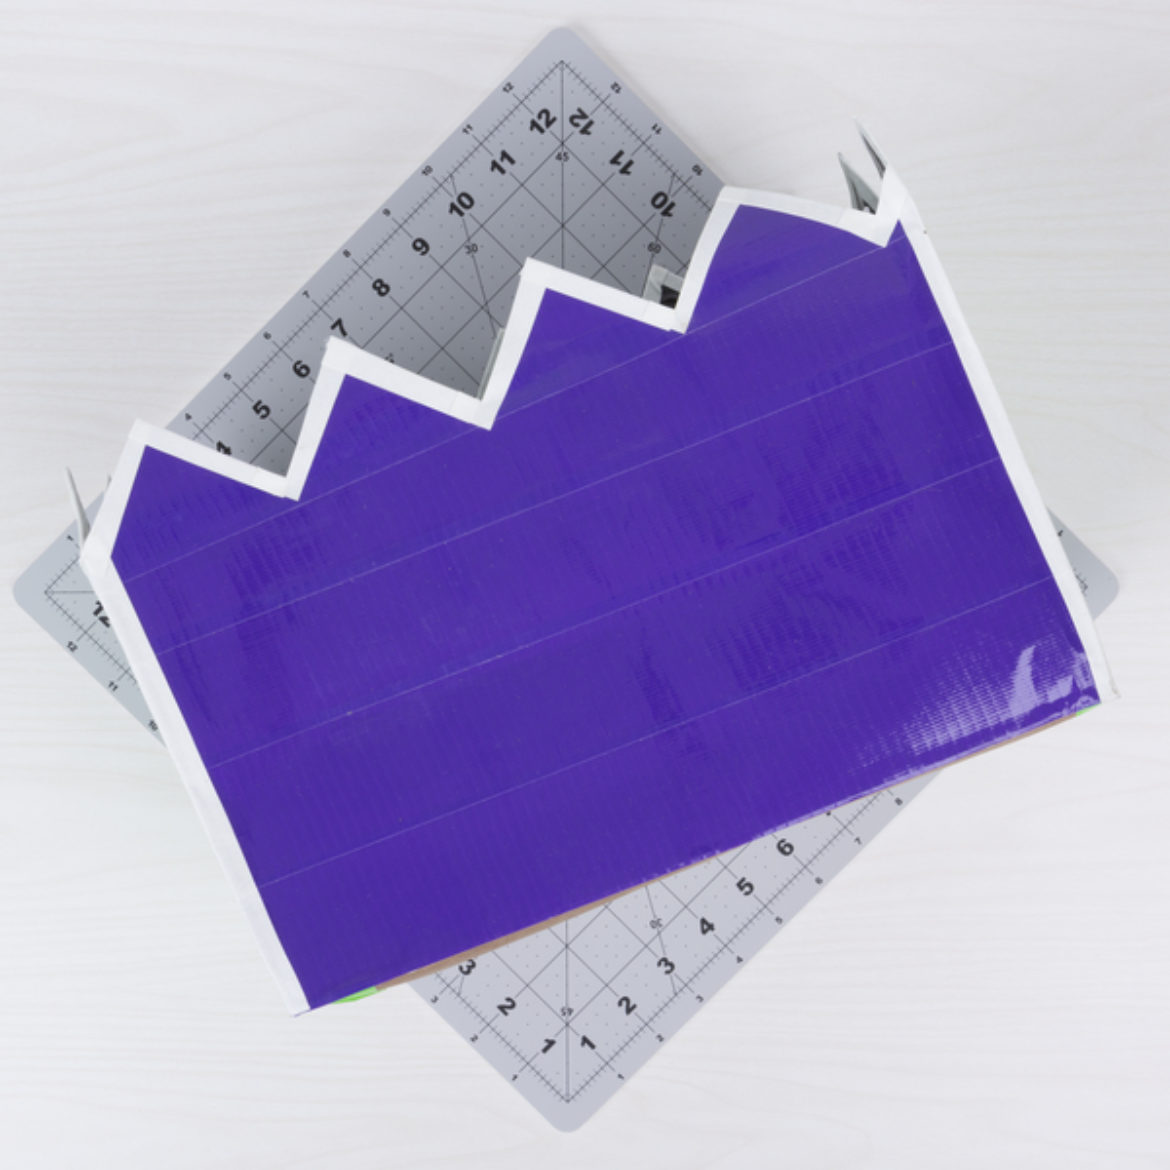
Step 4
Add an outline to the outside edge of your trick or treat container.
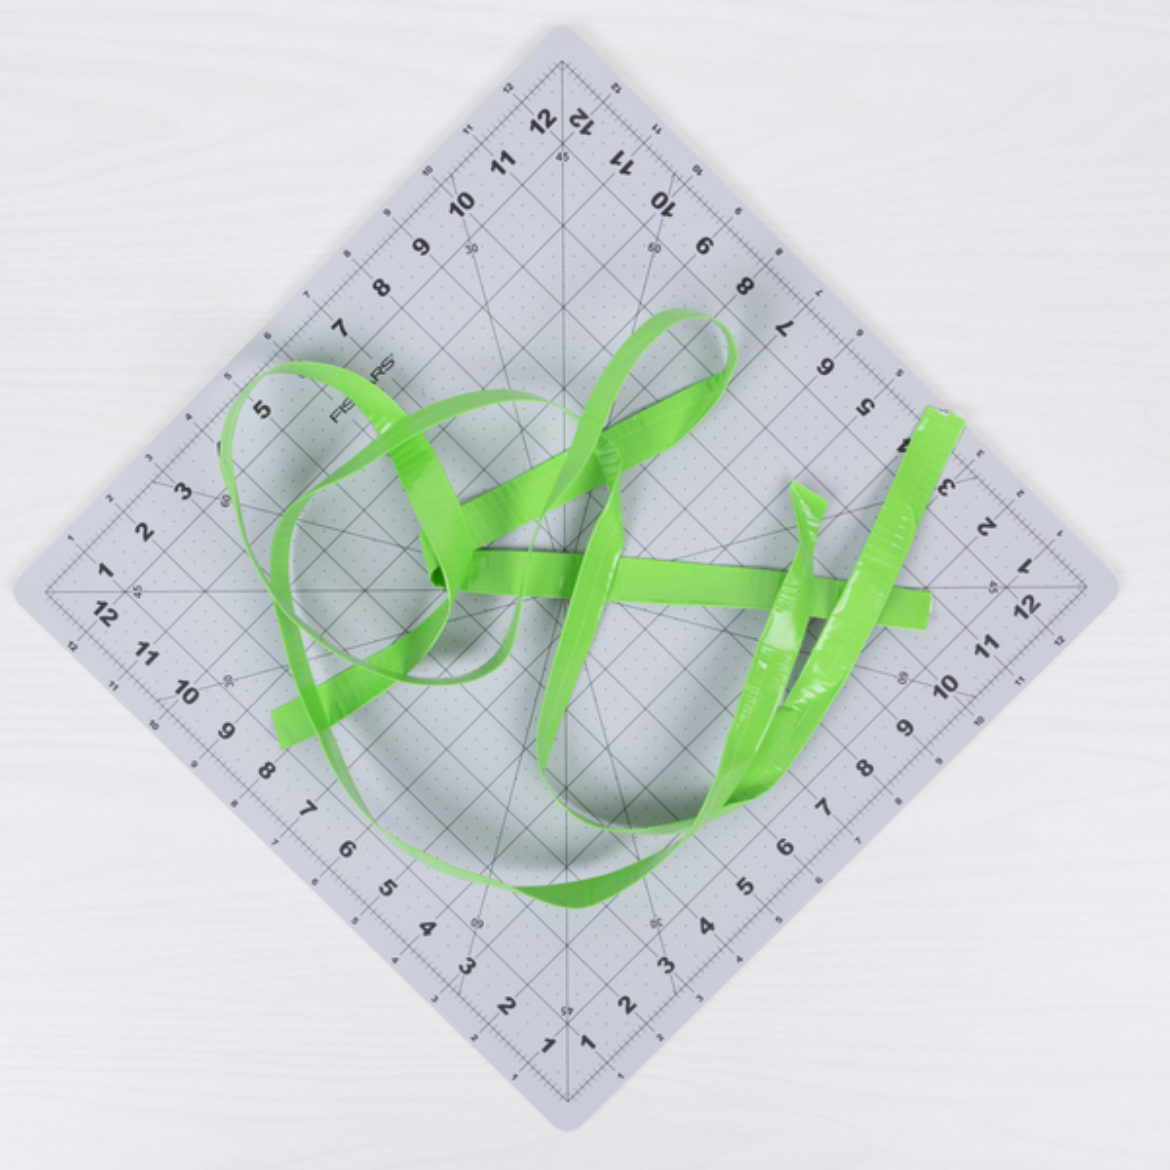
Step 5
Make a double sided strip of tape that is 14 in. long. This will be your handle.

Step 6
Wrap your handle all the way around the bag and attach it to the sides with a strip of tape.
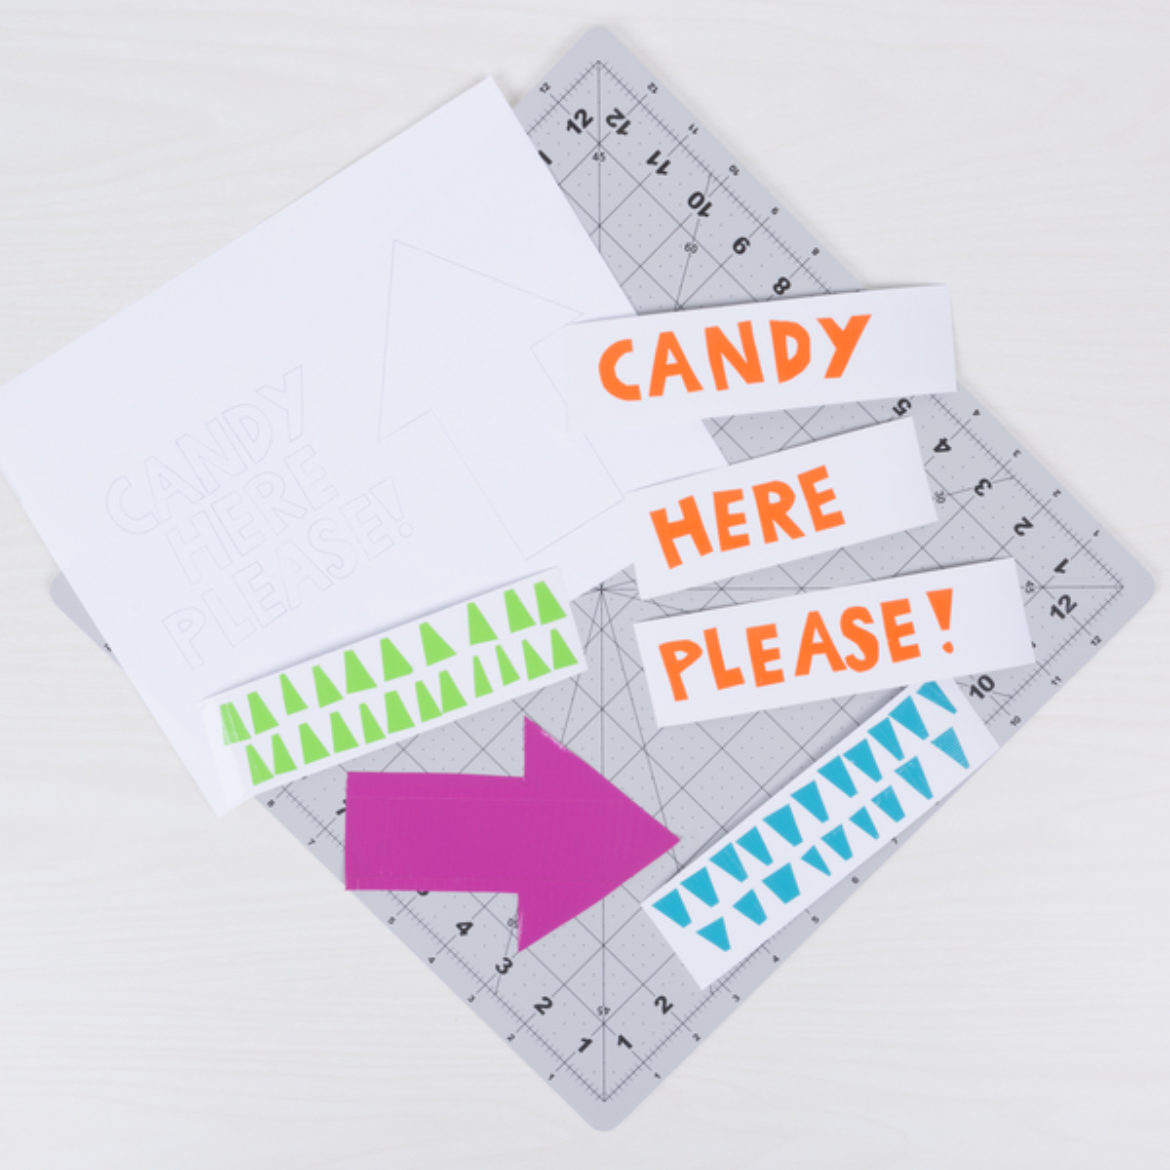
Step 7
Using your templates, cut out the words and designs you want in your favorite color or print.

Step 8
Attach the letters and designs to your trick or treat container.