How-To: DIY Classroom Door with Duck Tape®
How-To: DIY Classroom Door with Duck Tape®
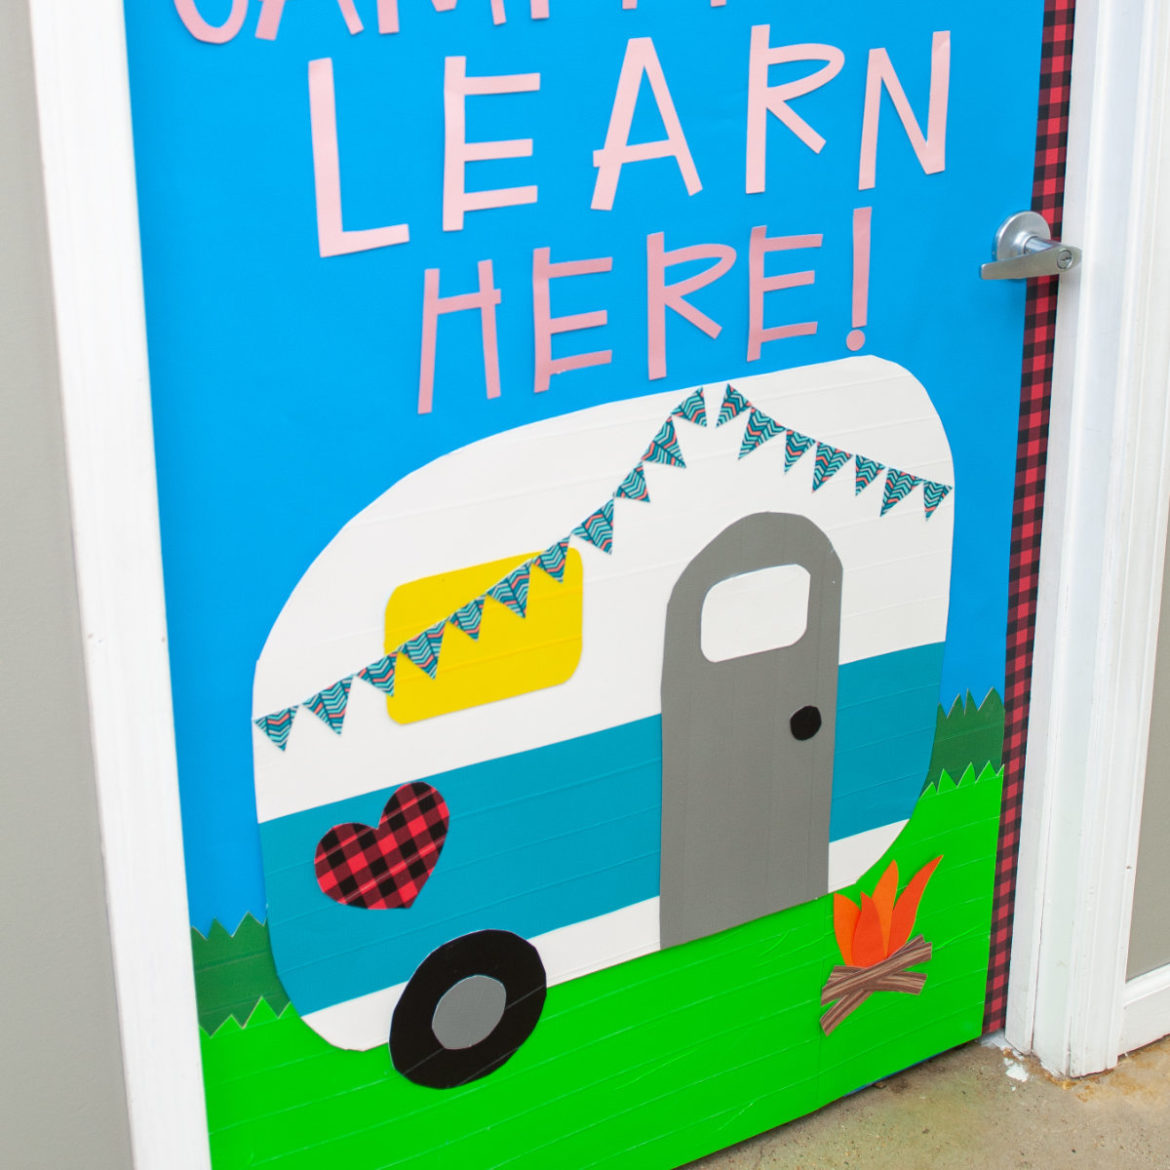
Head back to the classroom in style with this camper-inspired Duck Tape® classroom door from Crafts by Courtney.
Tutorial
Beginner
60 Minutes
Supplies & Tools
- Color Duck Tape®
- Printed Duck Tape®
- 2 sheets of poster board
- Scissors
- Roll of colored paper
- Orange construction paper
Scroll down for step-by-step directions.
Disclaimer - If the listed tape type is not available, there's no need to worry. All of our crafts can be adjusted to use whatever tape you have on hand!
Directions
Step 1
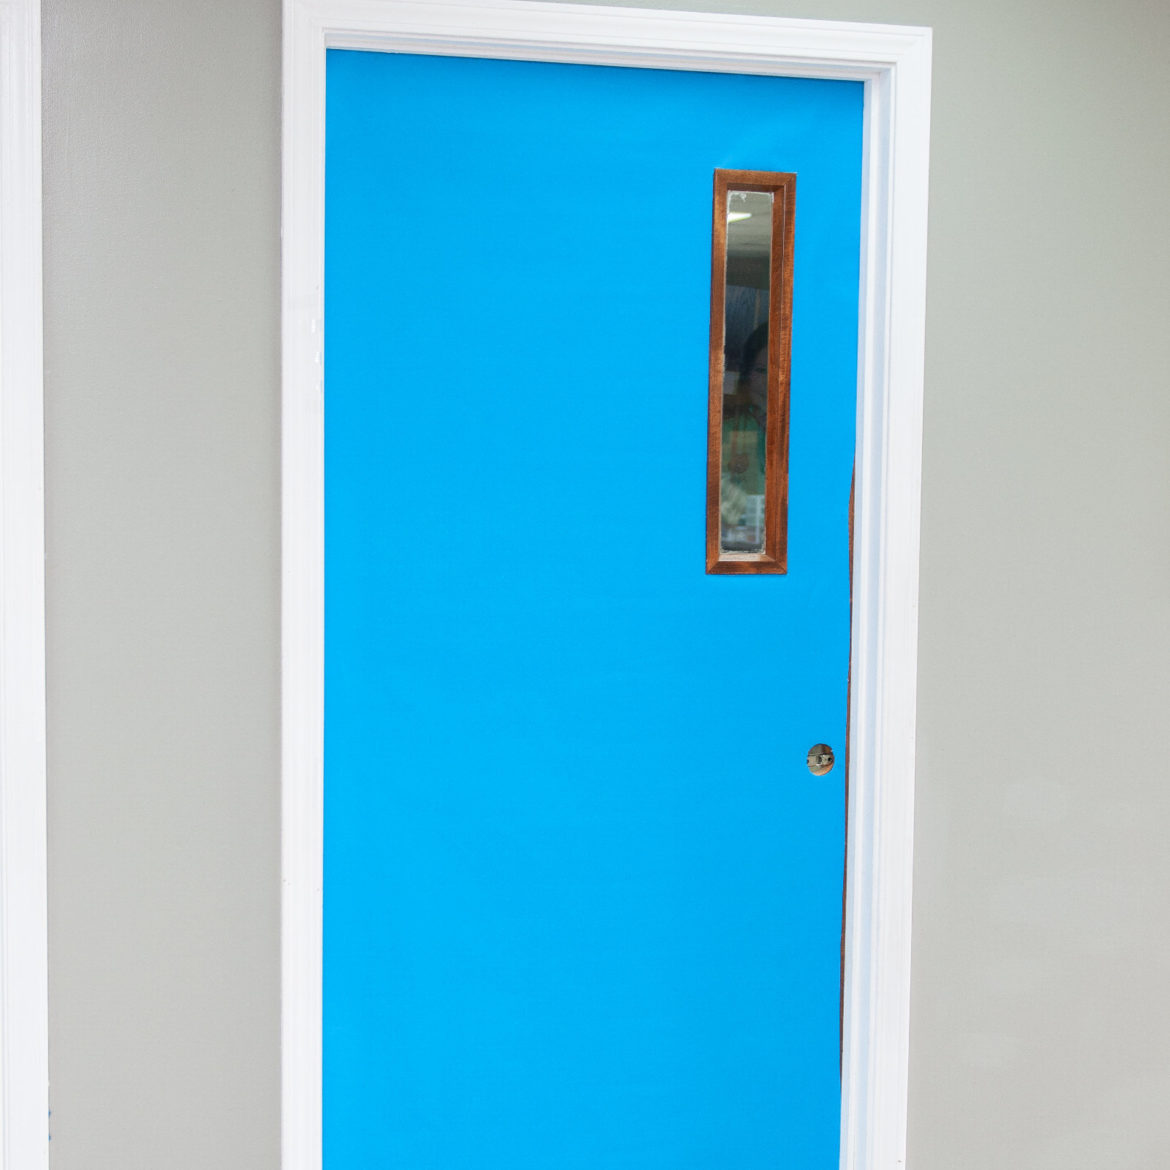
Cover your door using a roll of colored paper and cut out areas for the door knob/handle and window, if your door has one.
Step 2
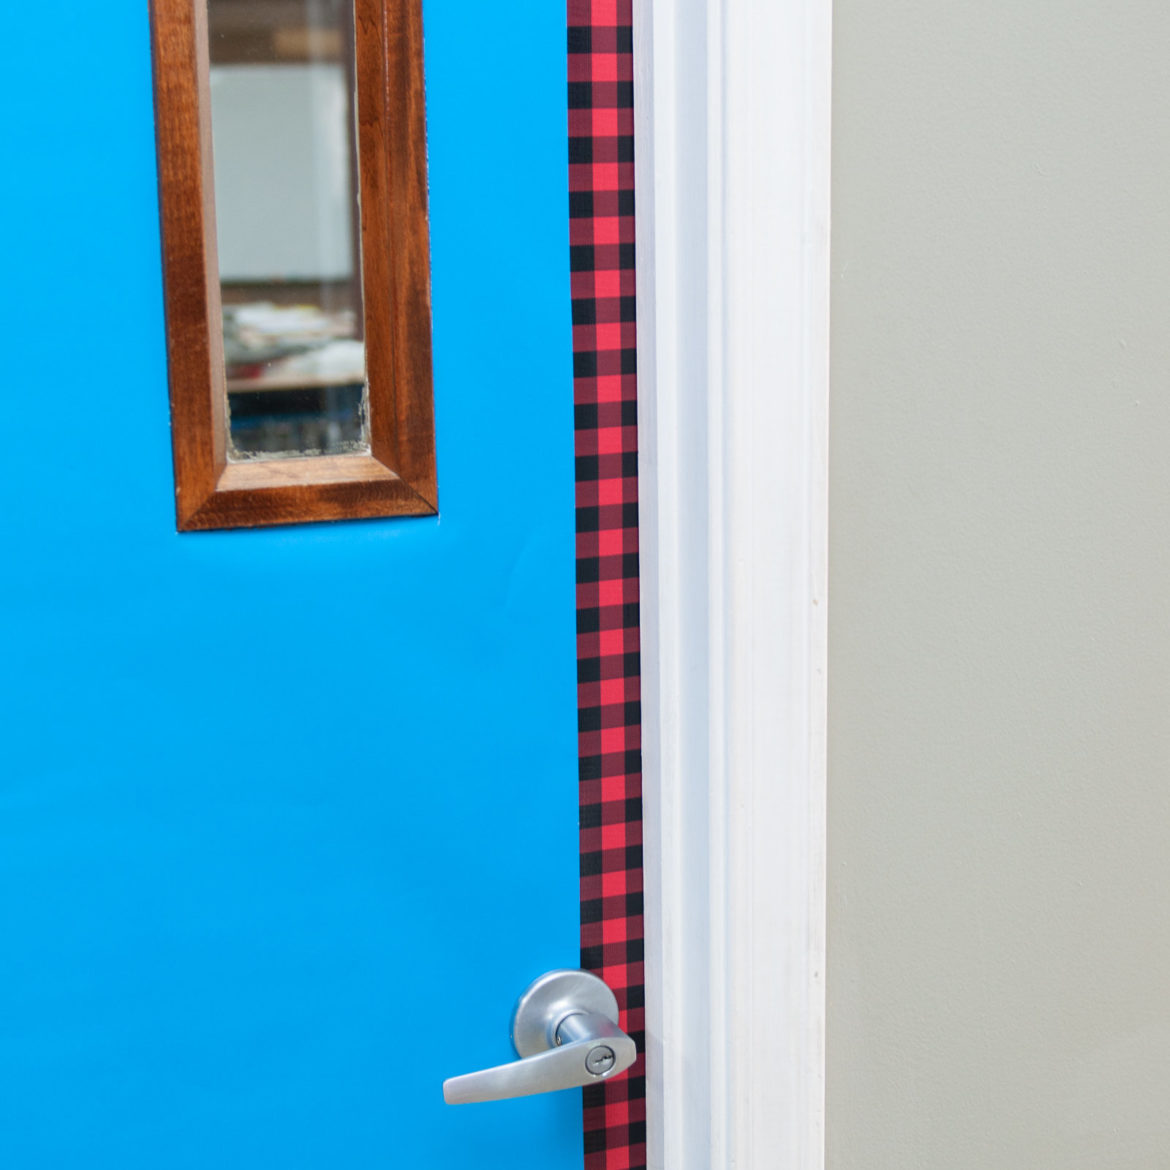
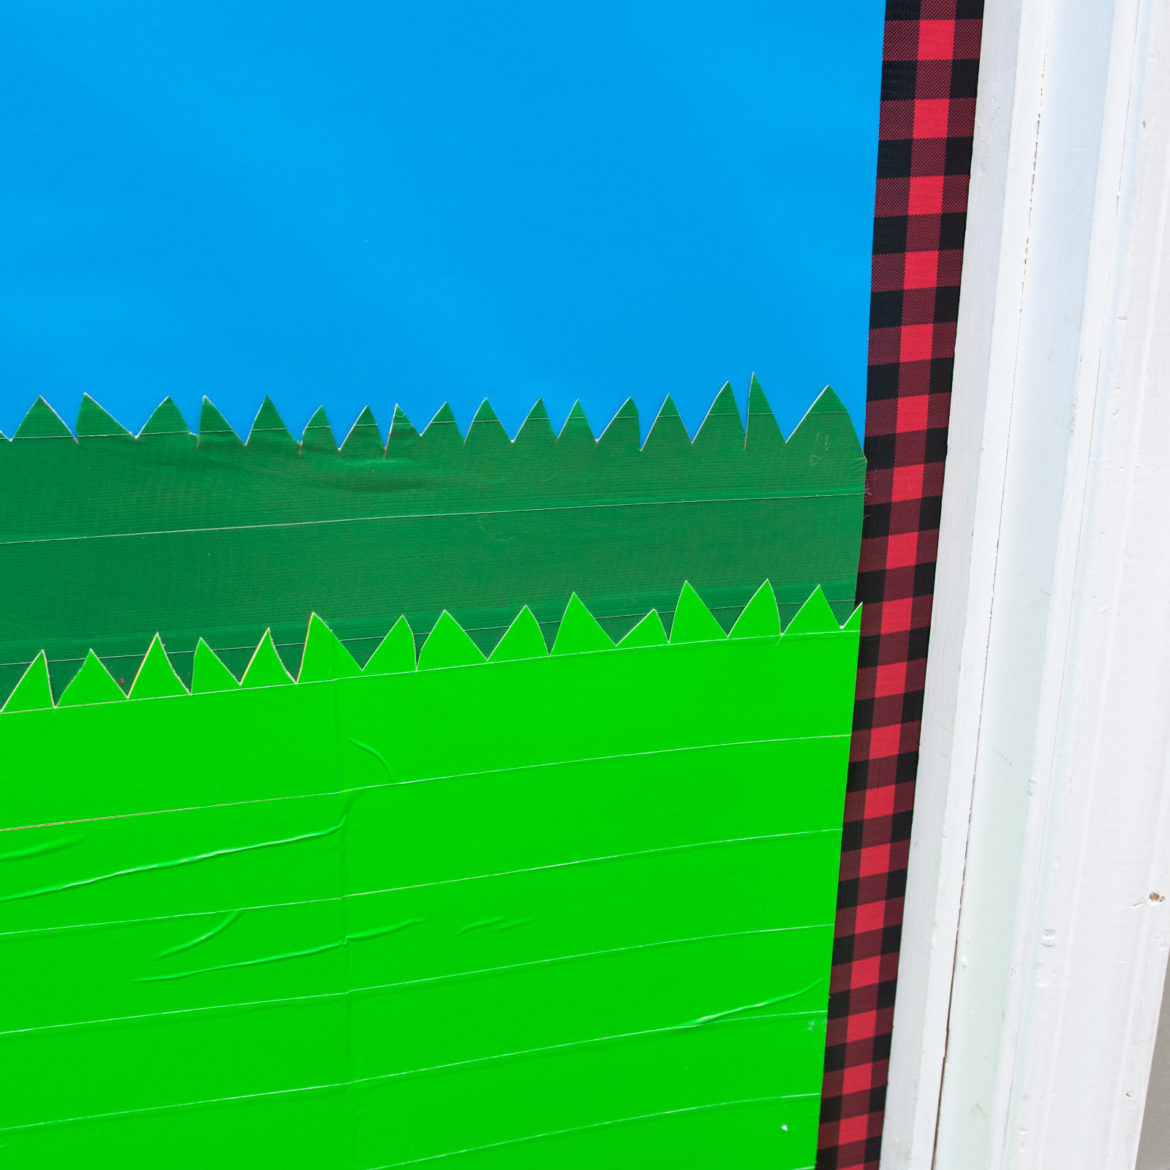
Use Printed Duck Tape® to create a border around the perimeter of the door, layering the tape on top of the paper.
Step 3
Next, use green duct tape to create layers of grass. Place several strips of the green tape on top of one another, cutting points into the top layer to give it a realistic touch.
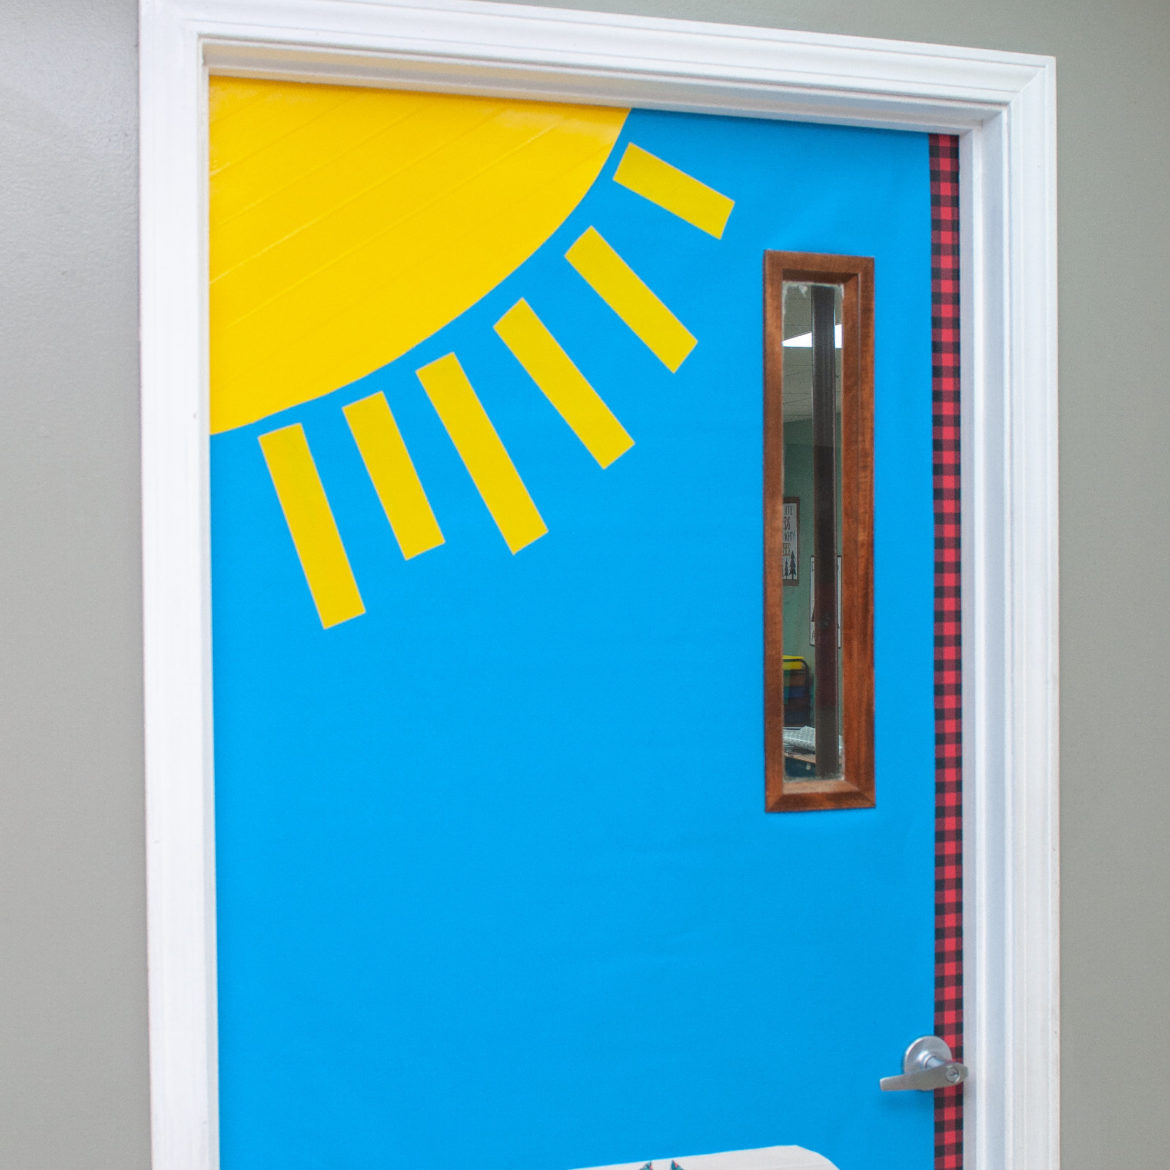
Step 4
Using yellow duct tape, create a sun in the corner of your door. Layer strips of yellow tape, cutting off any excess for the sun and then use short strips of tape for the sun rays.
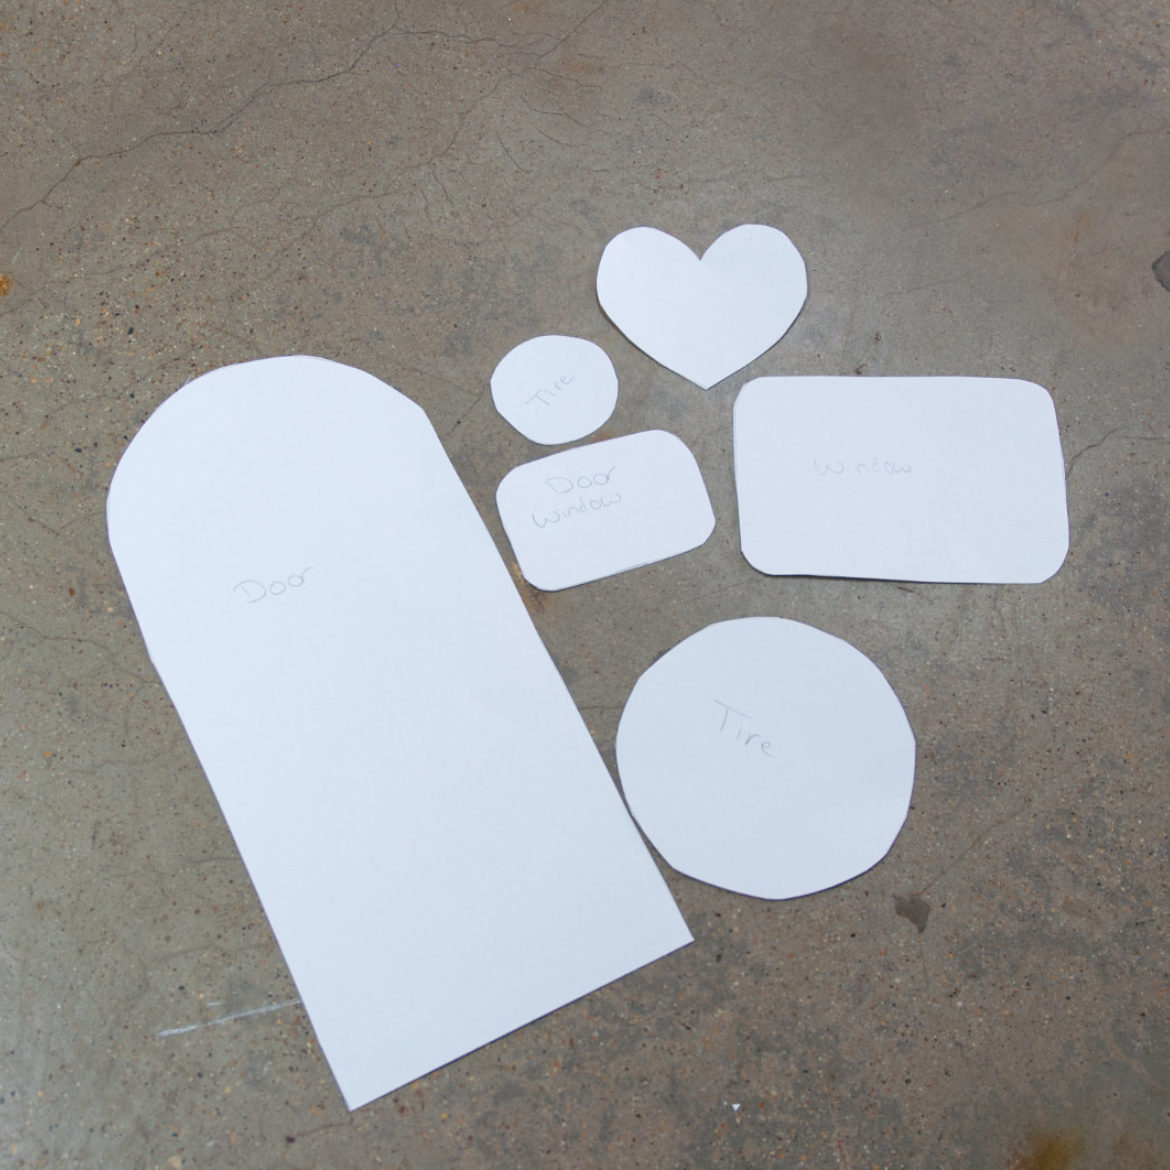
Step 5
Now it's time for the accessories! Use one piece of poster board to draw the shape for the camper. And use another piece of poster board for the camper details and accessories—door, tire, window, garland and heart. Then, cut out the shapes.
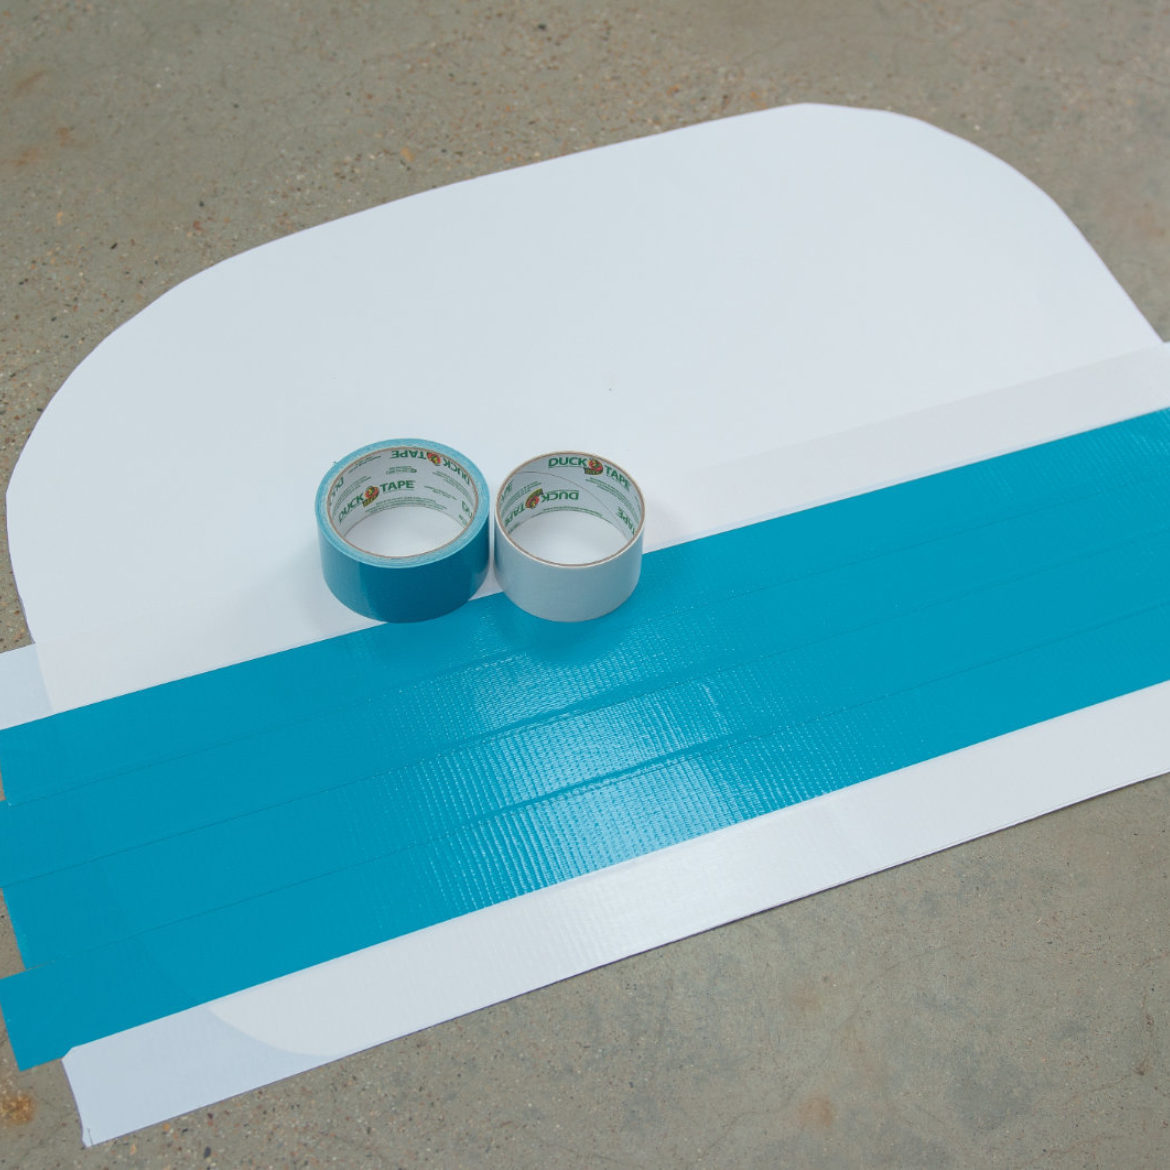
Step 6
Next, cover the different shapes with Color and Printed Duck Tape to bring the camper to life. Fold excess tape onto the back of your camper templates or trim off the edges.
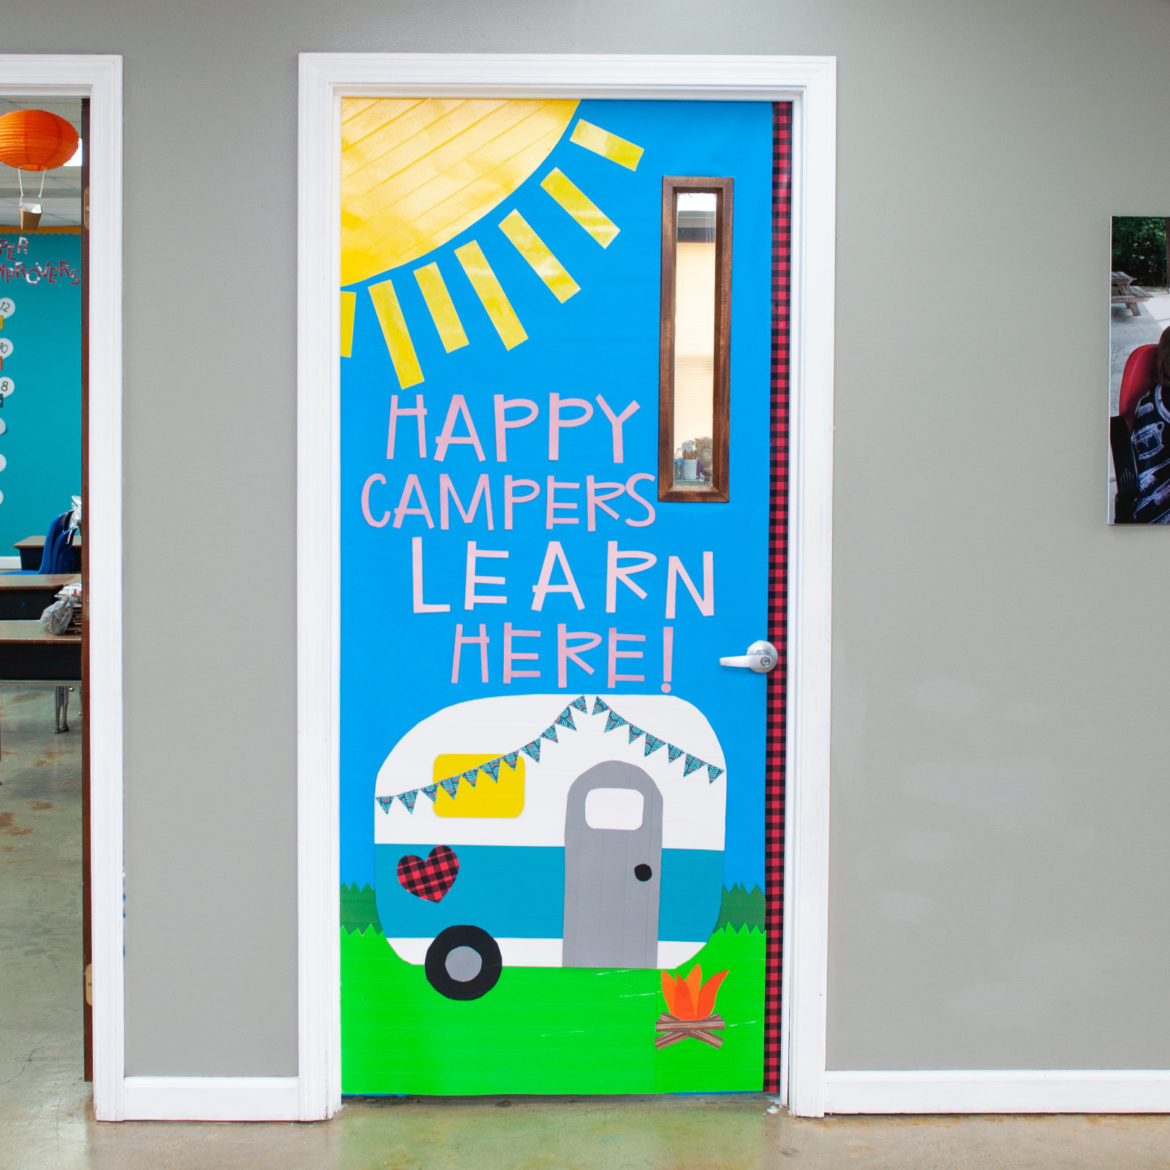
Step 7
Finally, attach the camper to the door and add a custom message with pre-cut letters. Add to the scene by creating a DIY bonfire with color duct tape for the logs and some orange construction paper for the flames. And that's it!