Applying and Removing Duck® Brand Painter's Tape
Applying and Removing Duck® Brand Painter's Tape
Tutorial
Beginner
15 Minutes
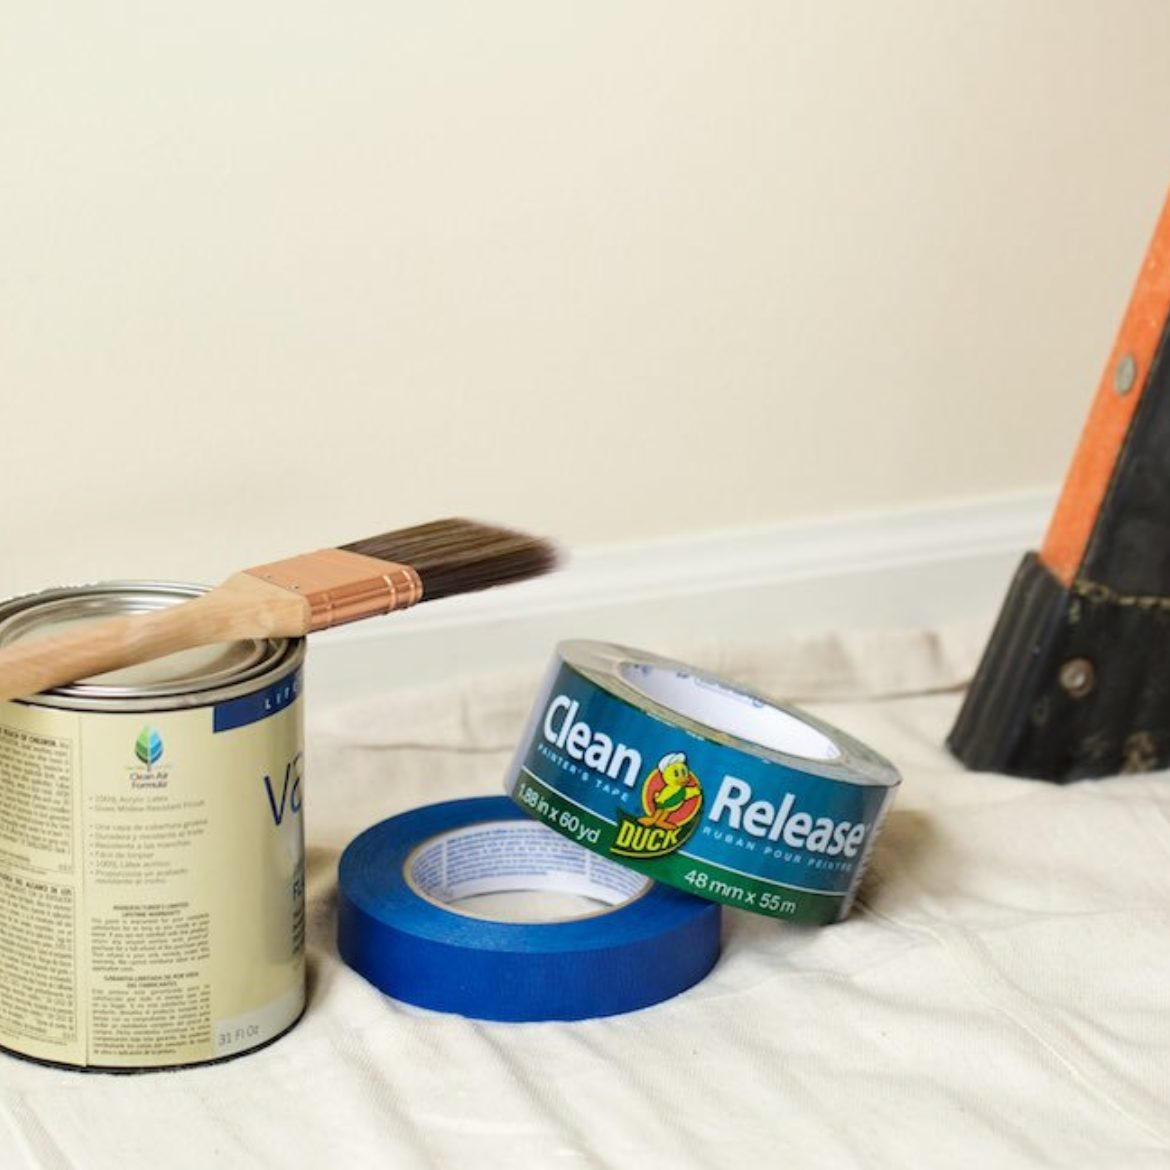
Supplies & Tools
- Sponge
- Bucket
- Dish Soap
- Painter's Tape
- Putty Knife
- Paint
- Paint Rollers & Brushes
Scroll down for step-by-step directions.
Disclaimer - If the listed tape type is not available, there's no need to worry. All of our crafts can be adjusted to use whatever tape you have on hand!
Directions
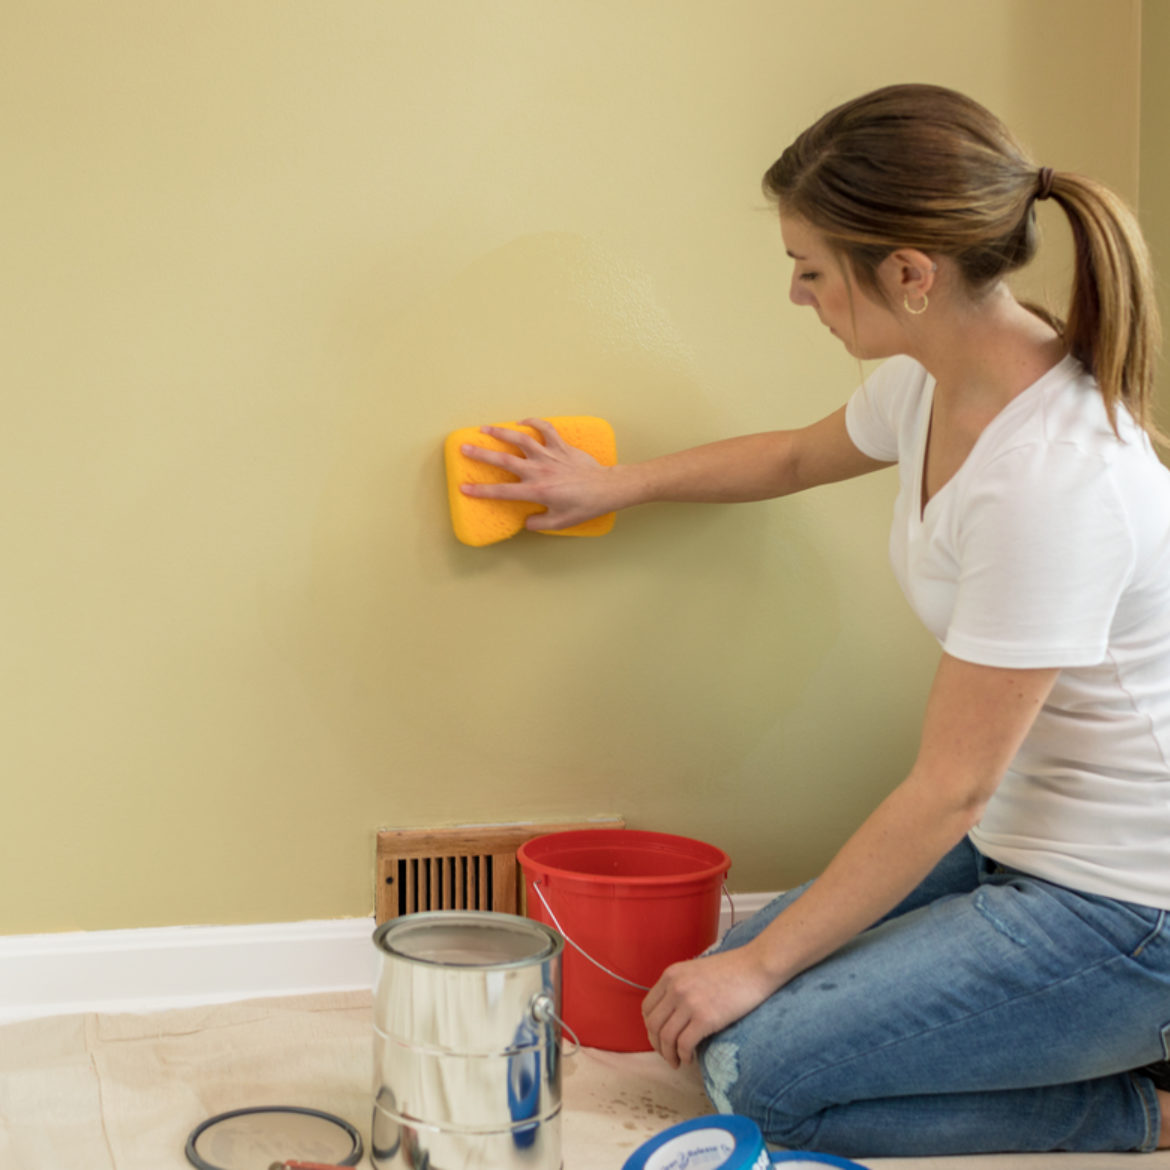
Step 1
Make sure to clean your surface before you tape, by using a damp sponge and a couple drops of dish soap mixed in a bucket of warm water.
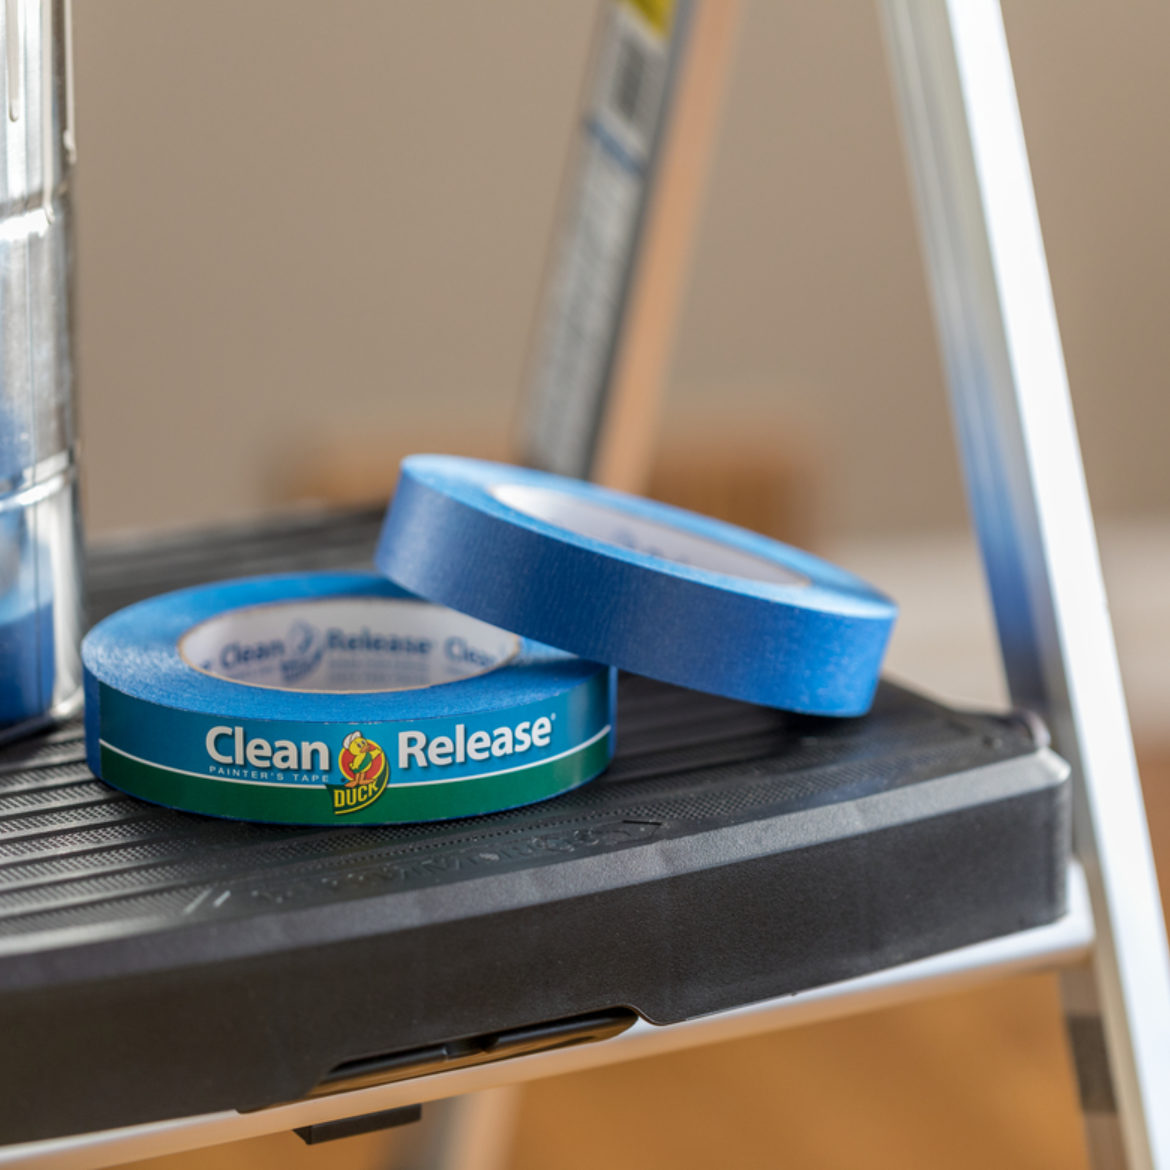
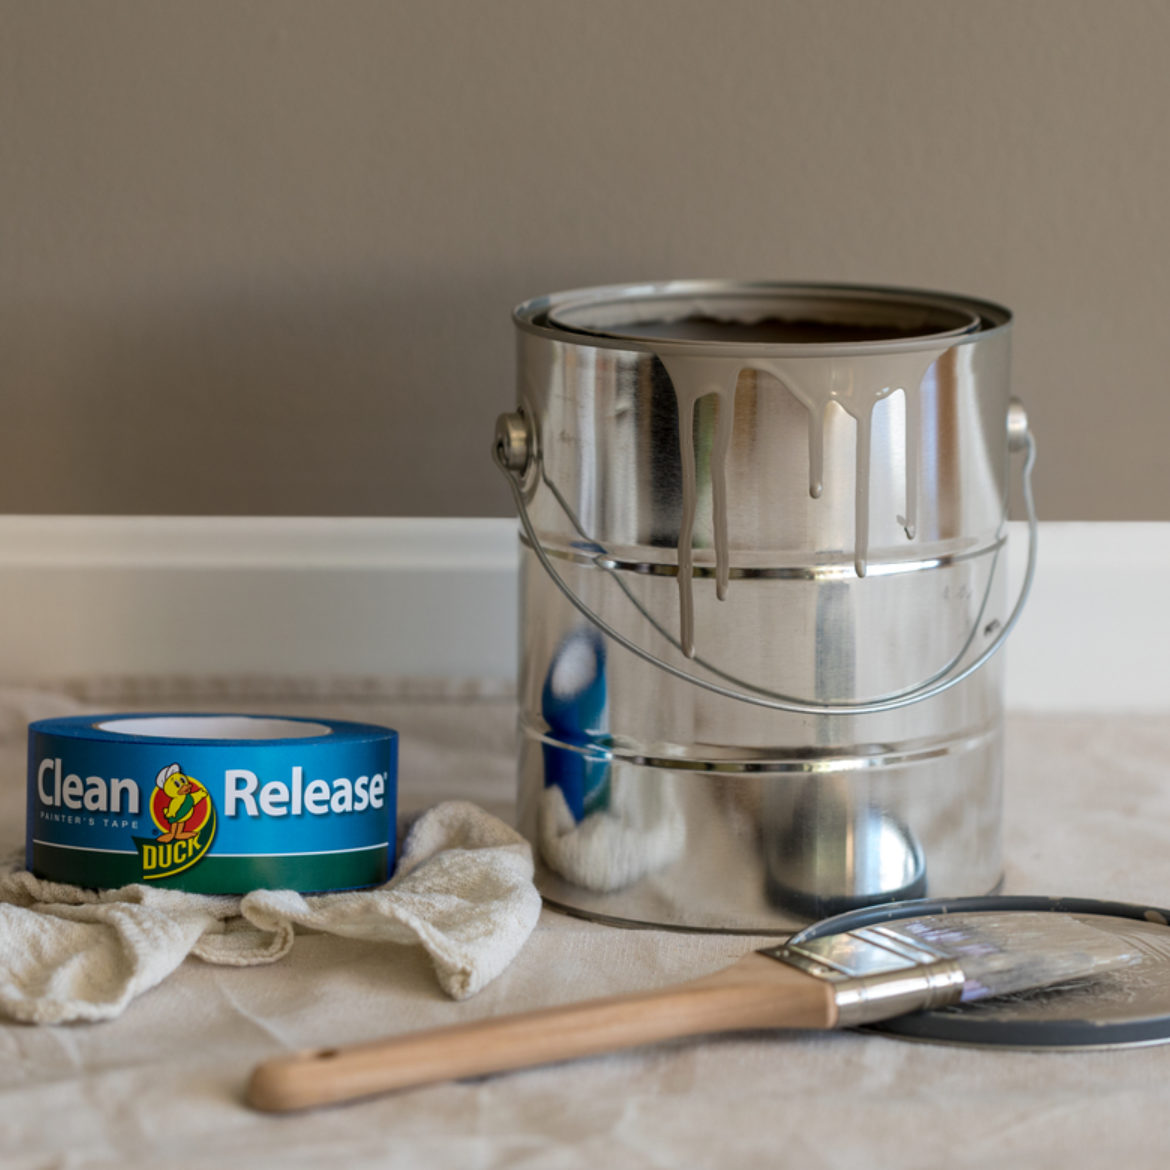
Step 2
It’s important to choose which painter’s tape you’ll need for your project. Professional Painter’s Tape has a 3-day removal, high adhesion and works great on durable surfaces. Clean Release® Multiple Surface Painter’s Tape has a 14-day removal, medium adhesion and can be used for multiple, durable surfaces including painted walls and trim.
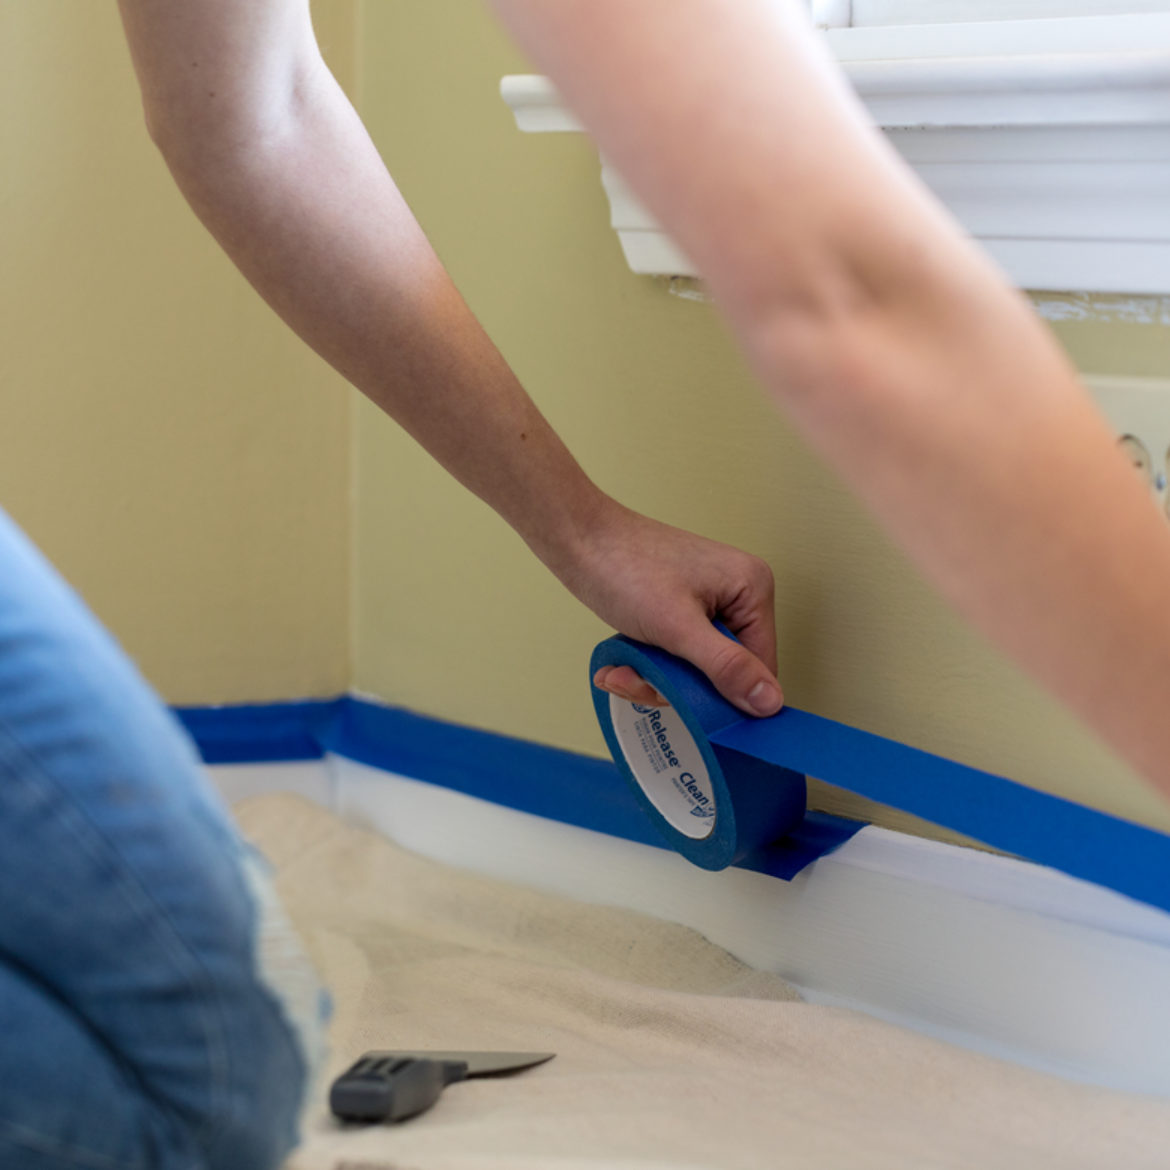
Step 3
Tape any areas on your surface you want to keep paint-free. For best results, tape in a 1-2 foot sections to avoid stretching the tape.
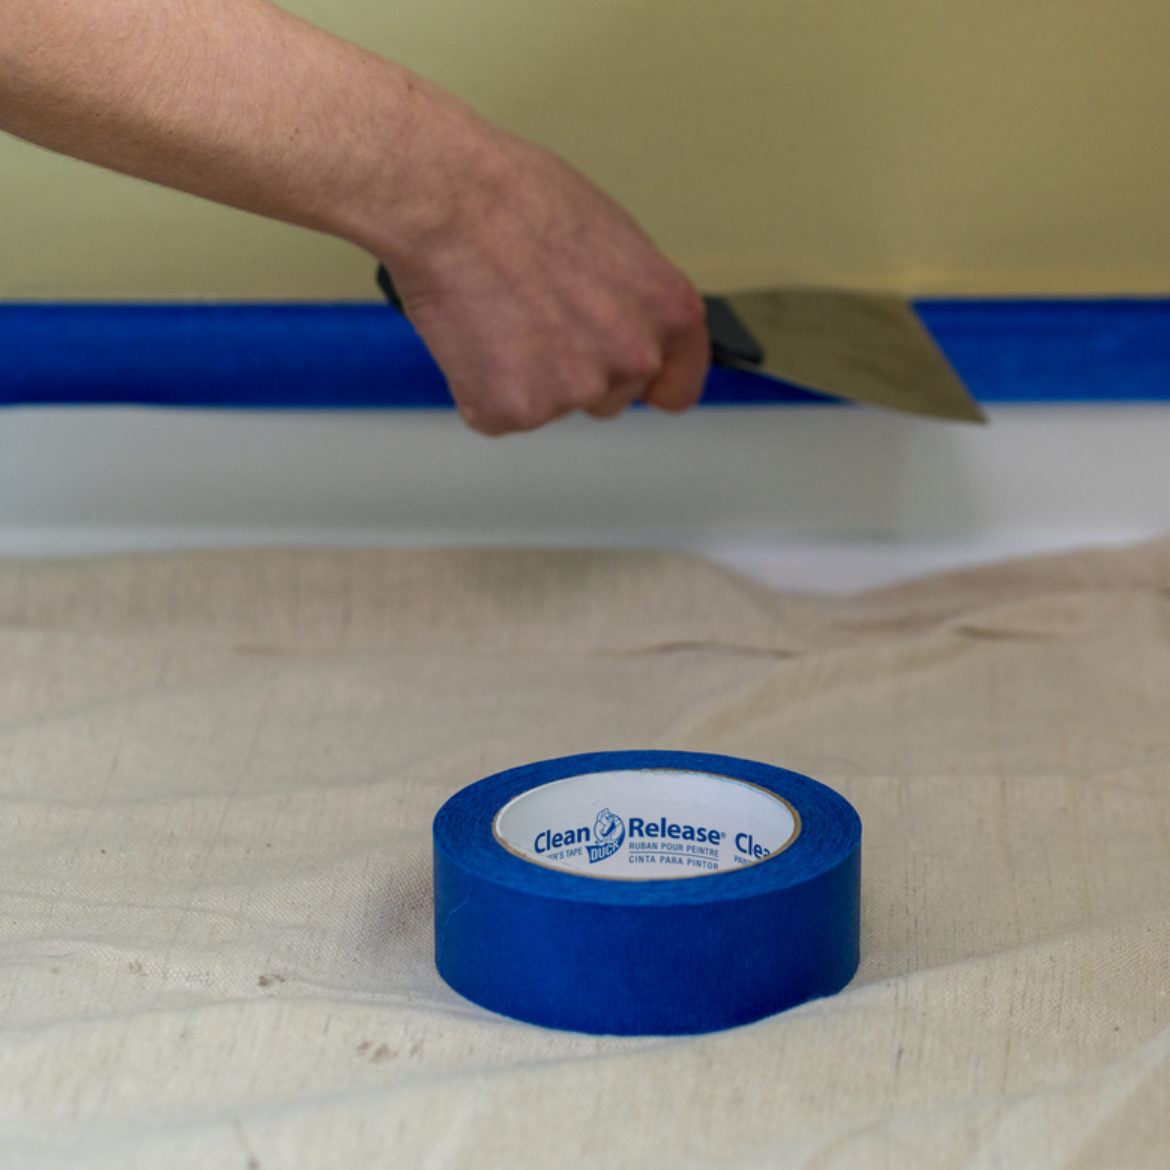
Step 4
Burnish the tape’s edge with a plastic tool like a putty knife or credit card to ensure good adhesion.
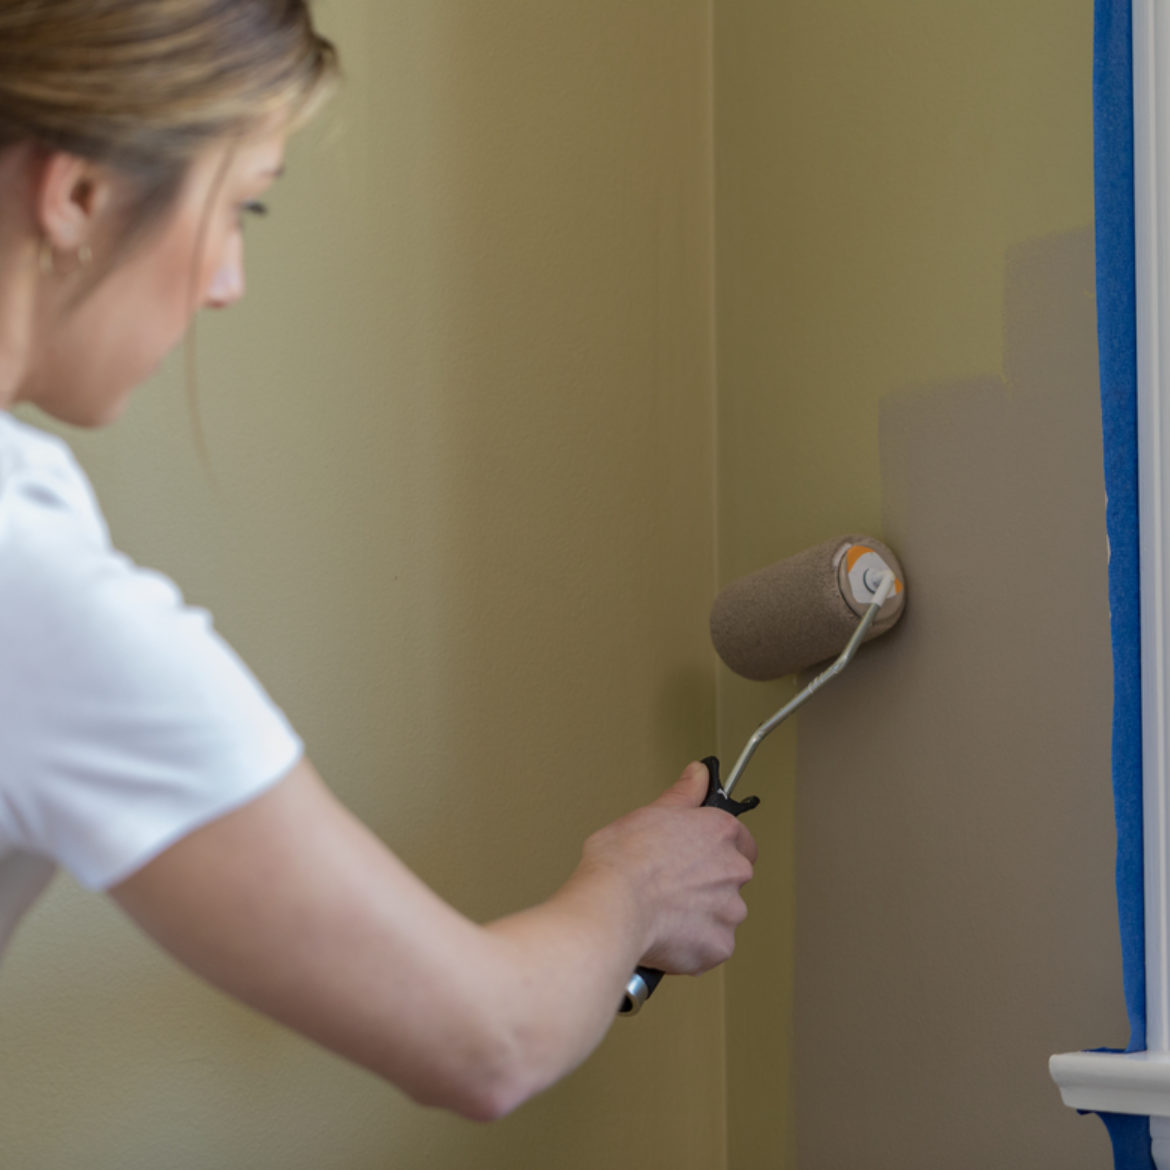
Step 5
Paint your surface.
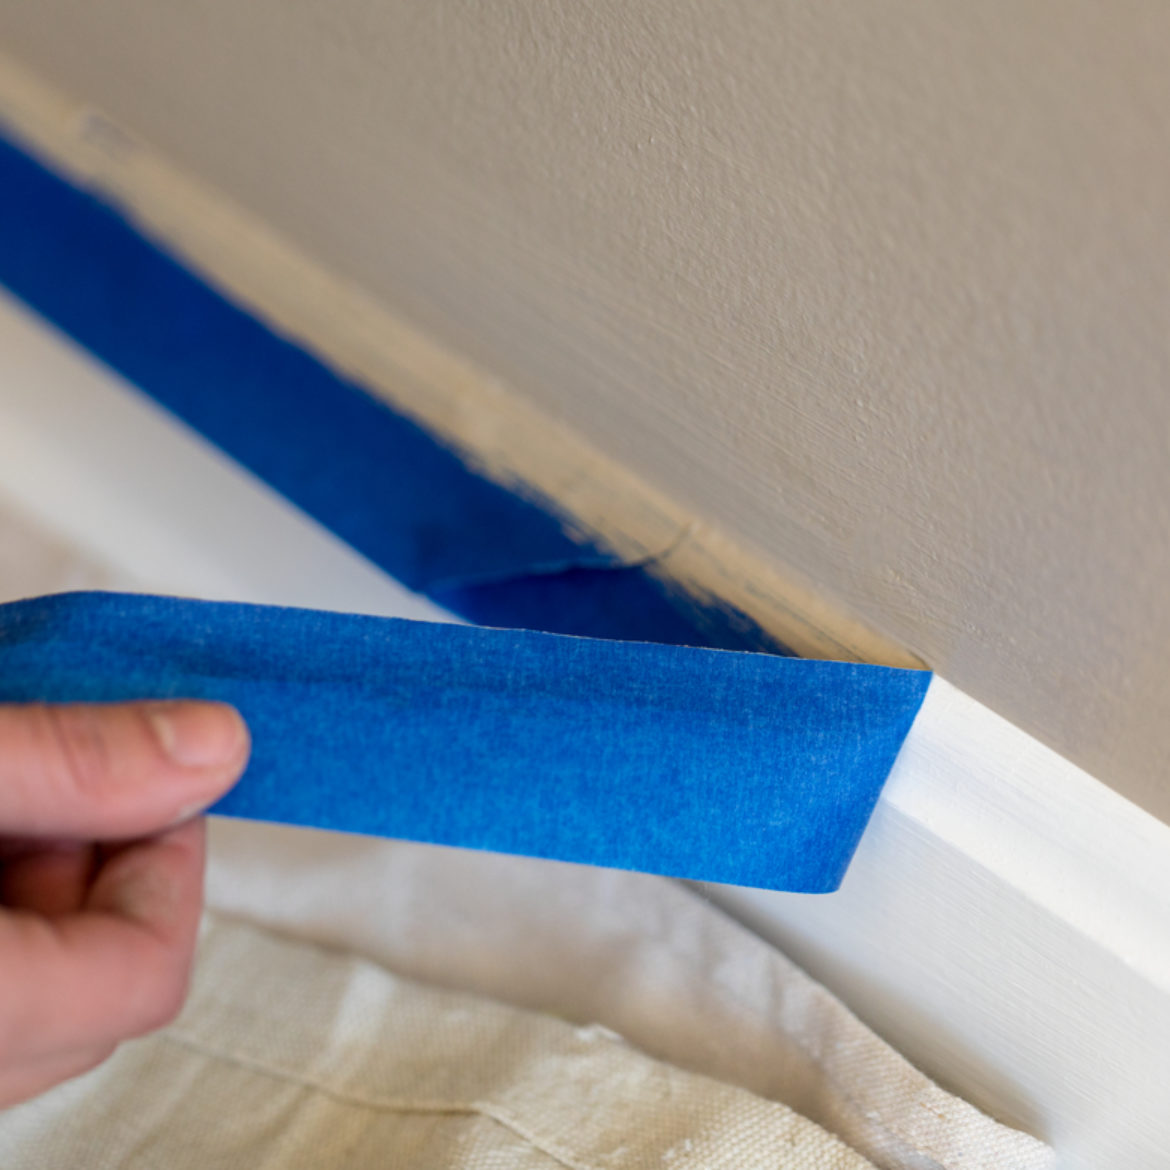
Step 6
For best results, remove the tape while the paint is still wet, making sure to slowly pull at a 45°angle. If you’re paint has dried, score along the painted edge of the tape to avoid pulling back any paint as you remove the tape.
Step 7
No matter what the project, Duck® brand painter’s tape is an easy way for contractors and home DIYers to get professional results.